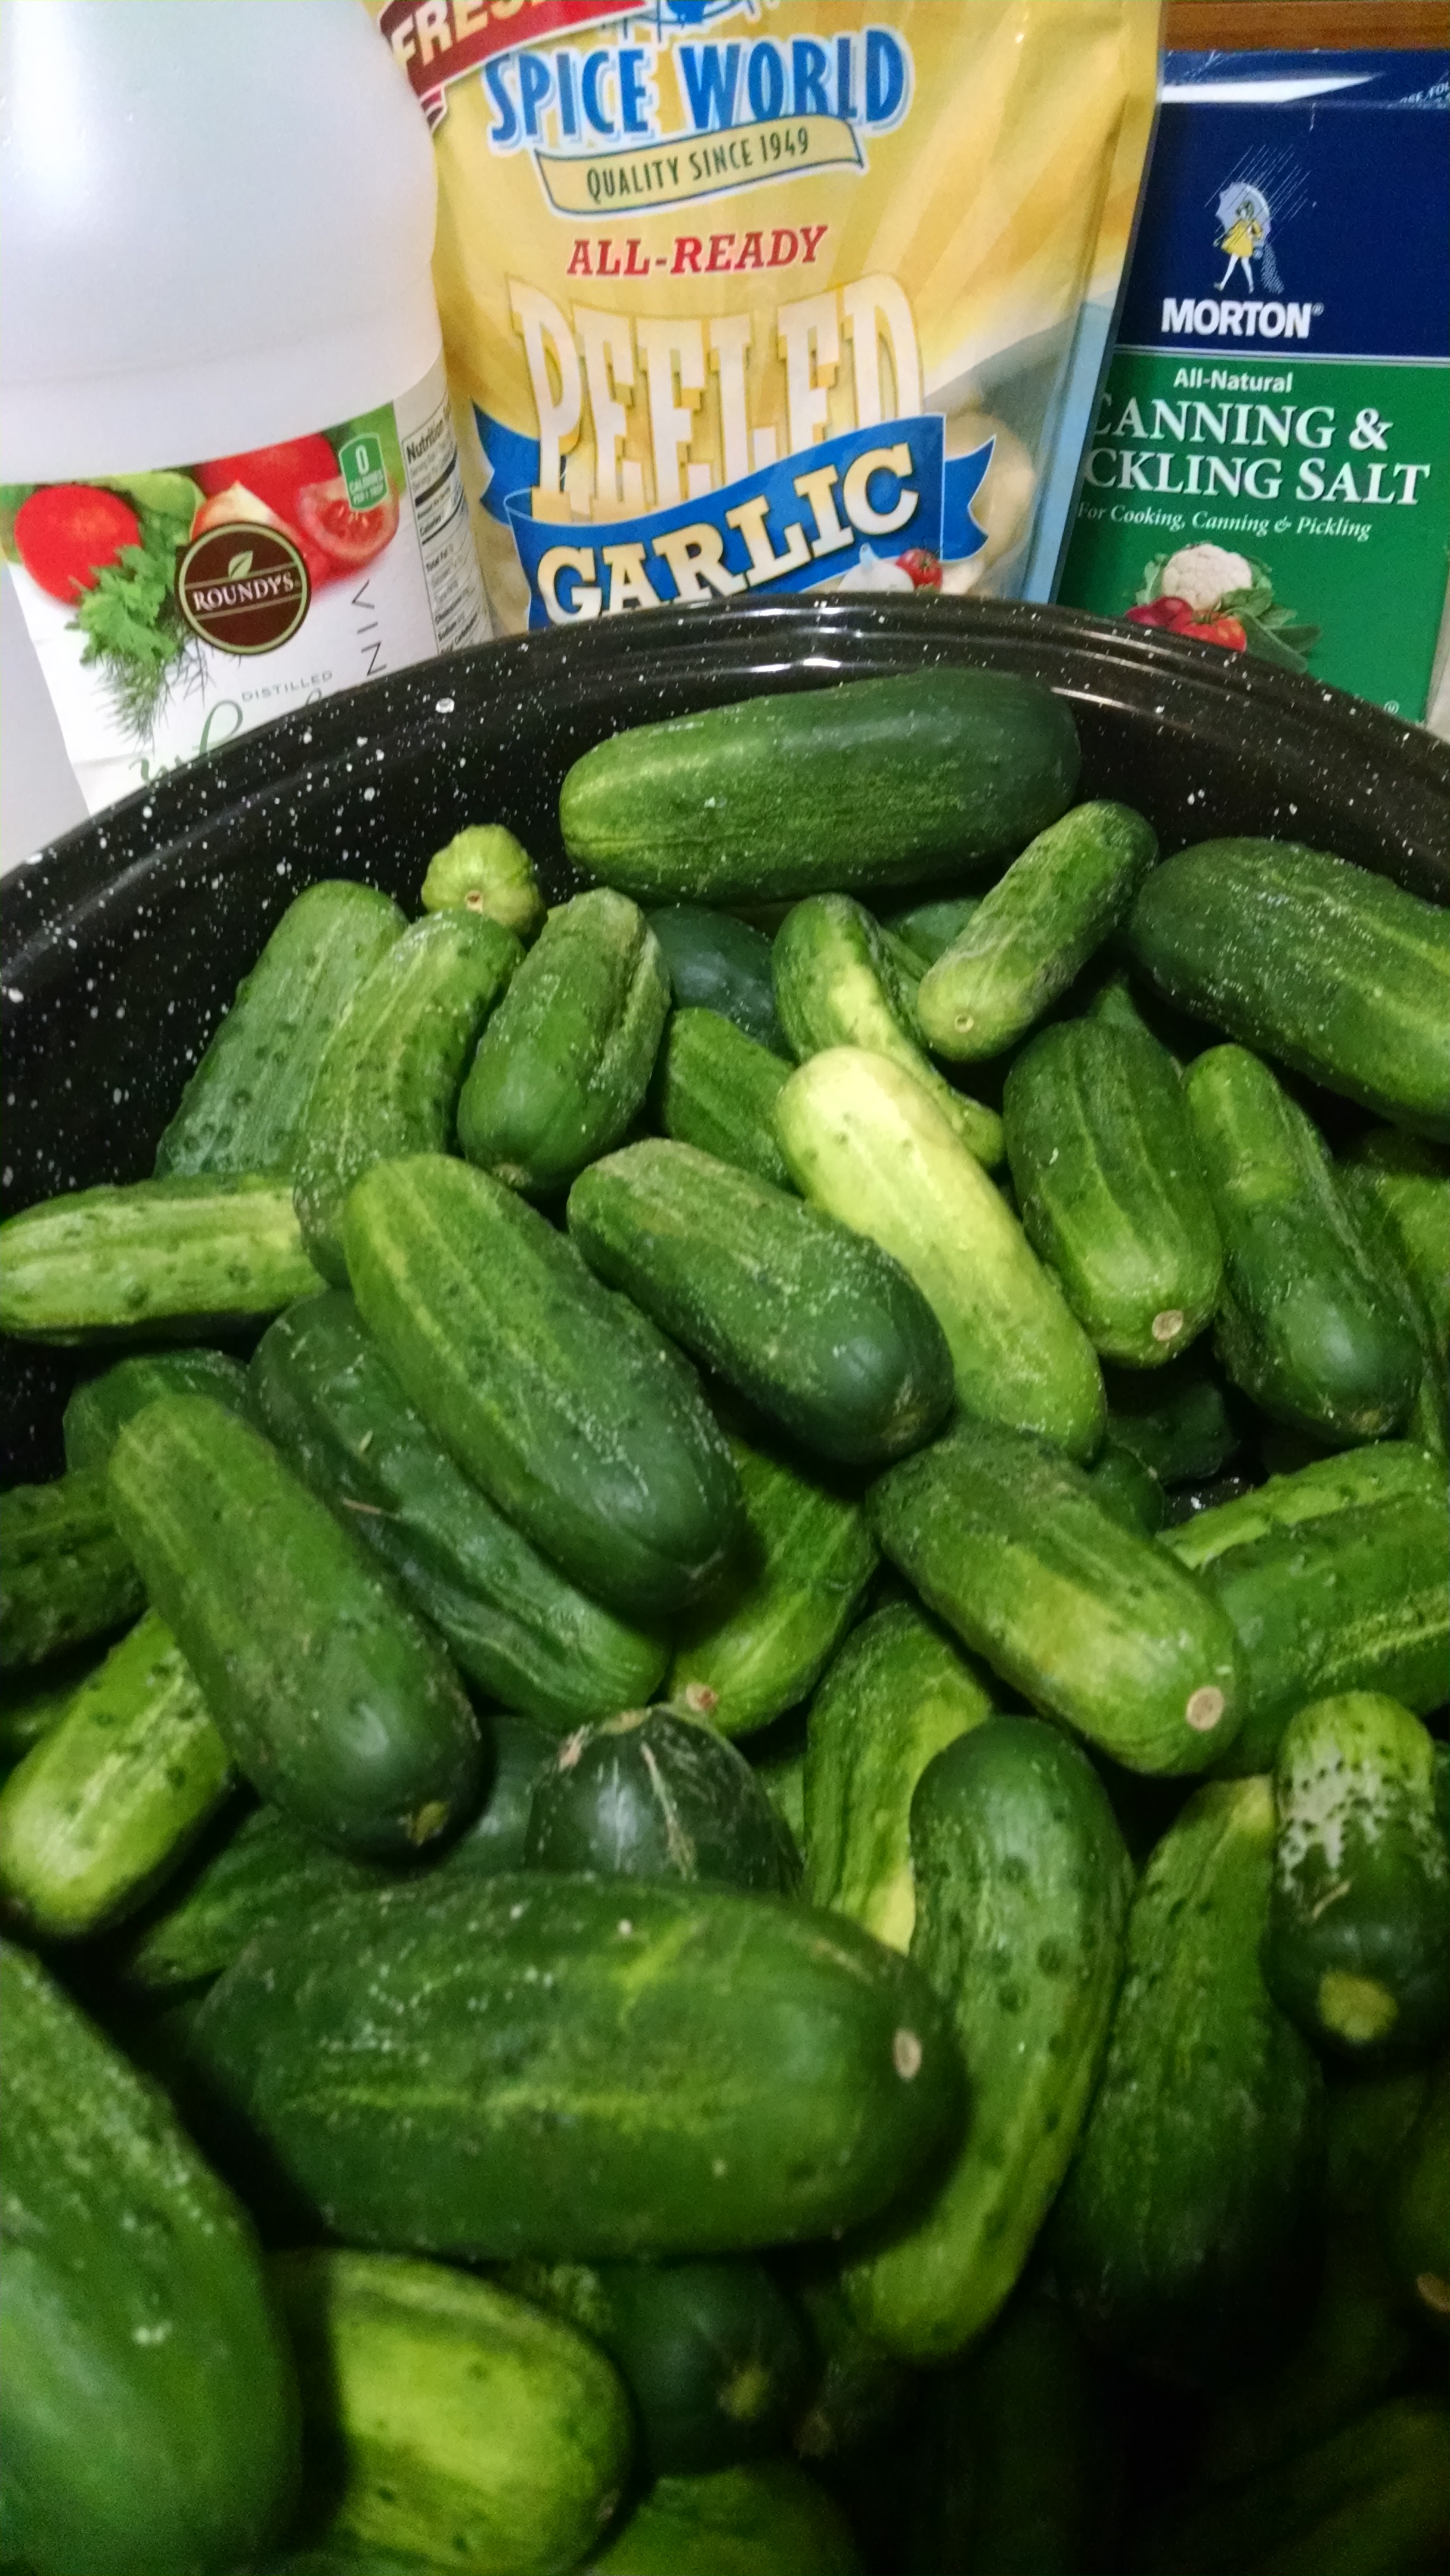
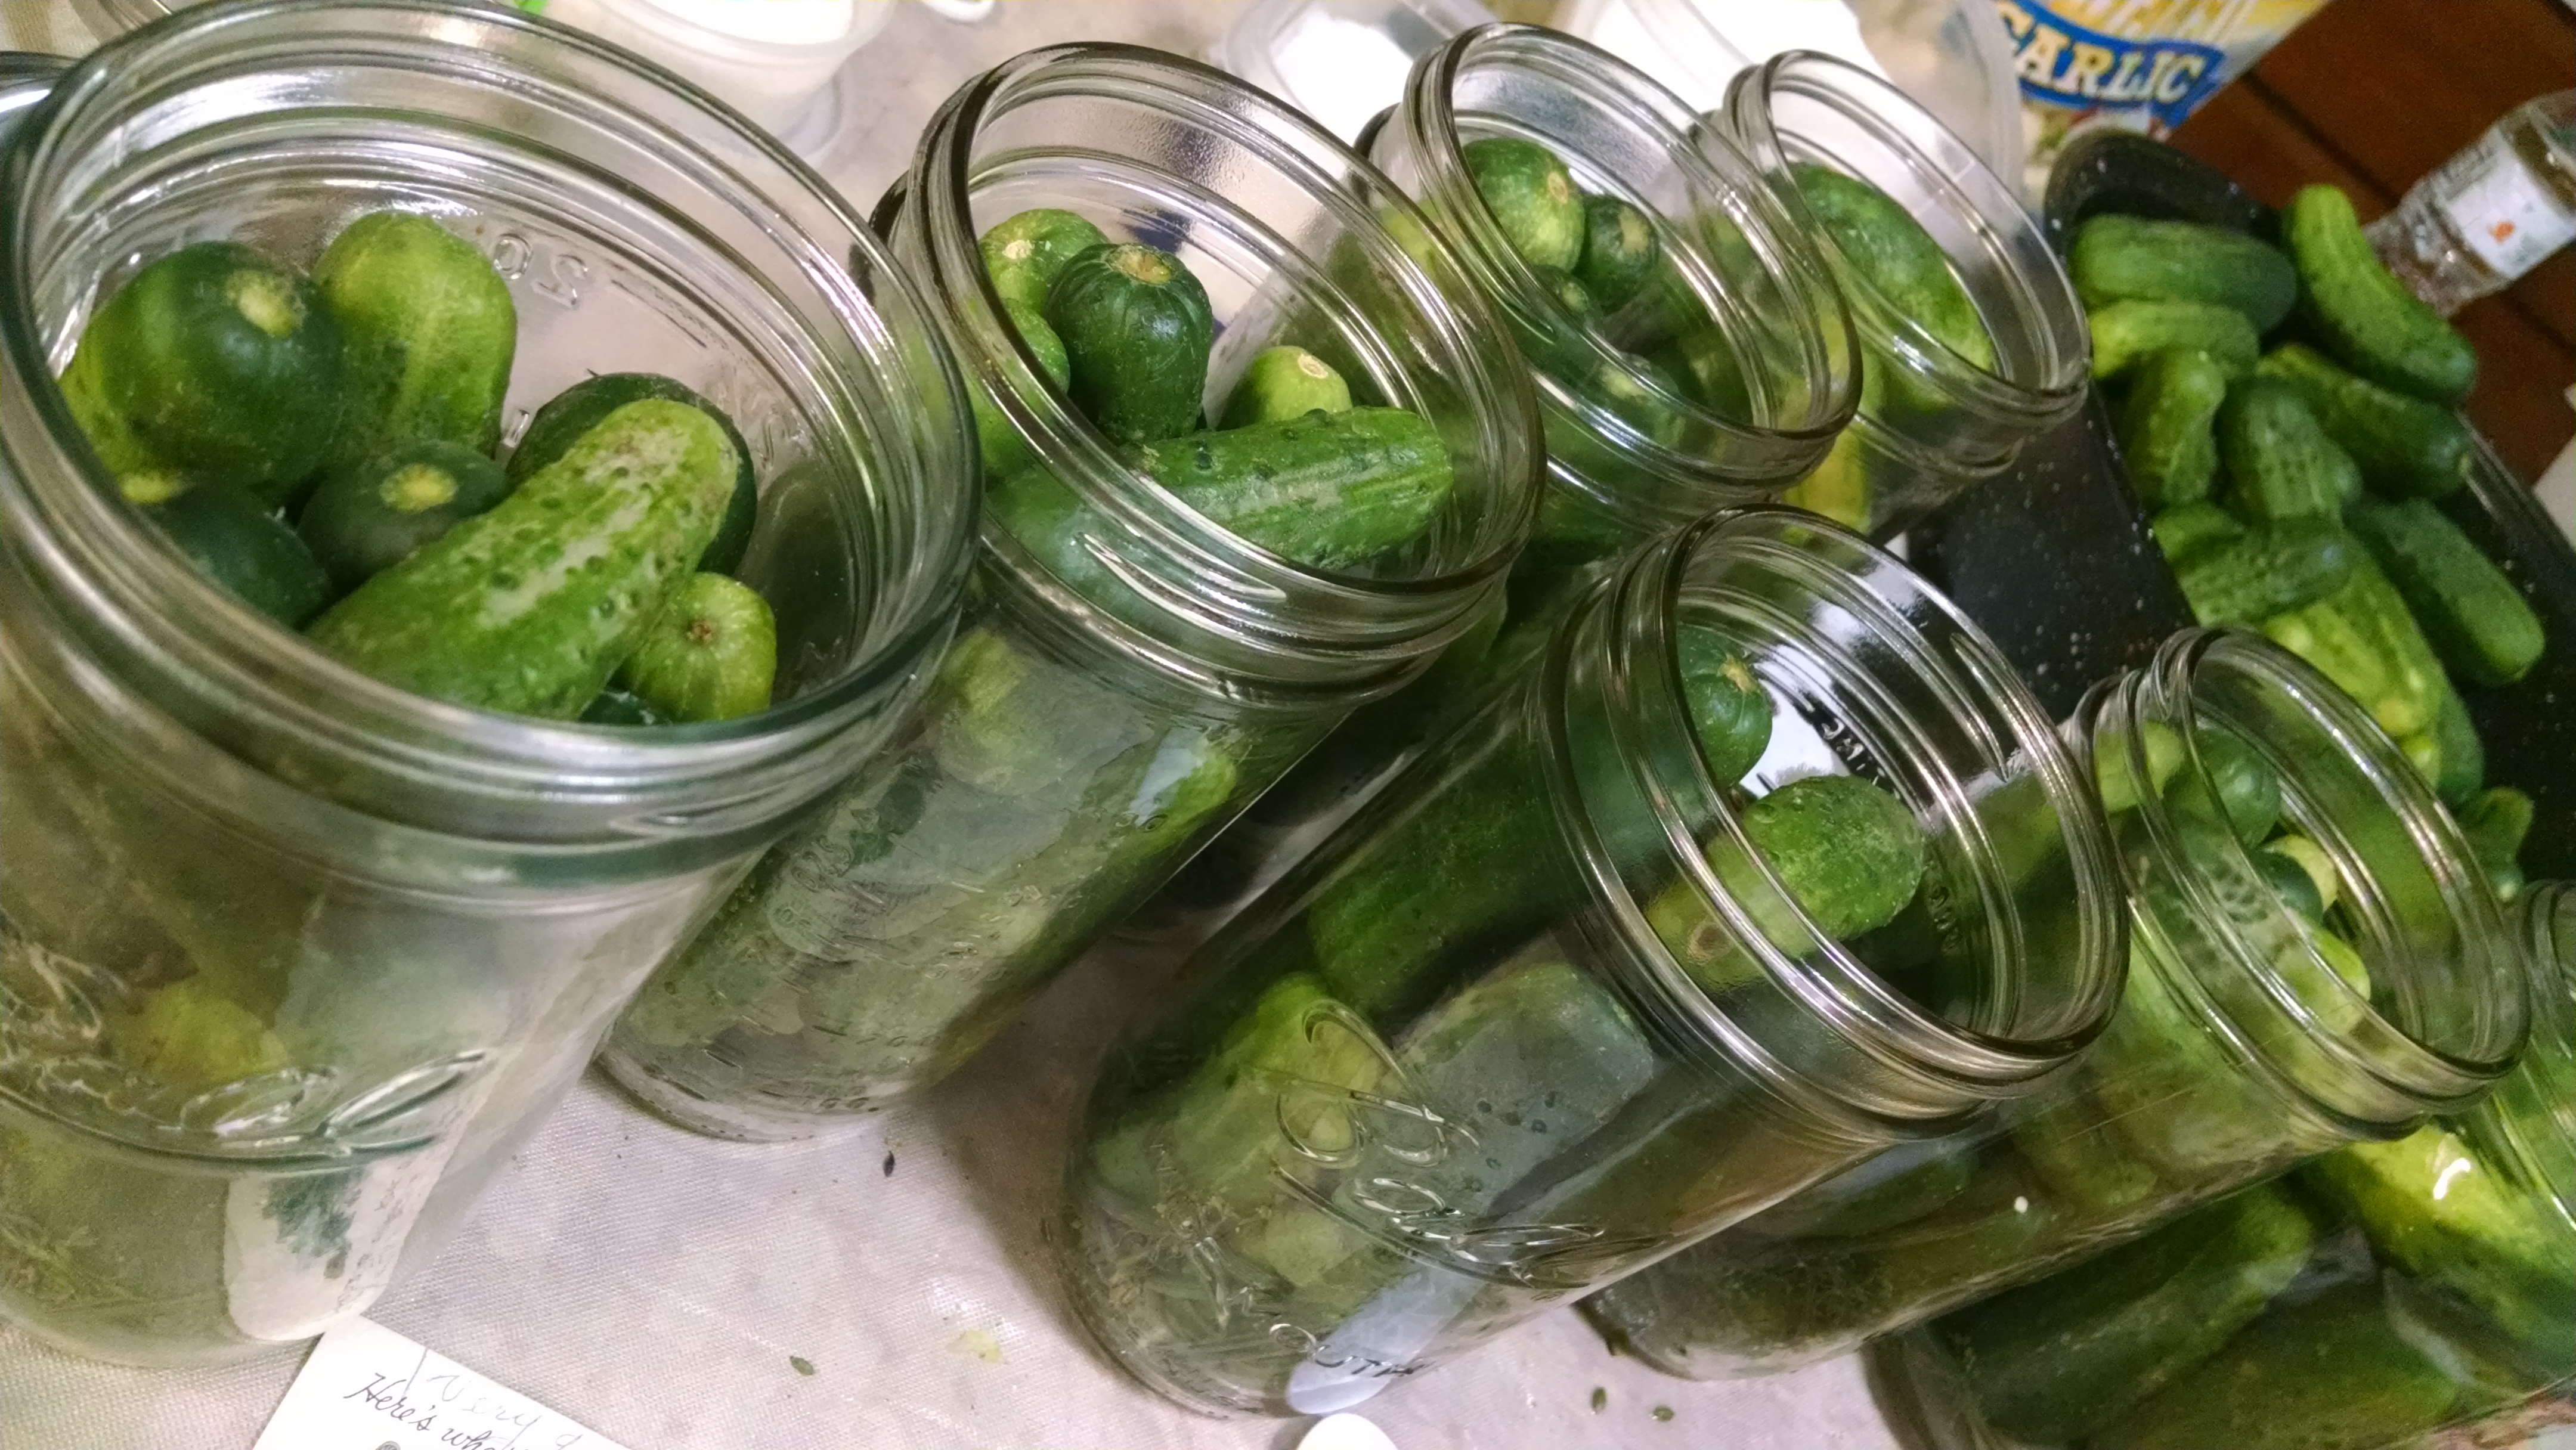
Cucumbers. It’s August and all I have on my mind is how to use up all the cucumbers. Even though my garden didn’t produce all that many (something about a powdery mildew), my parents’ garden back on the farm in Wisconsin is churning out cucumbers — about 25 a day.
So far, we’ve eaten each our own fair share of cucumbers raw, on a salad, in a cucumber & vinegar salad, and juiced.
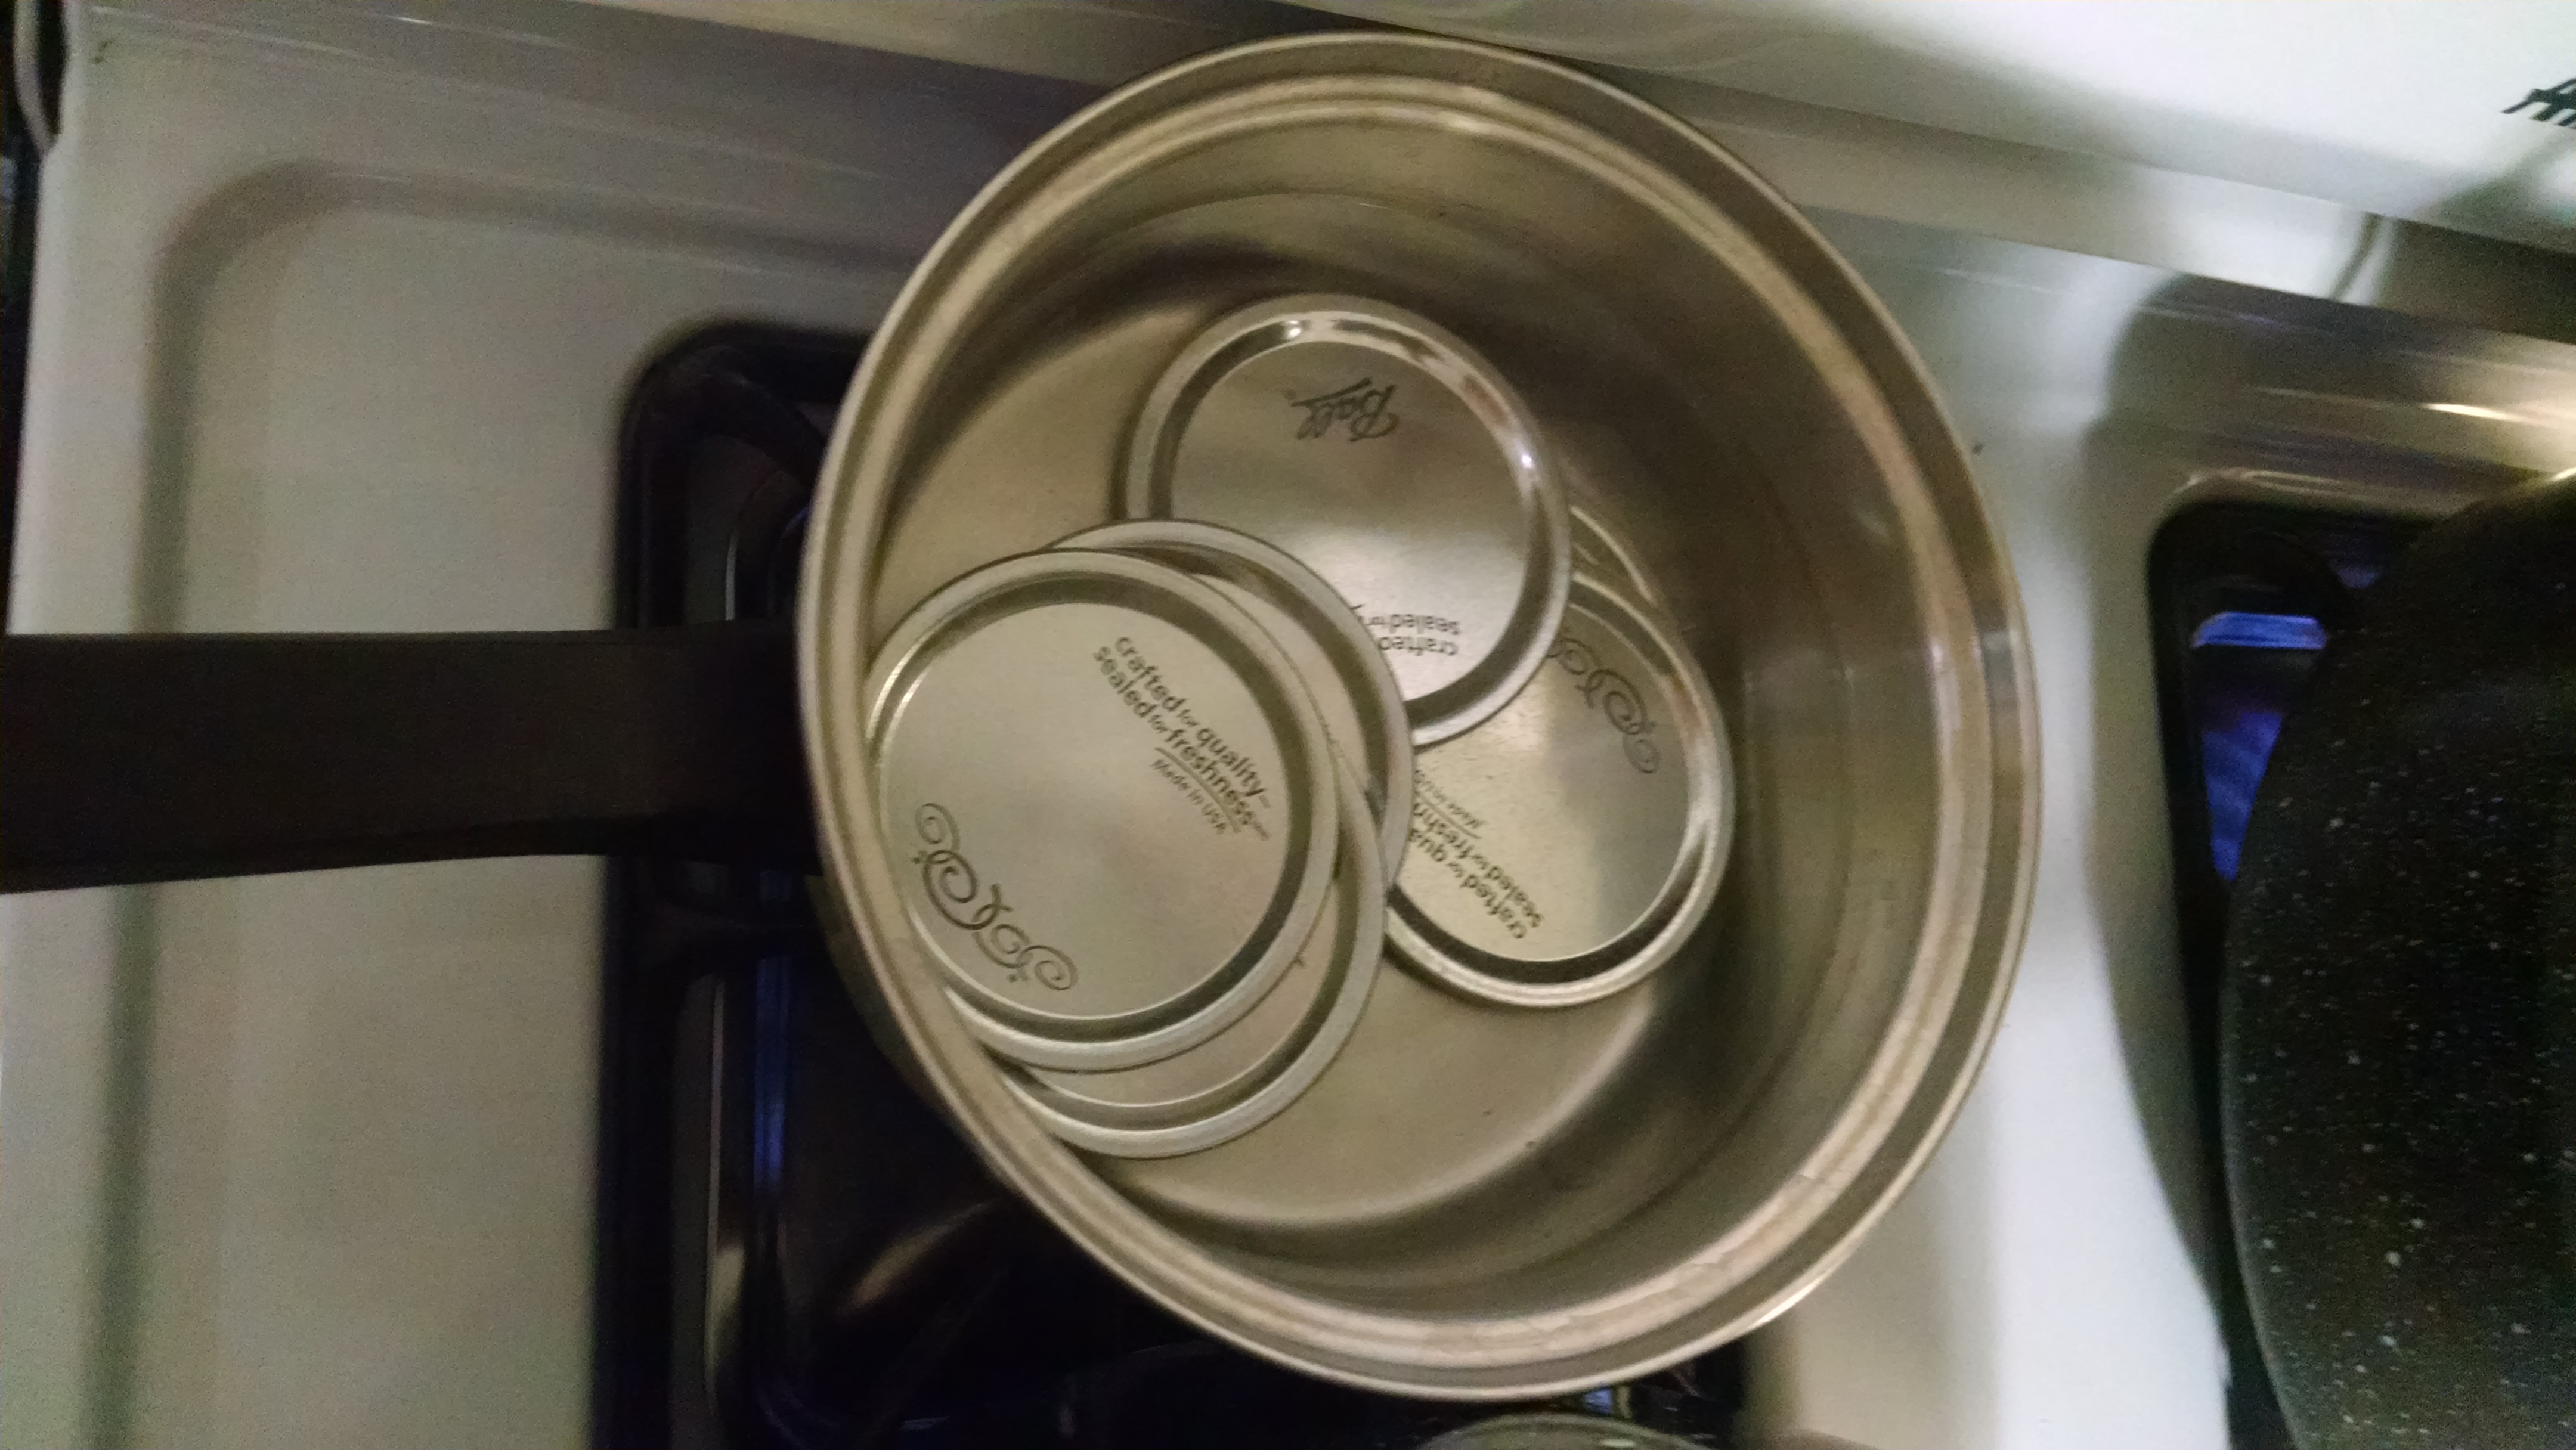
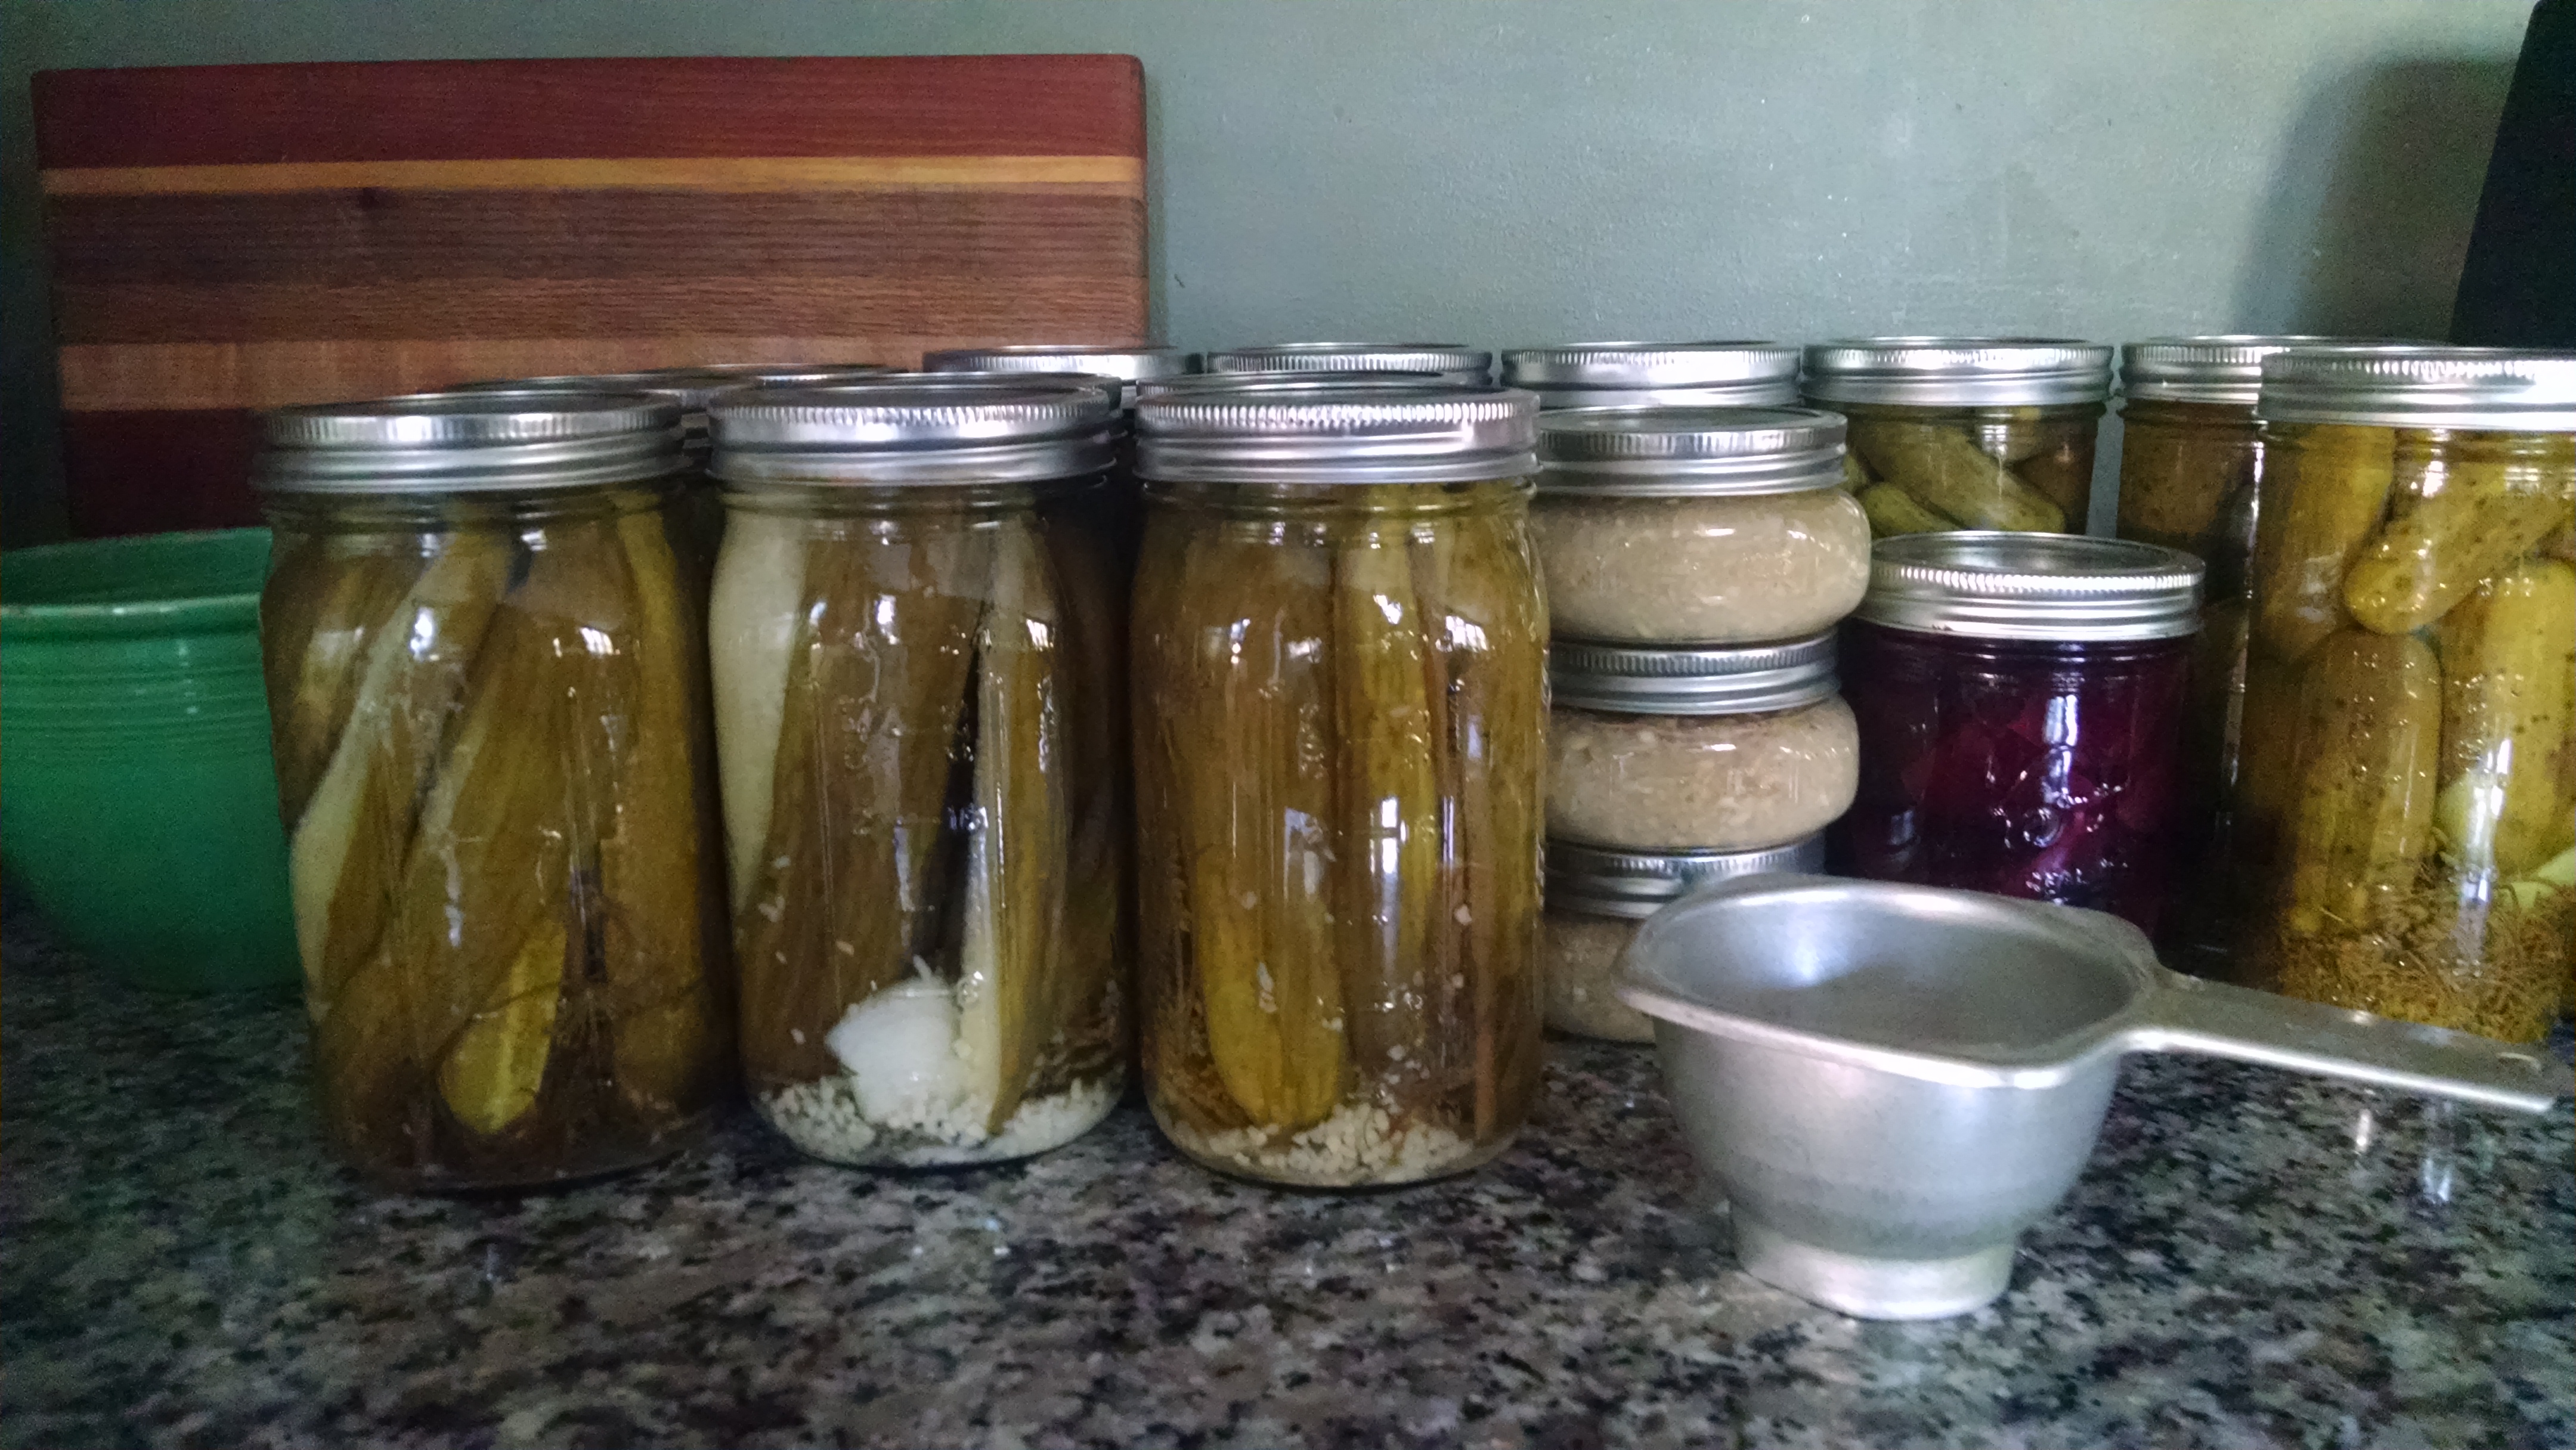
We’ve spent a day pickling them into dill pickles. And, when there is not enough time, energy and sterile jars, we’ve turned them into Refrigerator Dill Pickles or Bread and Butter Pickles.

First Up — Refrigerator Dill Pickles.
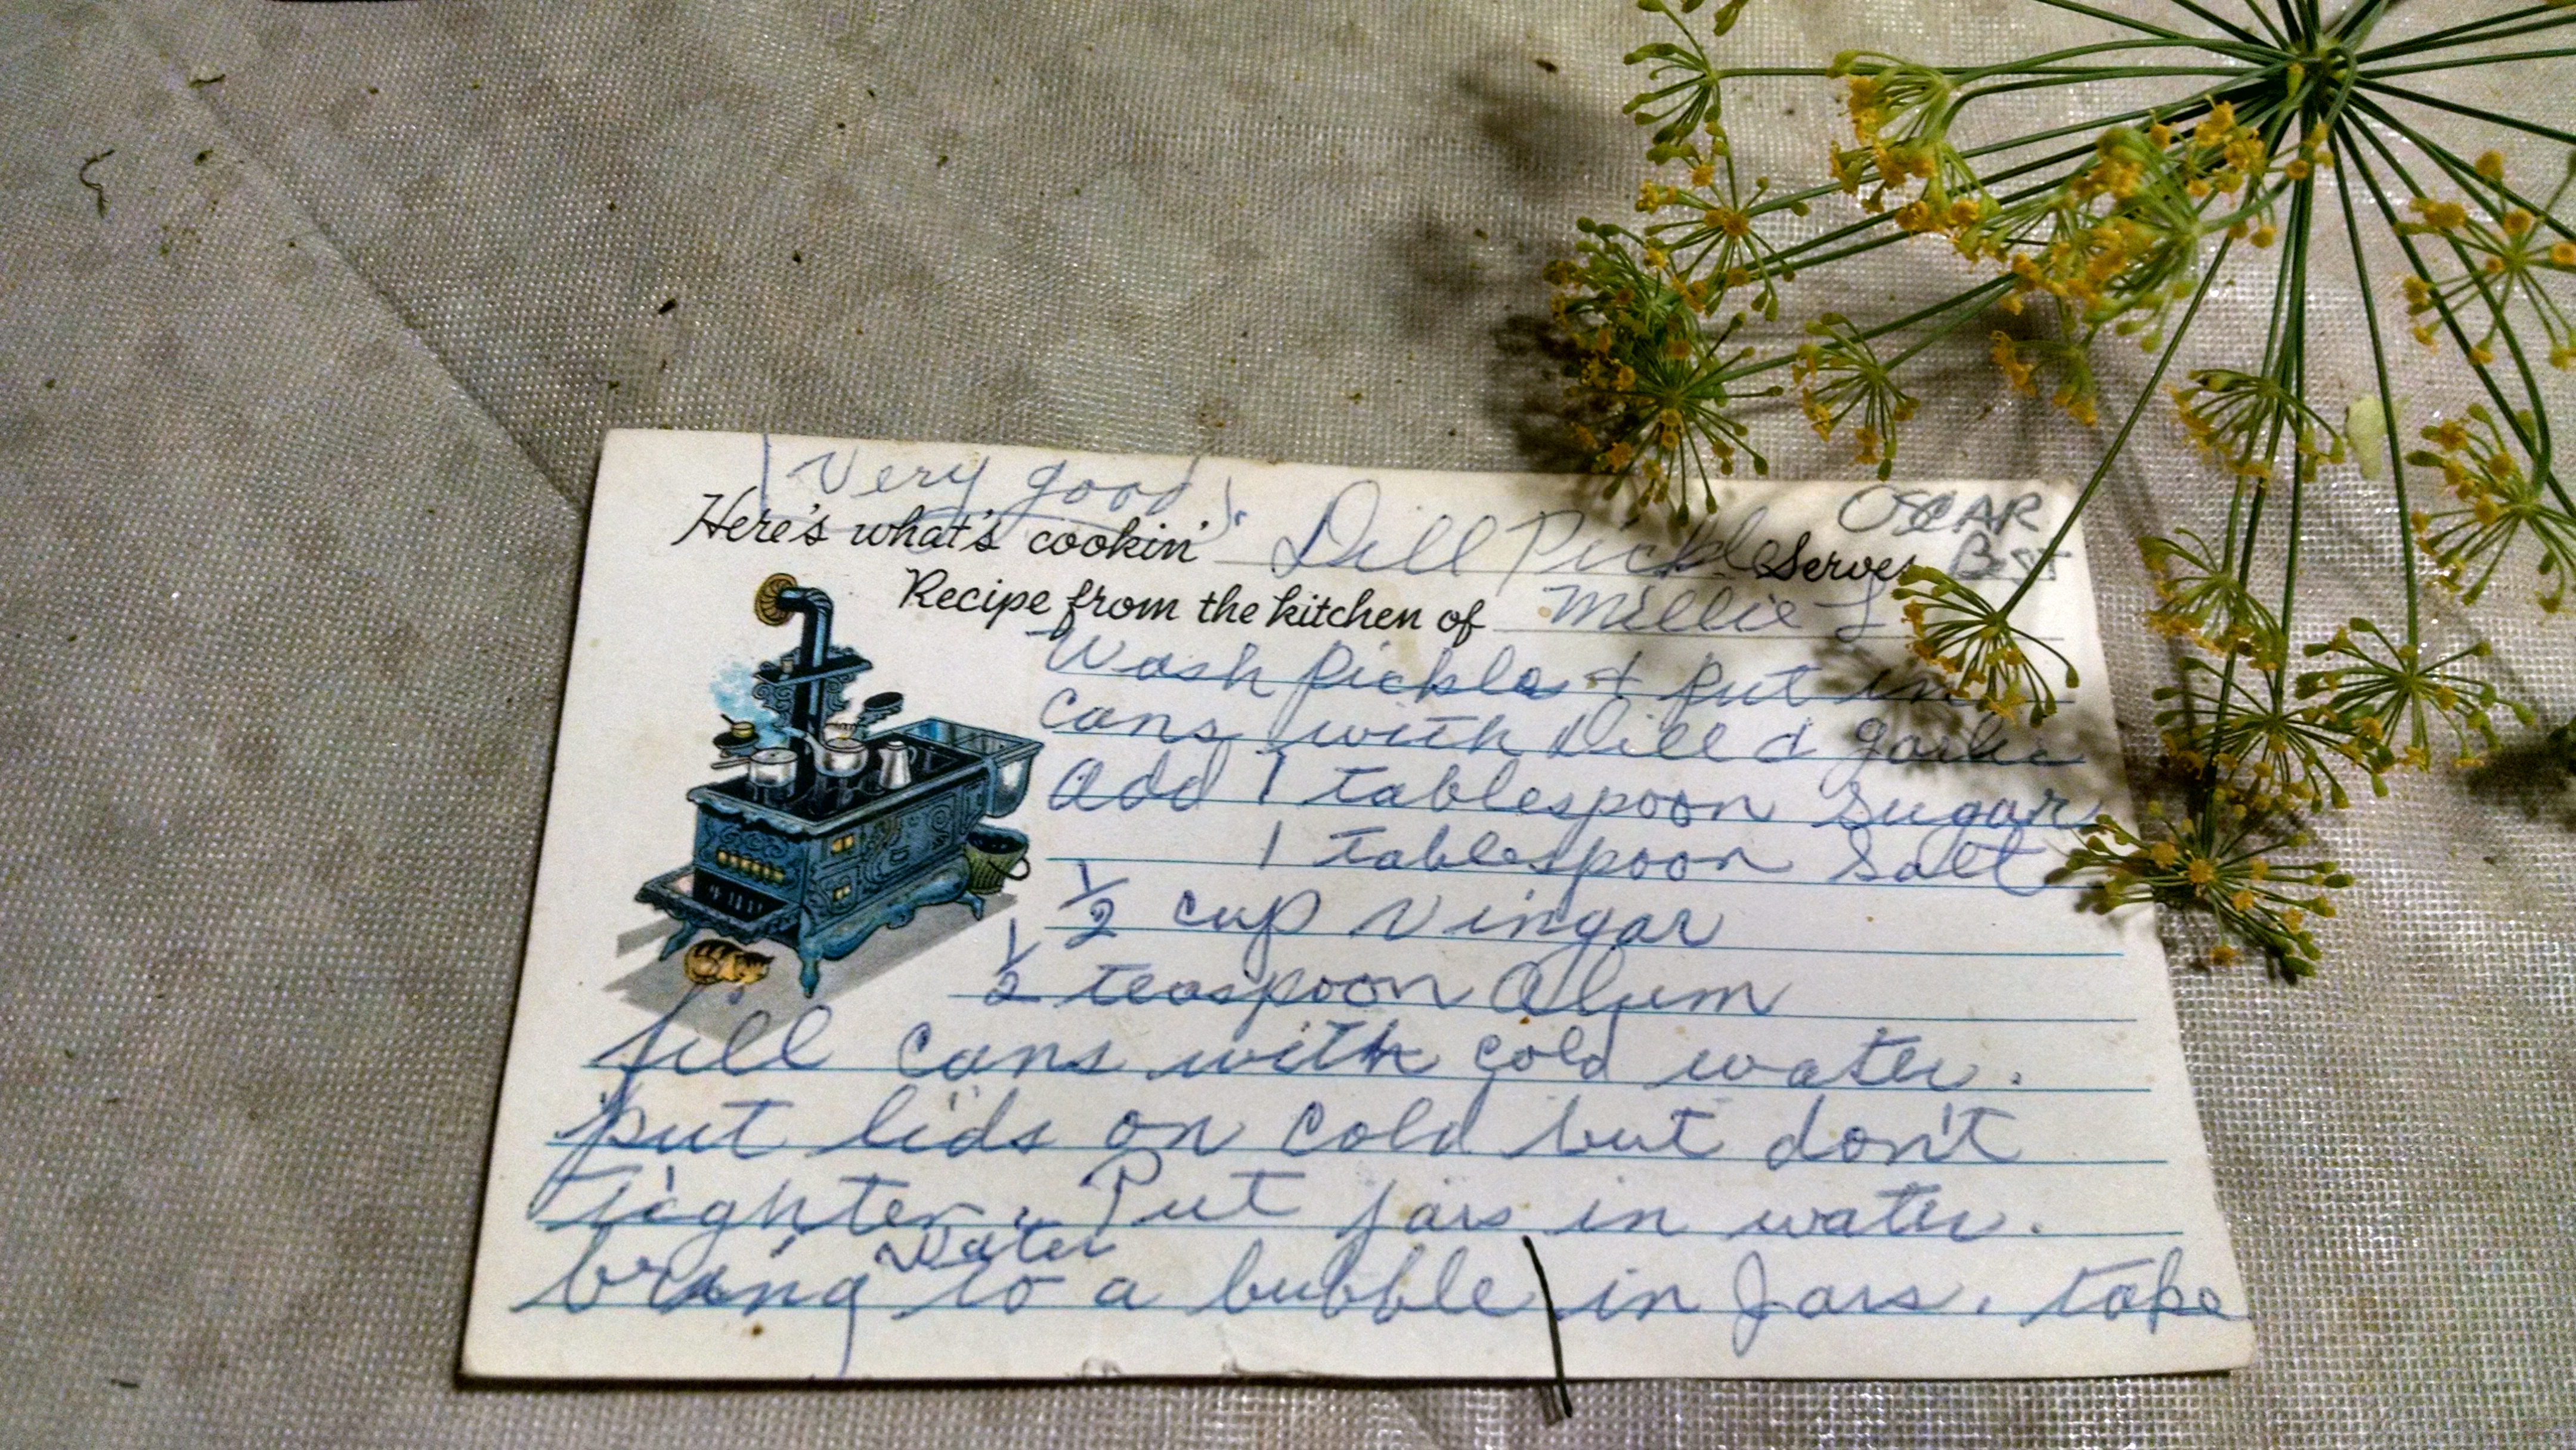
My Grandpa “Doc” (blissfully married to his grade school sweetheart – my Grandma Barb), is credited with this family gem of a recipe.
You’ll need a plastic pail (traditionally we use an ice cream pail, but I’ve started bringing home the big plastic Folgers Coffee containers from work – couldn’t see throwing them away!). To the pail, add a few heads of Dill, 3-4 cloves of garlic, a chunk or two of an onion quartered. Then, cut several (6-8) cucumbers into spears (or “chips”…however you’d like them cut). Toss them in the bucket with the dill, garlic and onion. In a pot on the stove, bring to a boil 6 cups of water, 2 cups of white vinegar, 1/2 cup canning salt (or a little less if that seems like a lot to you), and 1-2T pickling spices (I love the Watkins brand for pickling spices). Once the pot comes to a full rolling boil, pour it into the bucket of cucumbers. Put the lid on and put them in the refrigerator for a day or two before eating. They keep very well for a long time in the bucket, in the refrigerator.
You can tell the recipe is not an exact science. No two buckets turn out tasting the same. Some batches are too salty, some are a little bland, but…when you get the perfect batch – stand back!
So, you still have cucumbers left? No worries.
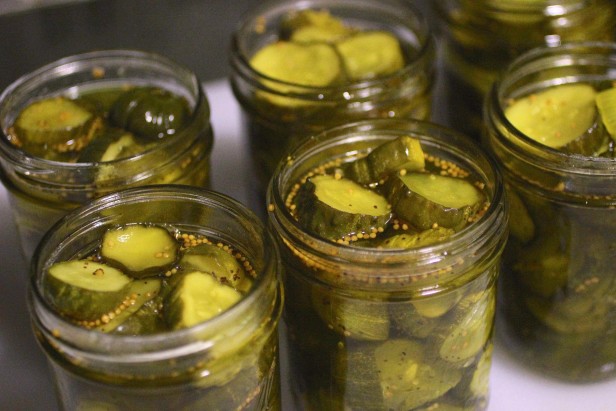
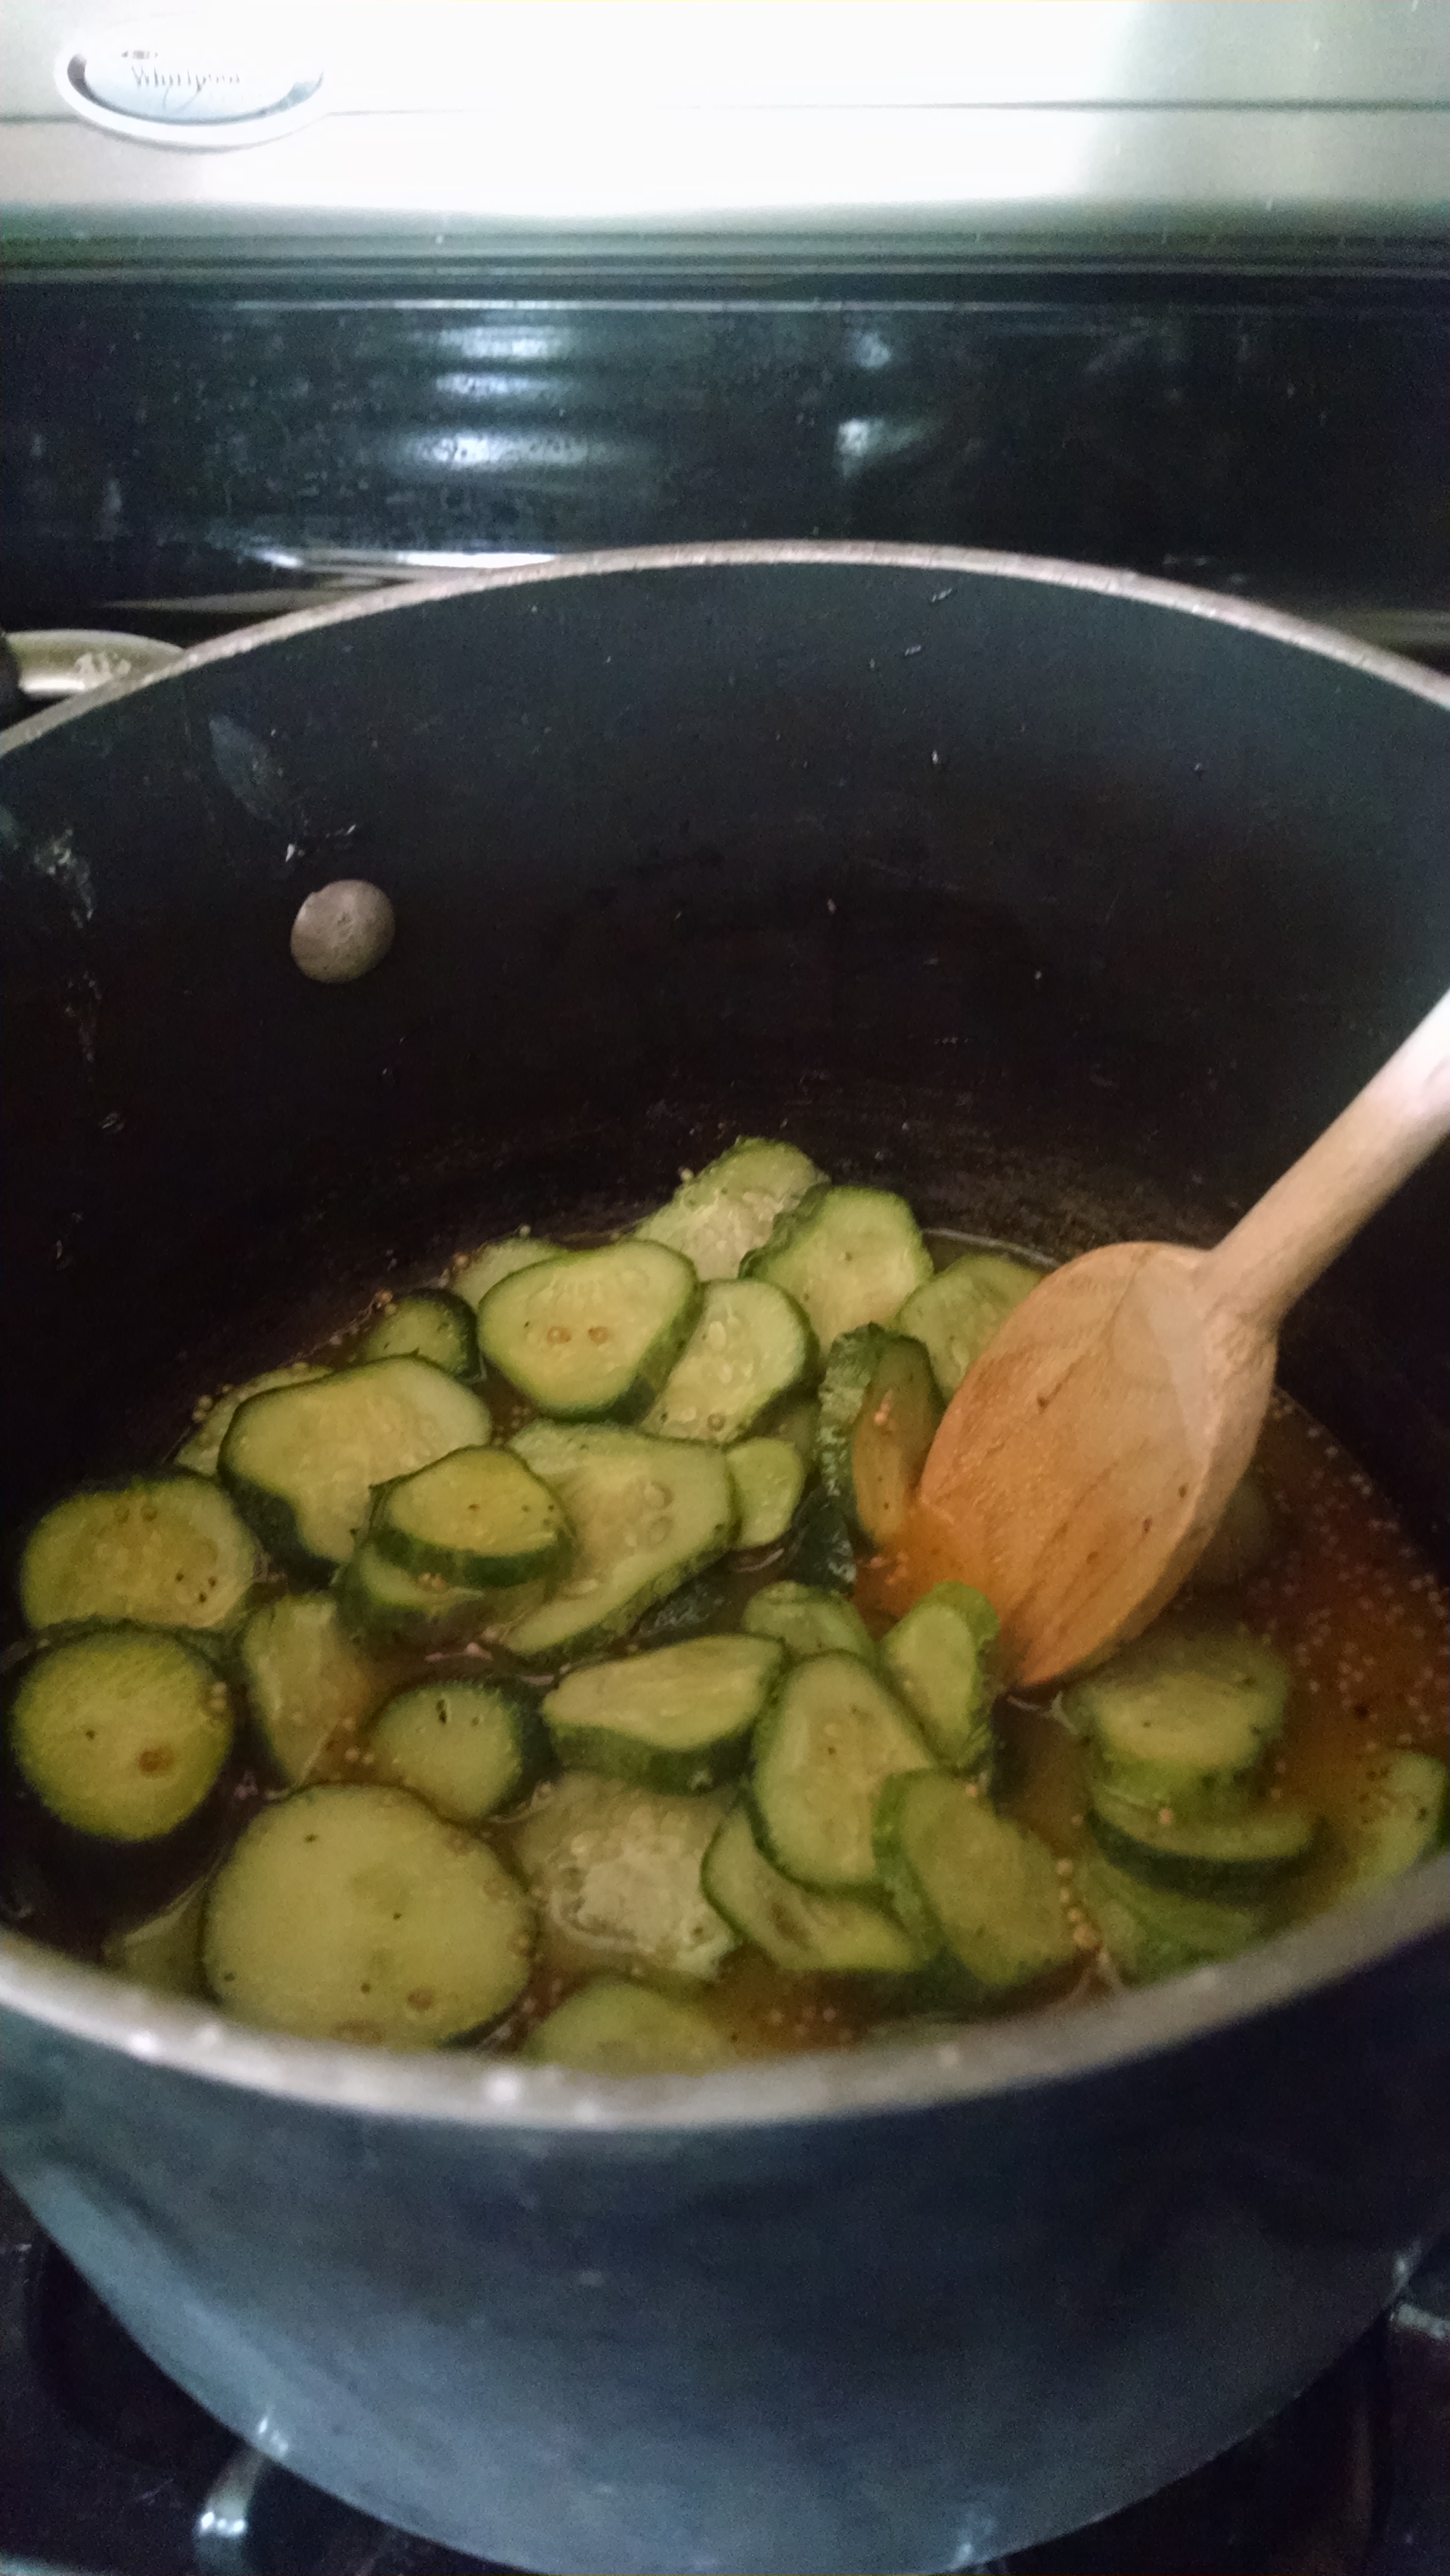
Bread and Butter Pickles
Cut up several cucumbers into thin slices. Place them in a stove top pan along with 1 tsp. salt, 1 thinly sliced onion, ½ tsp. mustard seeds, 1 C white sugar, ½ C distilled white vinegar, ¼ tsp. celery seed, ¼ tsp. ground turmeric.
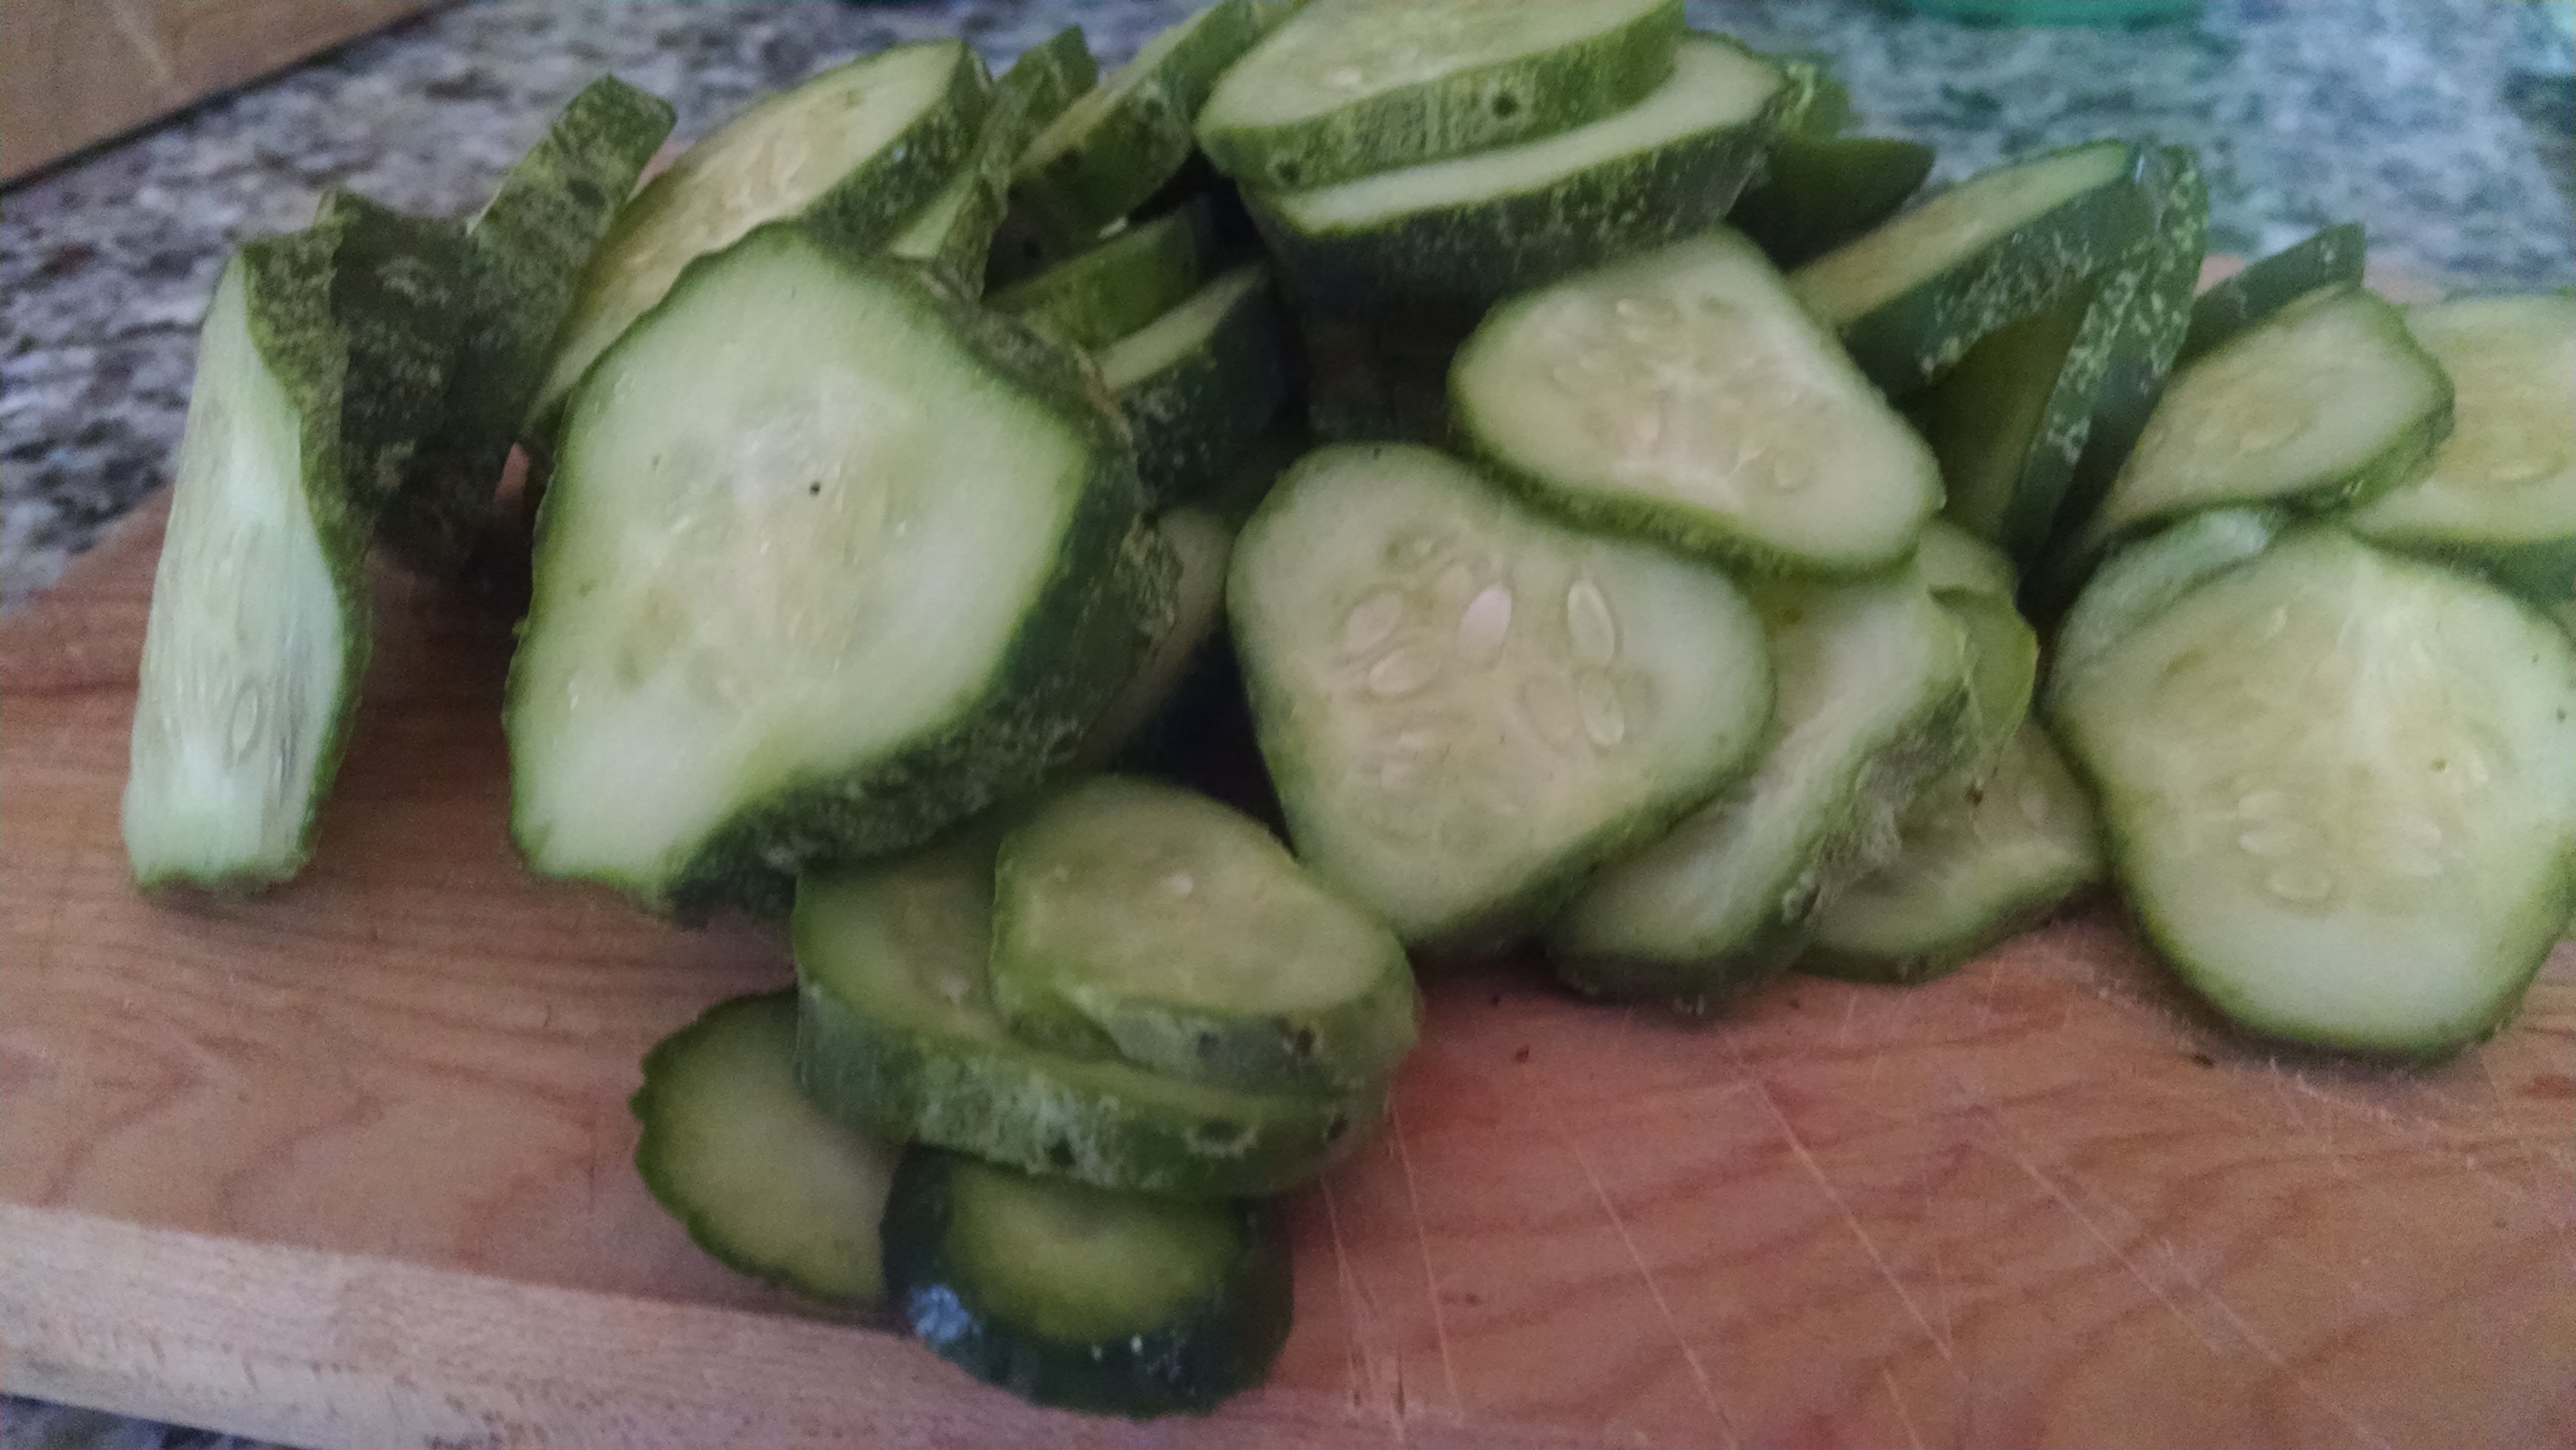
Cook all together until cucumbers are tender and the onion is translucent. Transfer to sterile containers. Seal and chill in the refrigerator until serving.
These last a very long time in the refrigerator, but you can also preserve them in a canner if preferred. I’m not sure how long a very long time is; we end up eating them up until Thanksgiving-time and then they are usually devoured completely while waiting for the turkey to cook that day.