Archive for Canning & Preserving

93 Pounds of Sugar

Twice in a year, Mrs. Ben Prochnow of Markesan, Wisconsin was allowed two large quantity ration certificates for sugar for canning purposes.  On June 13, 1942 Mrs. Prochnow received 39 pounds of sugar and on August 14, 1942 Mrs. Prochnow received 54 pounds of sugar.

Mrs Ben Prochnow

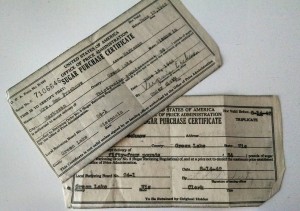
As the policy went, the summer ration was set to each person being allotted one pound of sugar per 4 ½ quarts of fruit, plus an additional one pound for canning of preserves. The fall ration however, mention anxiety on the part of the government (OPA office) that “government is as anxious to have all available fruit canned as it is to conserve sugar. For that reason local boards have been instructed to issue sugar purchase certificates at the second canning sugar registration based entirely upon legitimate requirements of sugar.”  The base calculation would still be one pound of sugar for four quarts of canned fruit. Housewives — in this case, Farmwife, would need to come to the registration point with a worksheet in hand showing her calculations to receive her fair share.


On the honor system, women calculated their kitchen work and even though there seemed to be rule of plenty, they still took to other suggestions of stretching canning and preserving rations.


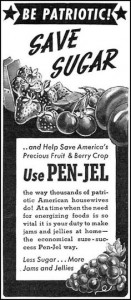
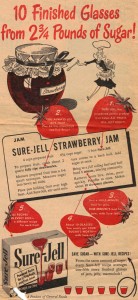
Sure-Jell advertised more than twice as many glasses of jelly, jam or marmalade with their product. Touted as “Sensible” and “Patriotic”, who wouldn’t be caught not using it?

Be Patriotic

According to the 1943 Canning for Victory pamphlet, compiled by the Rector’s Guild of the Grace Episcopal Church in Madison Wisconsin, canning seasons in North Central States looked something like this:


June: Pineapple, Rhubarb, Strawberries

July: Cherries, Currants, Gooseberries, Huckleberries, Raspberries

August: Blackberries, Peaches, Plums

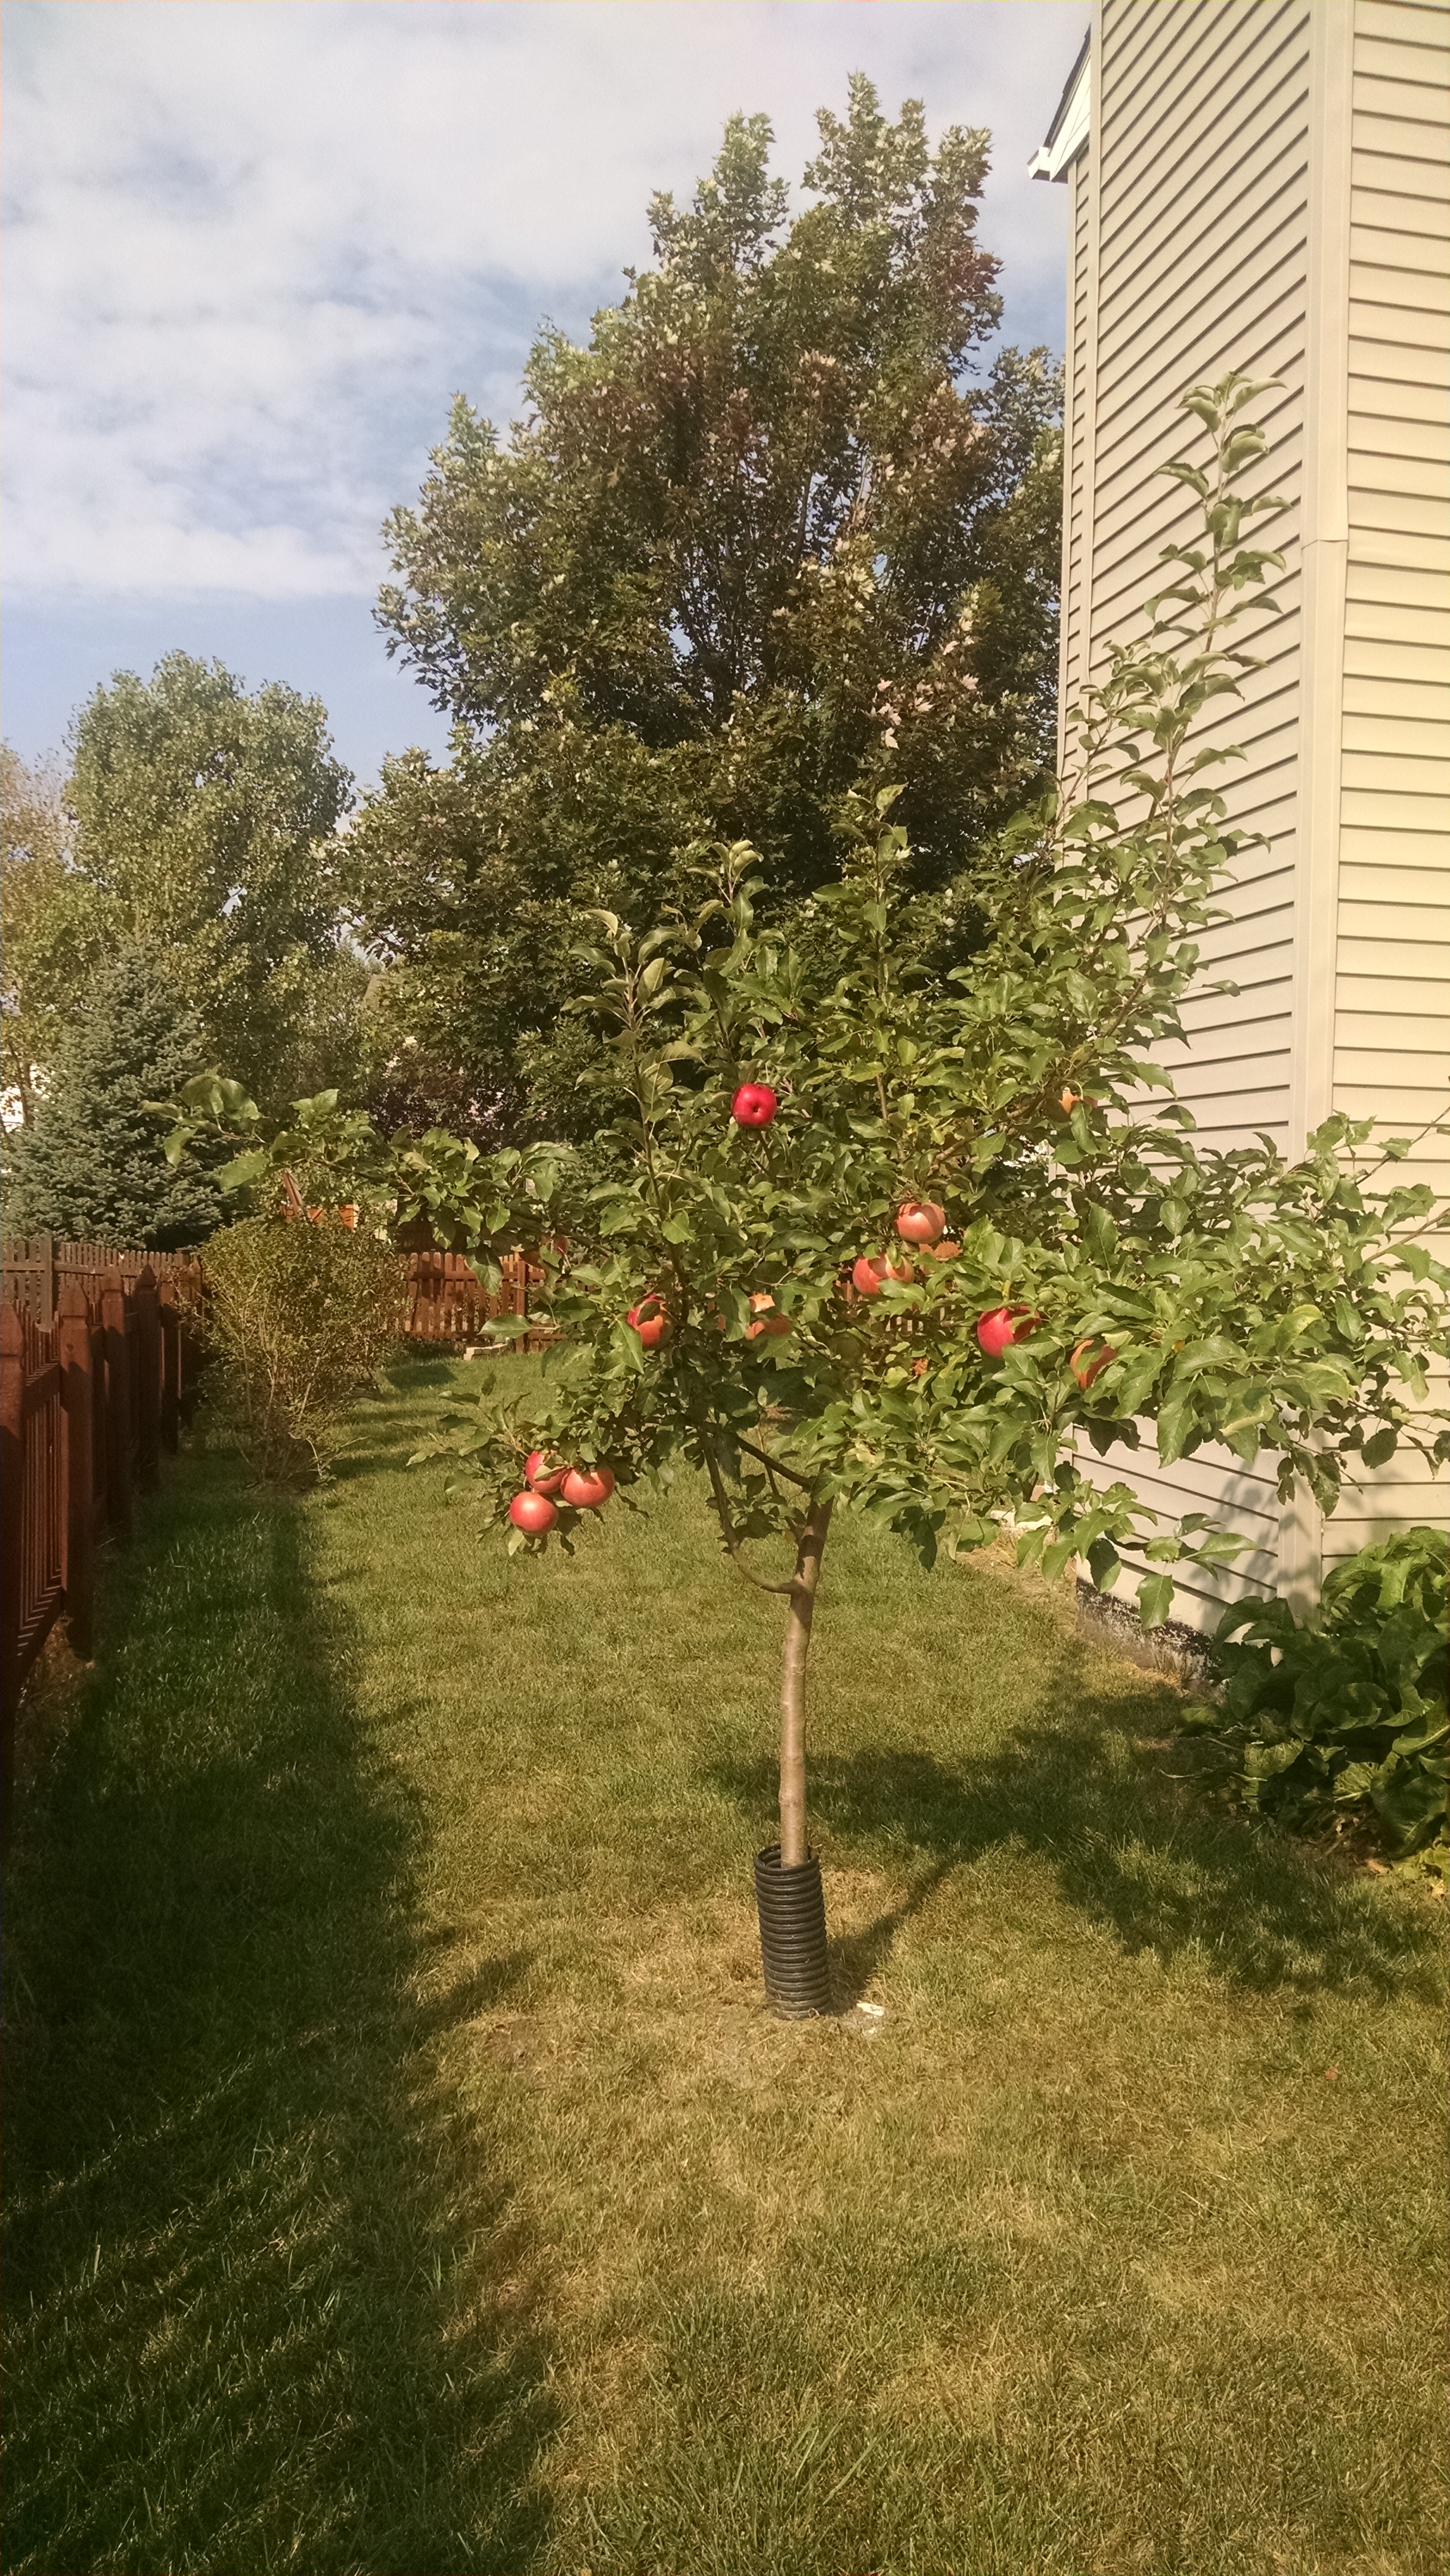
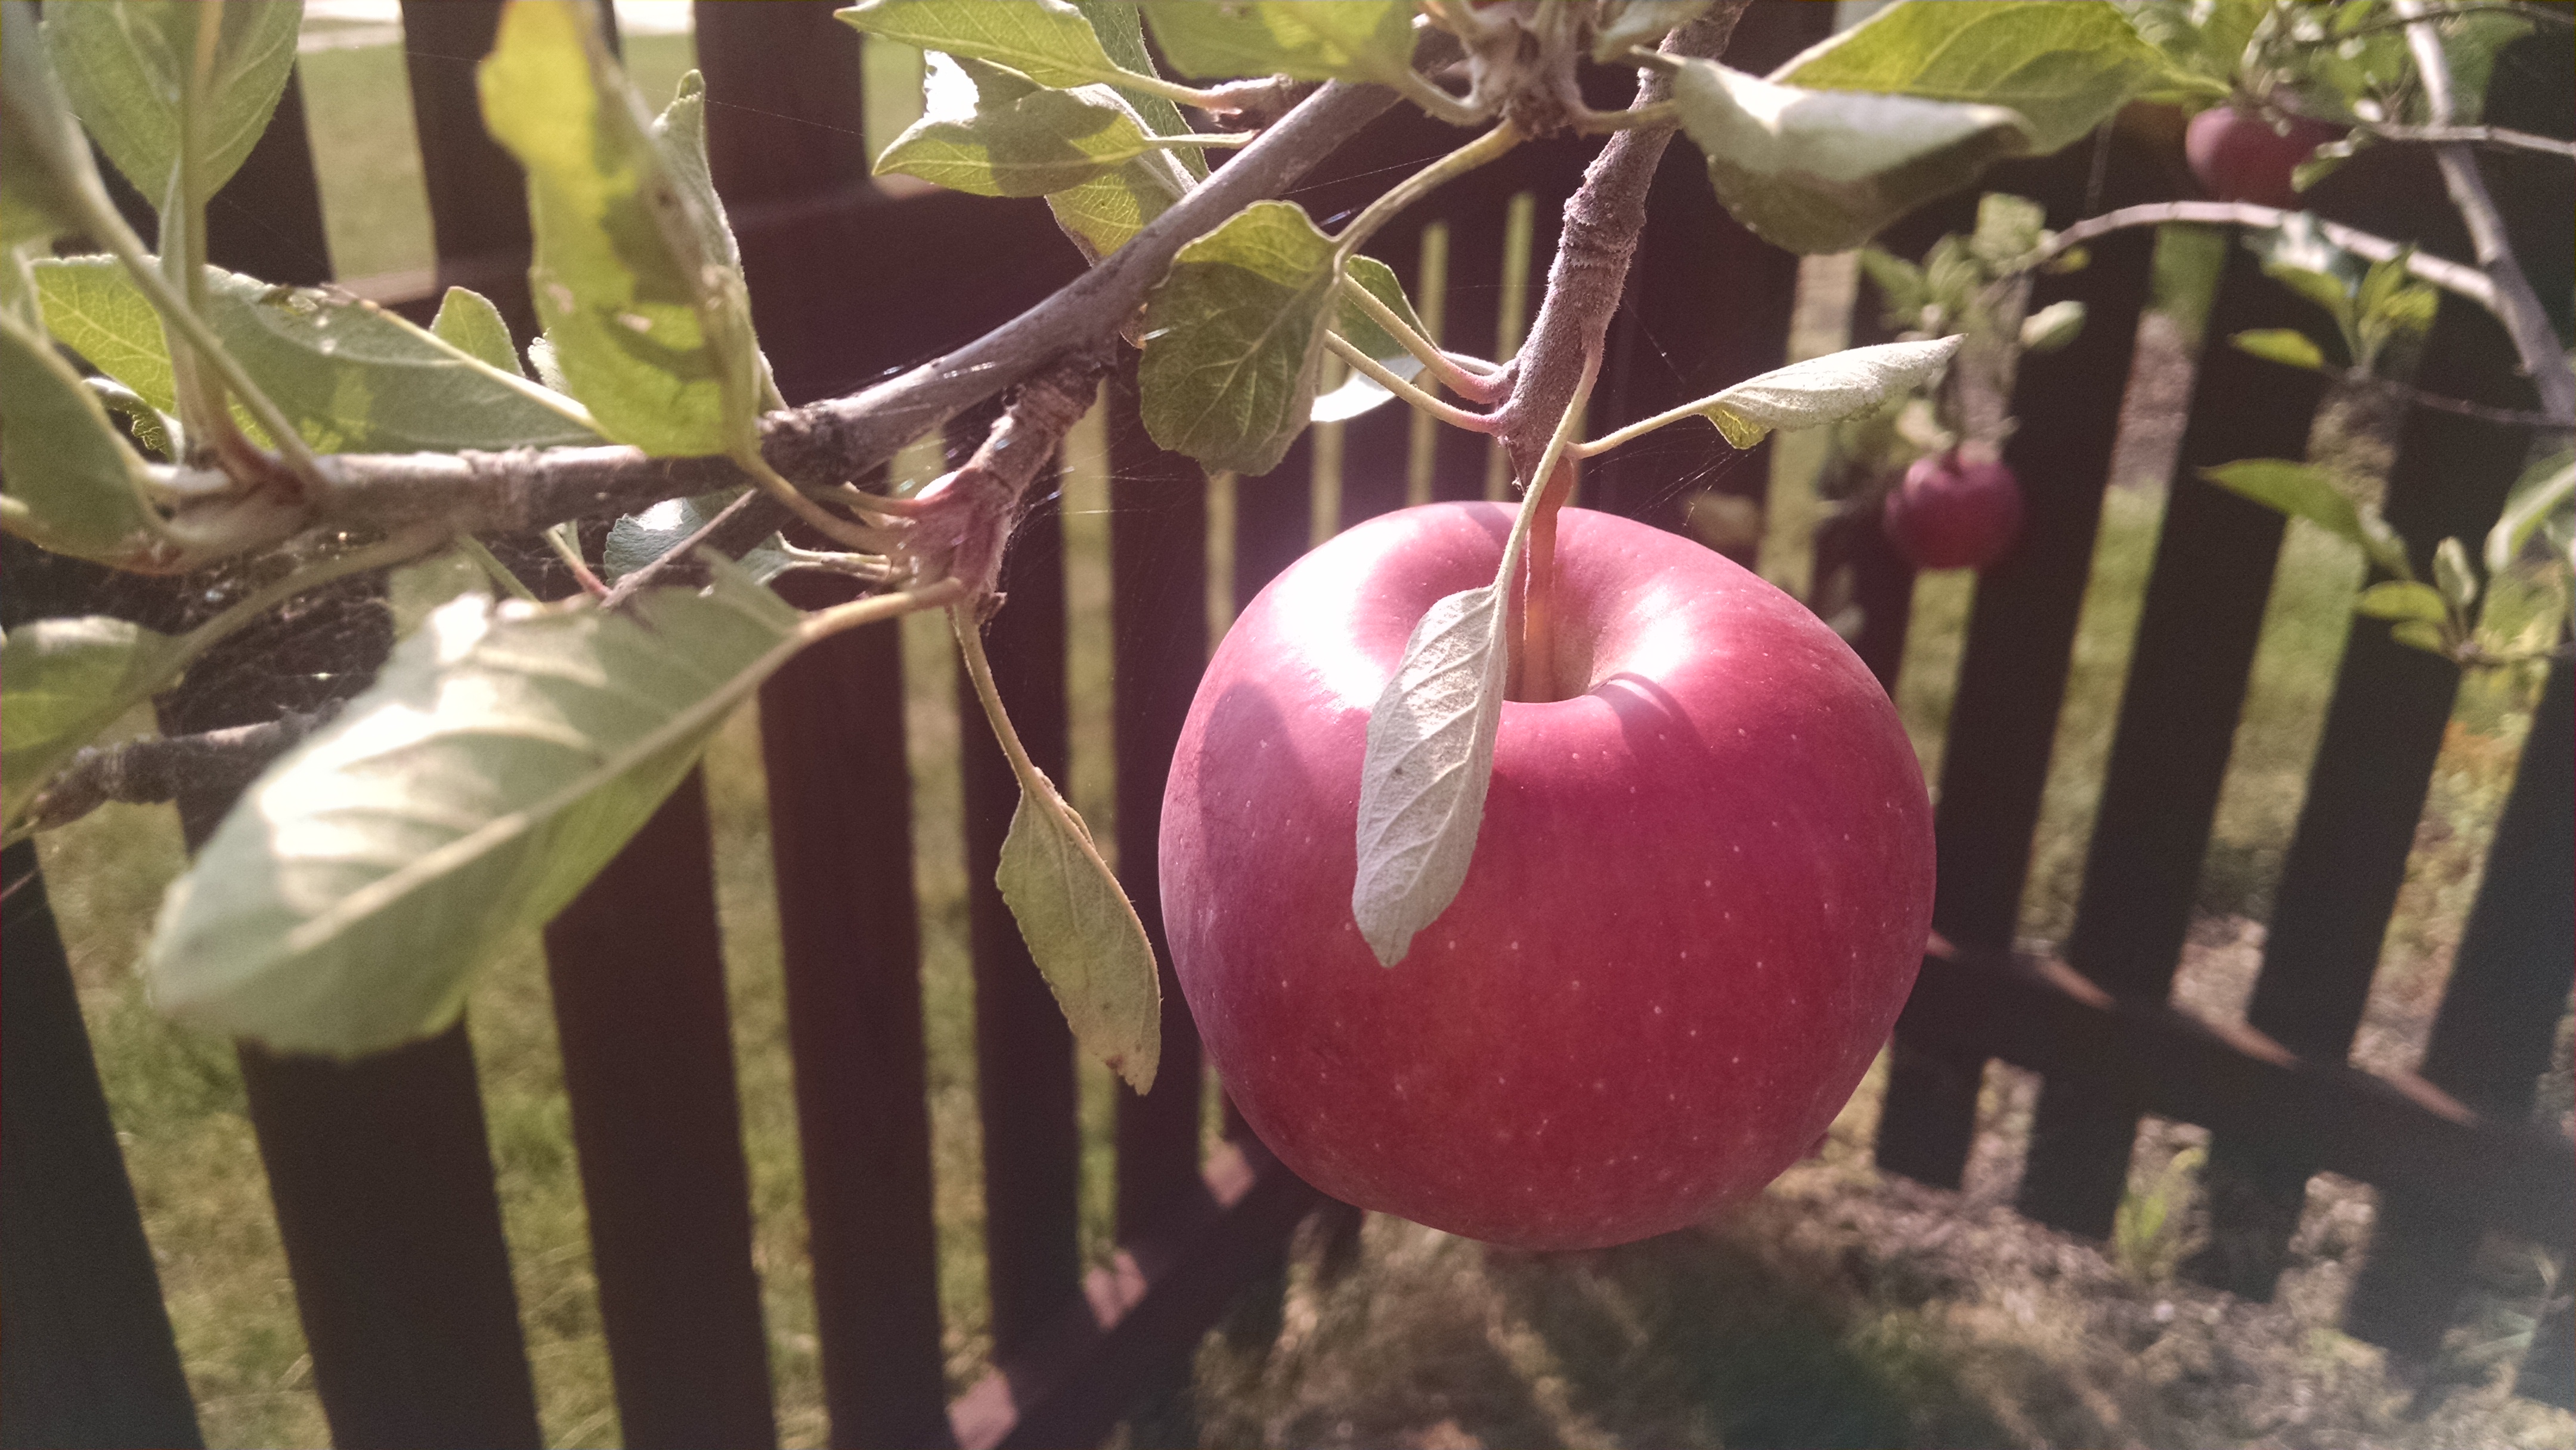
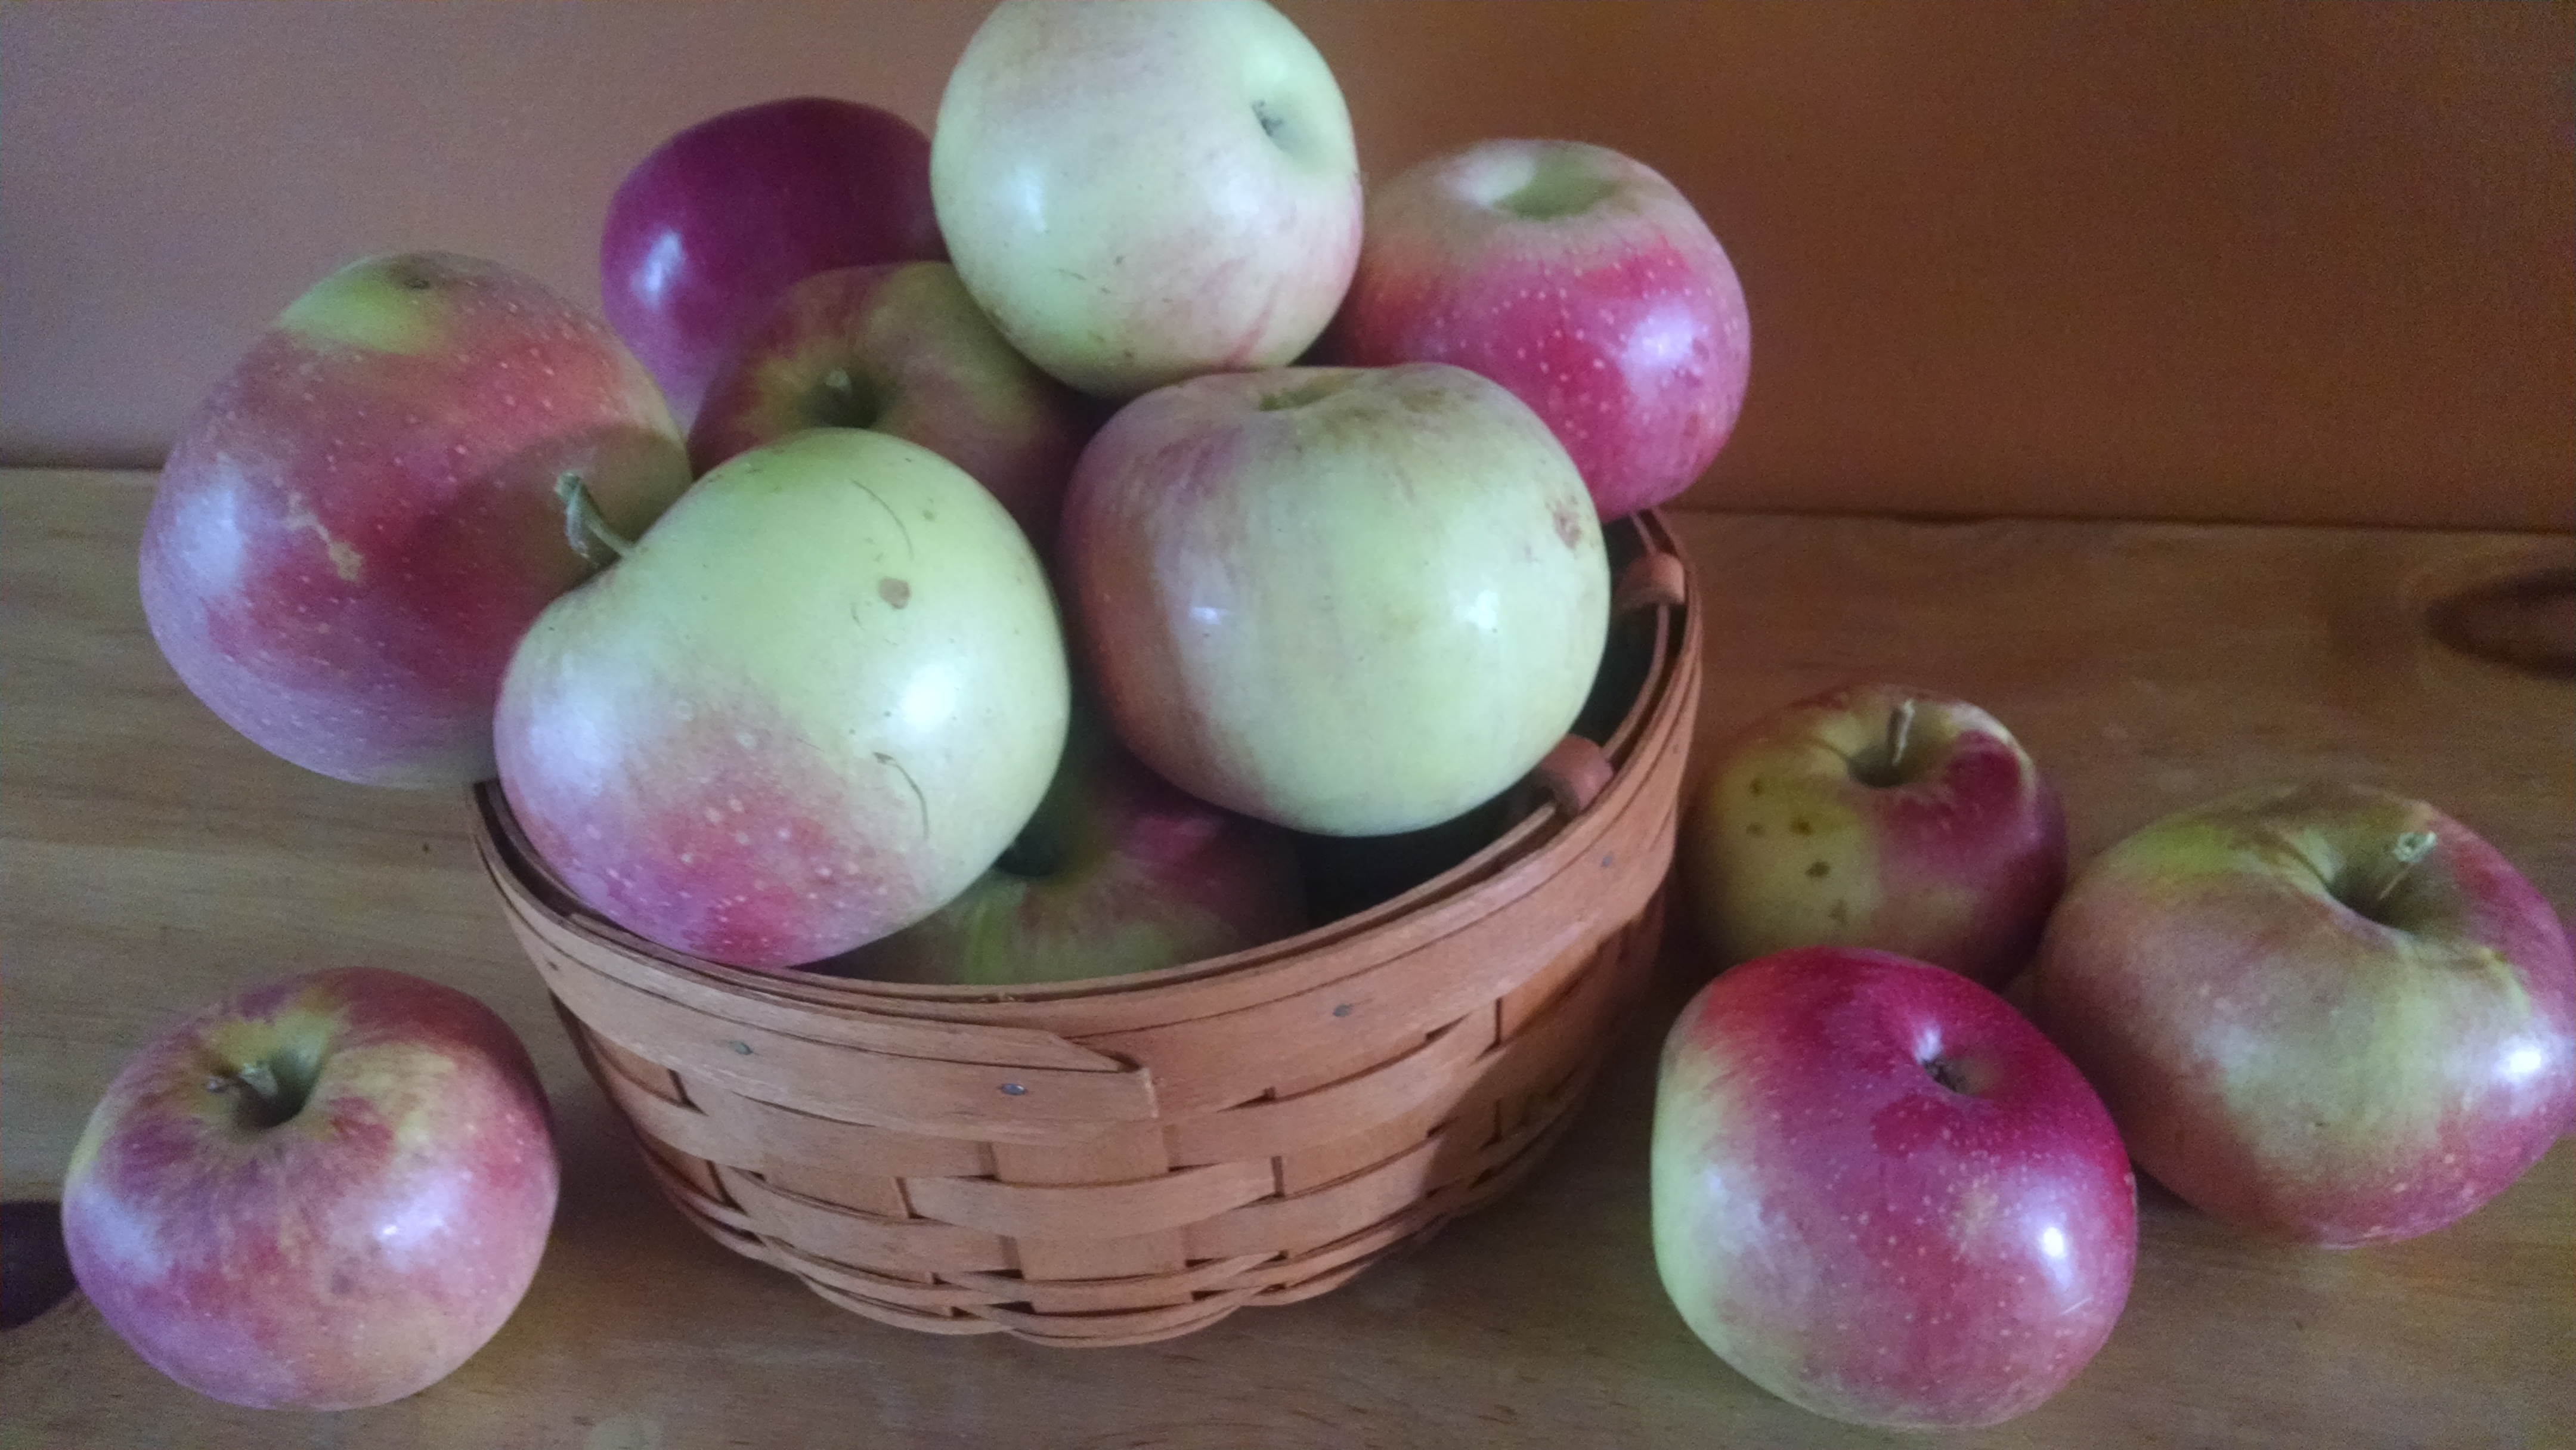
September: Apples, Crab-apples, Grapes, Peaches, Pears, Quinces


Vegetables:

June: Asparagus, Beans, Carrots, Greens, Peas

July: Beans (string), Carrots, Corn, Greens

August: Beans (string), Beans (lima), Beets, Corn, Tomatoes

September: Pumpkin, Tomatoes


Fowl:

September: Chicken, Guinea-hen

October: Duck, Grouse, Pheasant, Partridge

November: Duck, Grouse, Partridge, Rabbit, Turkey

December: Duck, Grouse, Partridge, Turkey


The pamphlet states that as little as ¼ cup sweeting to 1 ½ cups of water may be used if desired. Fruits may be canned with or without sugar, but the color, flavor and shape of the fruits are better if a little sugar is added. When canned without sugar, no water need be added to juicy fruits as berries, cherries, currants or plums.


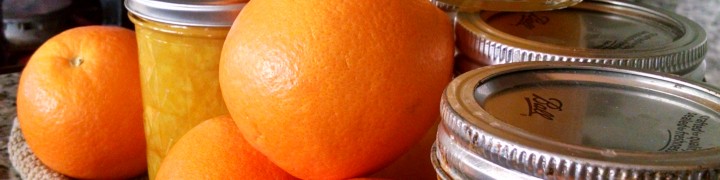
Backtracking…the difference between jelly, jam, preserves and marmalade? In a nutshell here it is:


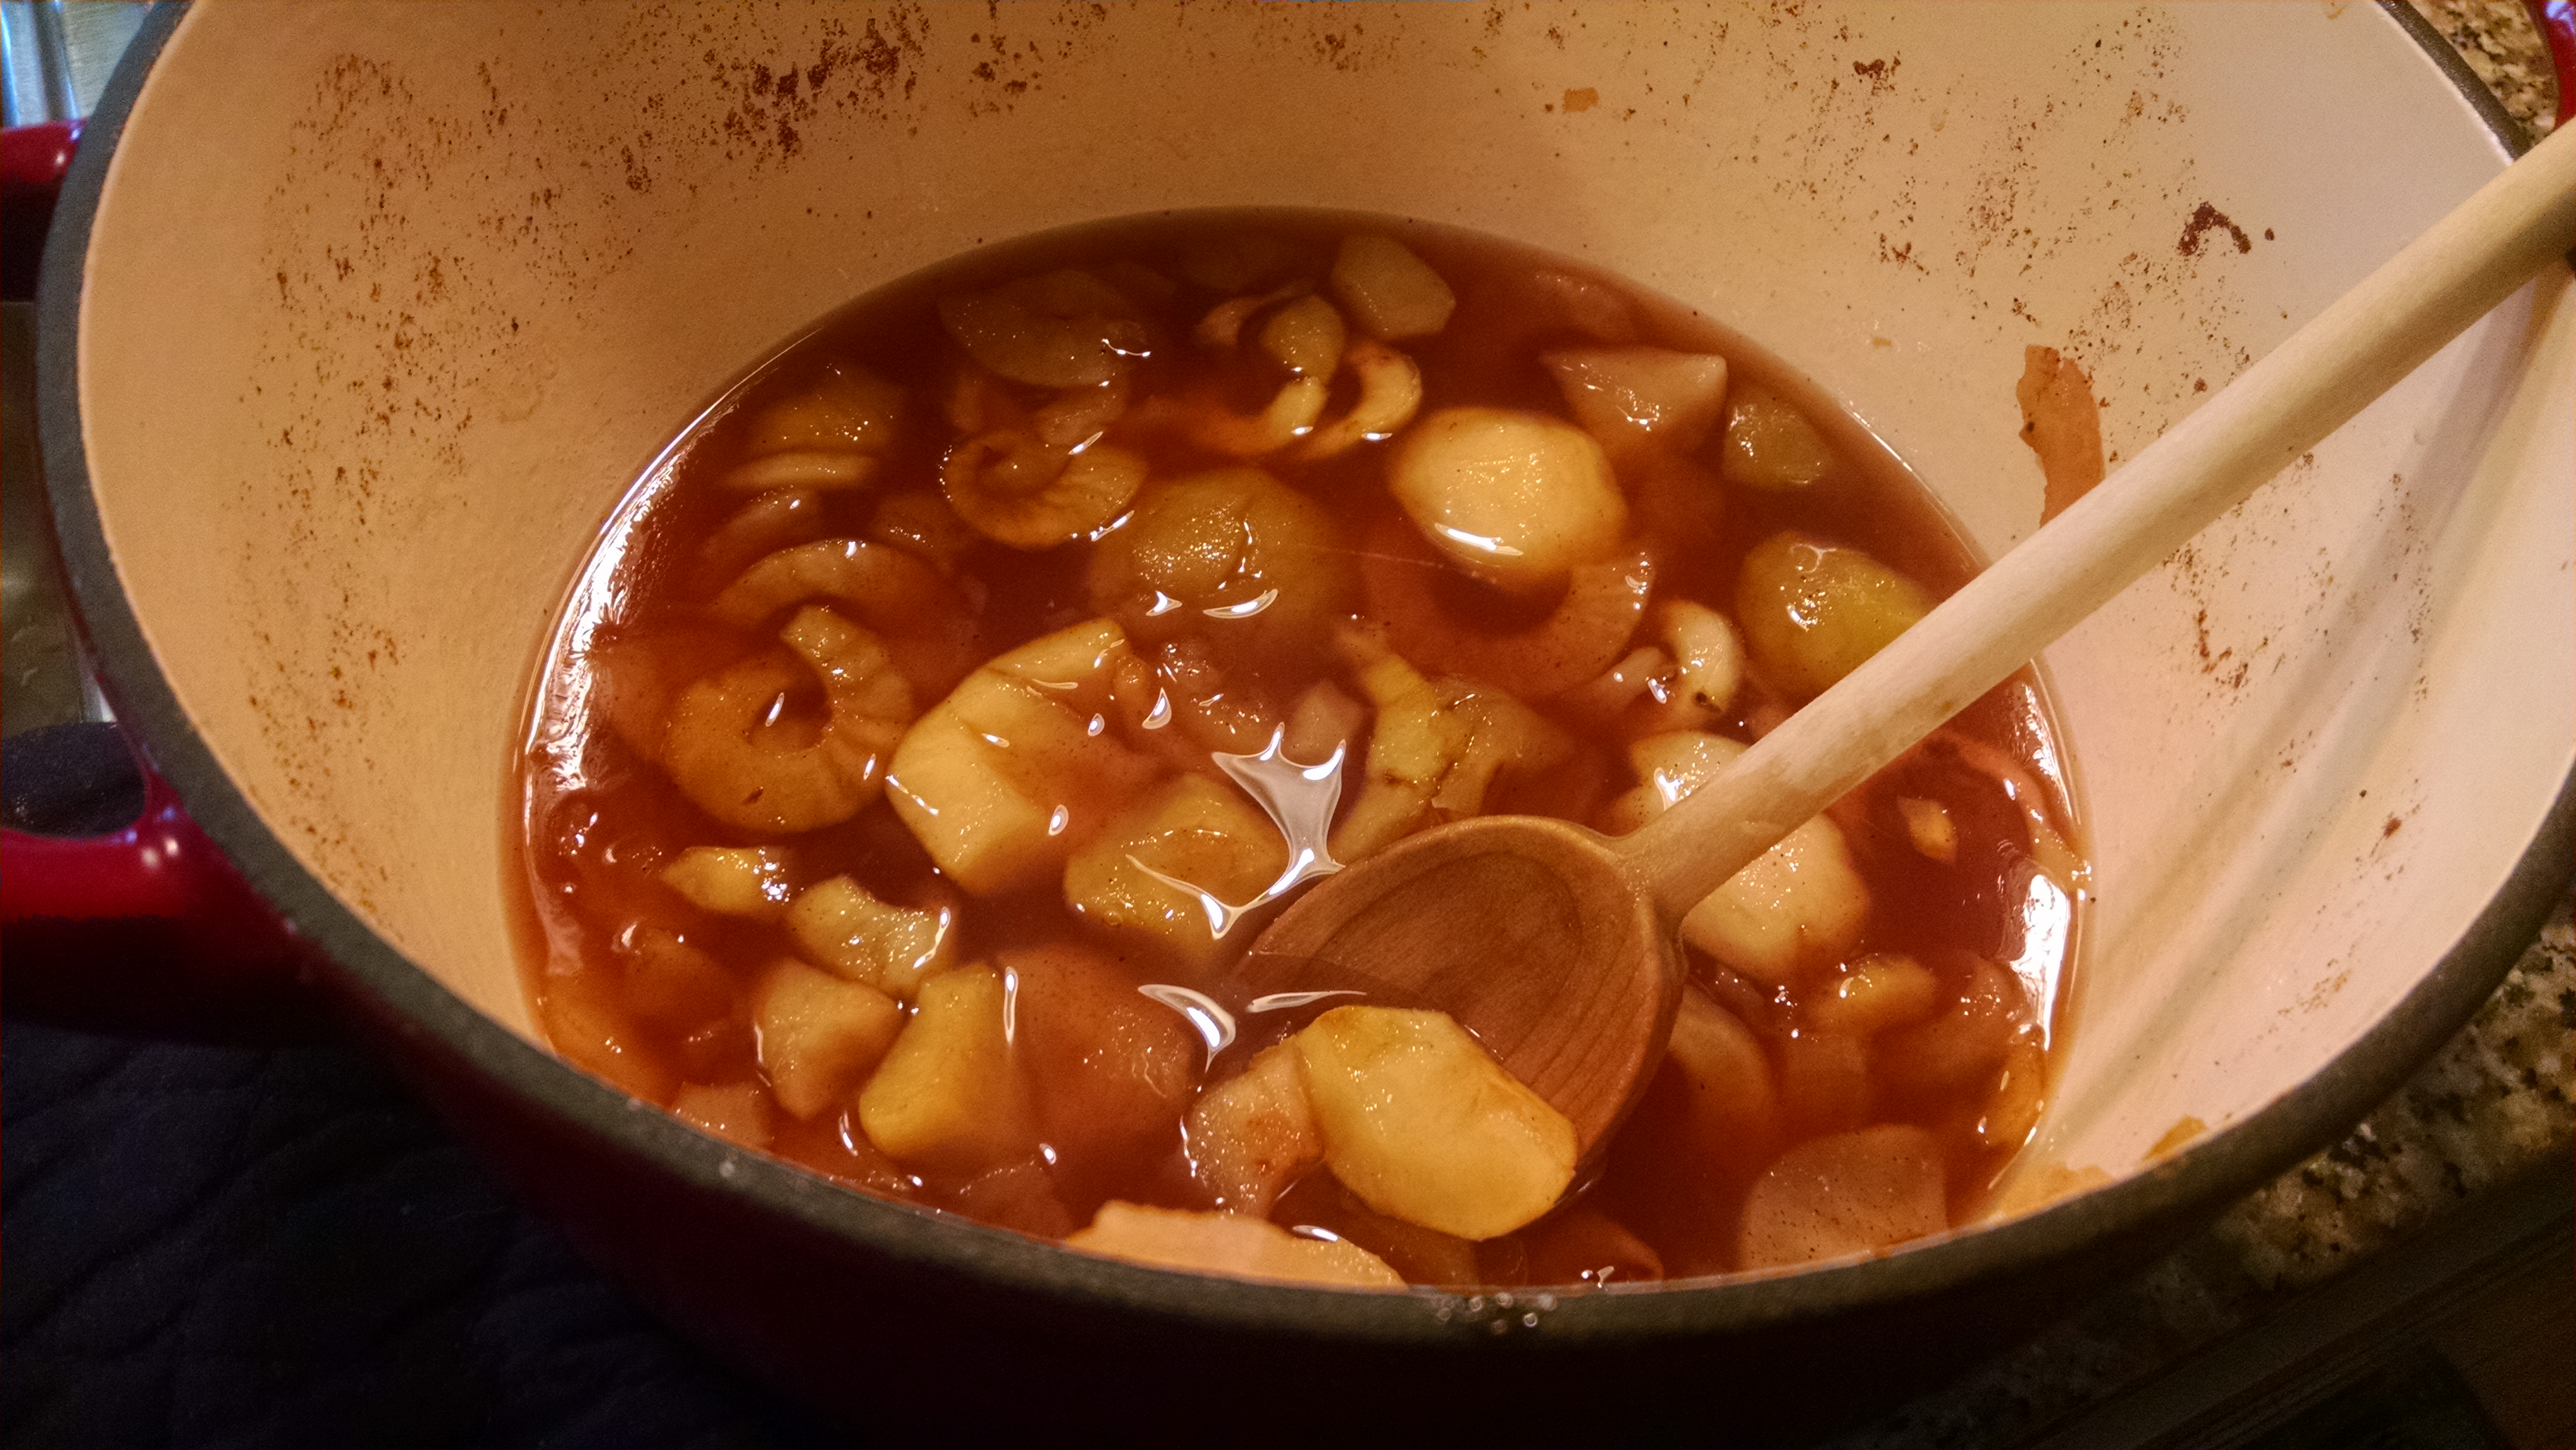
In jelly, the fruit comes in the form of fruit juice. In jam, the fruit comes in the form of fruit pulp or crushed fruit and is less stiff than jelly as a result. In preserves, the fruit comes in the form of chunks in a syrup or a jam. And finally, in marmalade a fruit preserve is made from the juice and peel of citrus fruits boiled with sugar and water.

surejellstrawberryjam

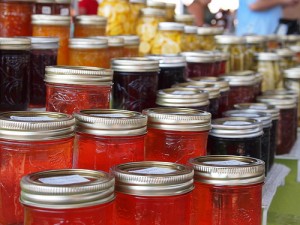
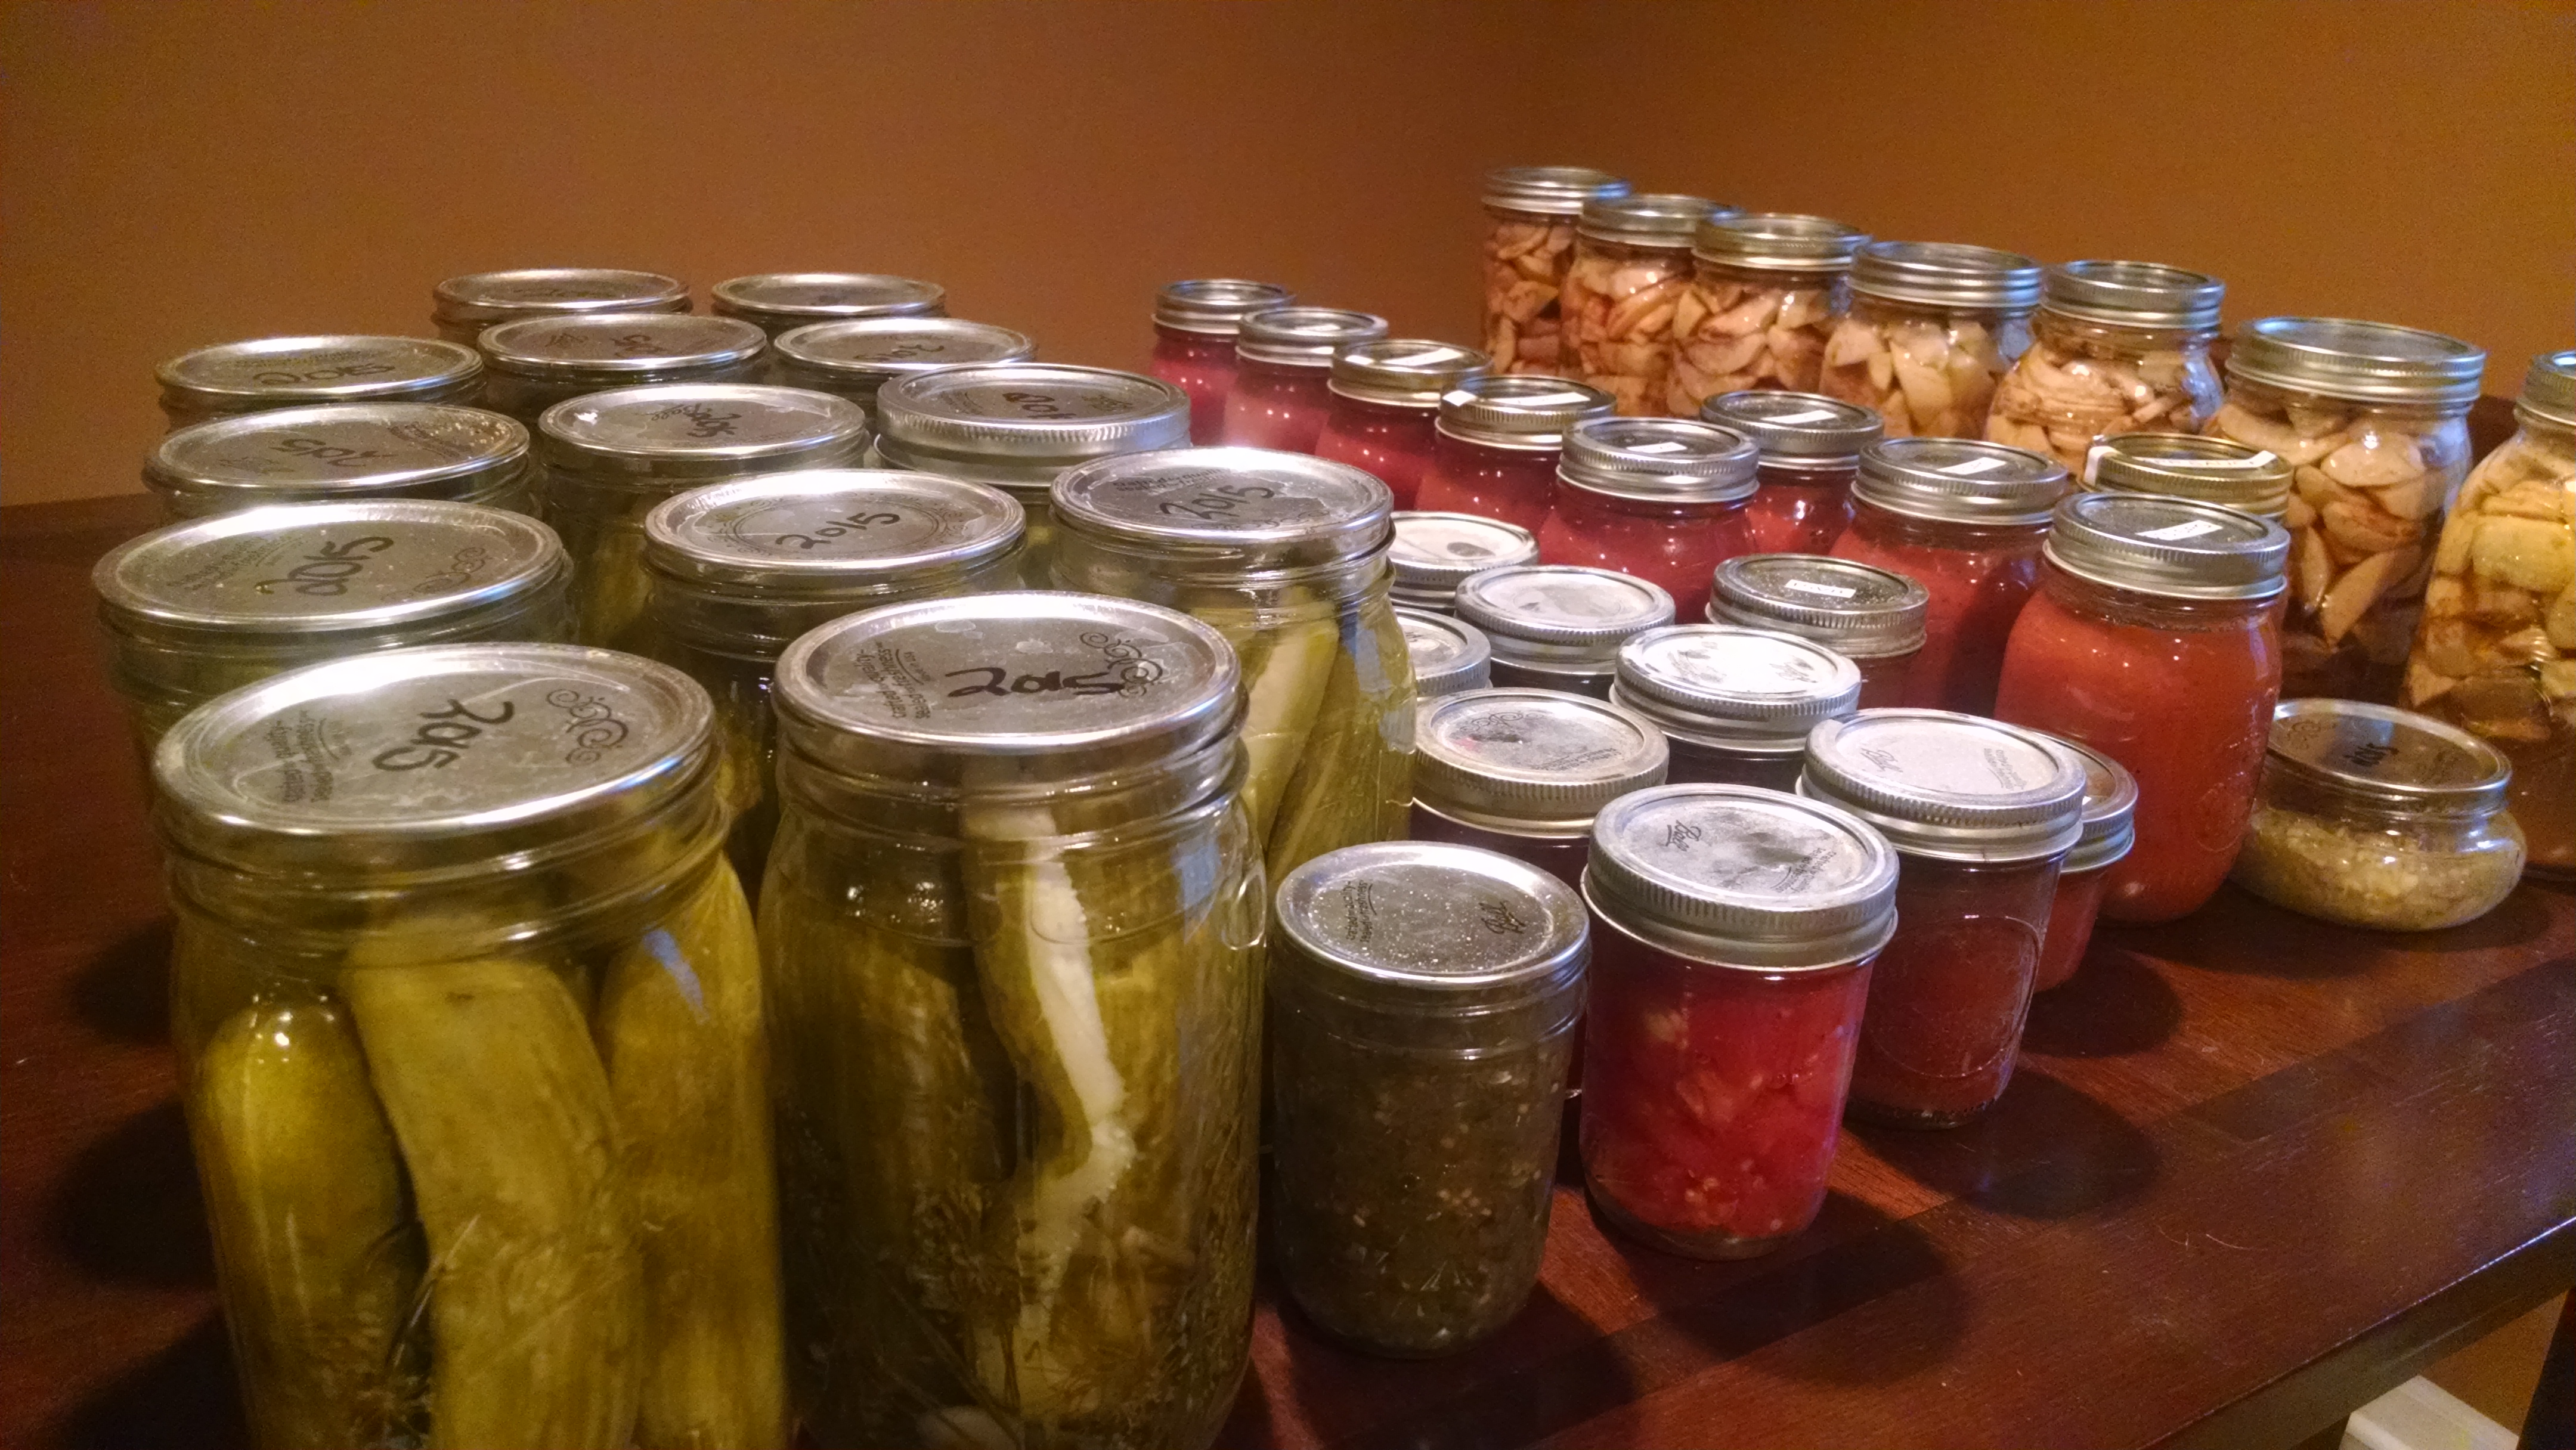
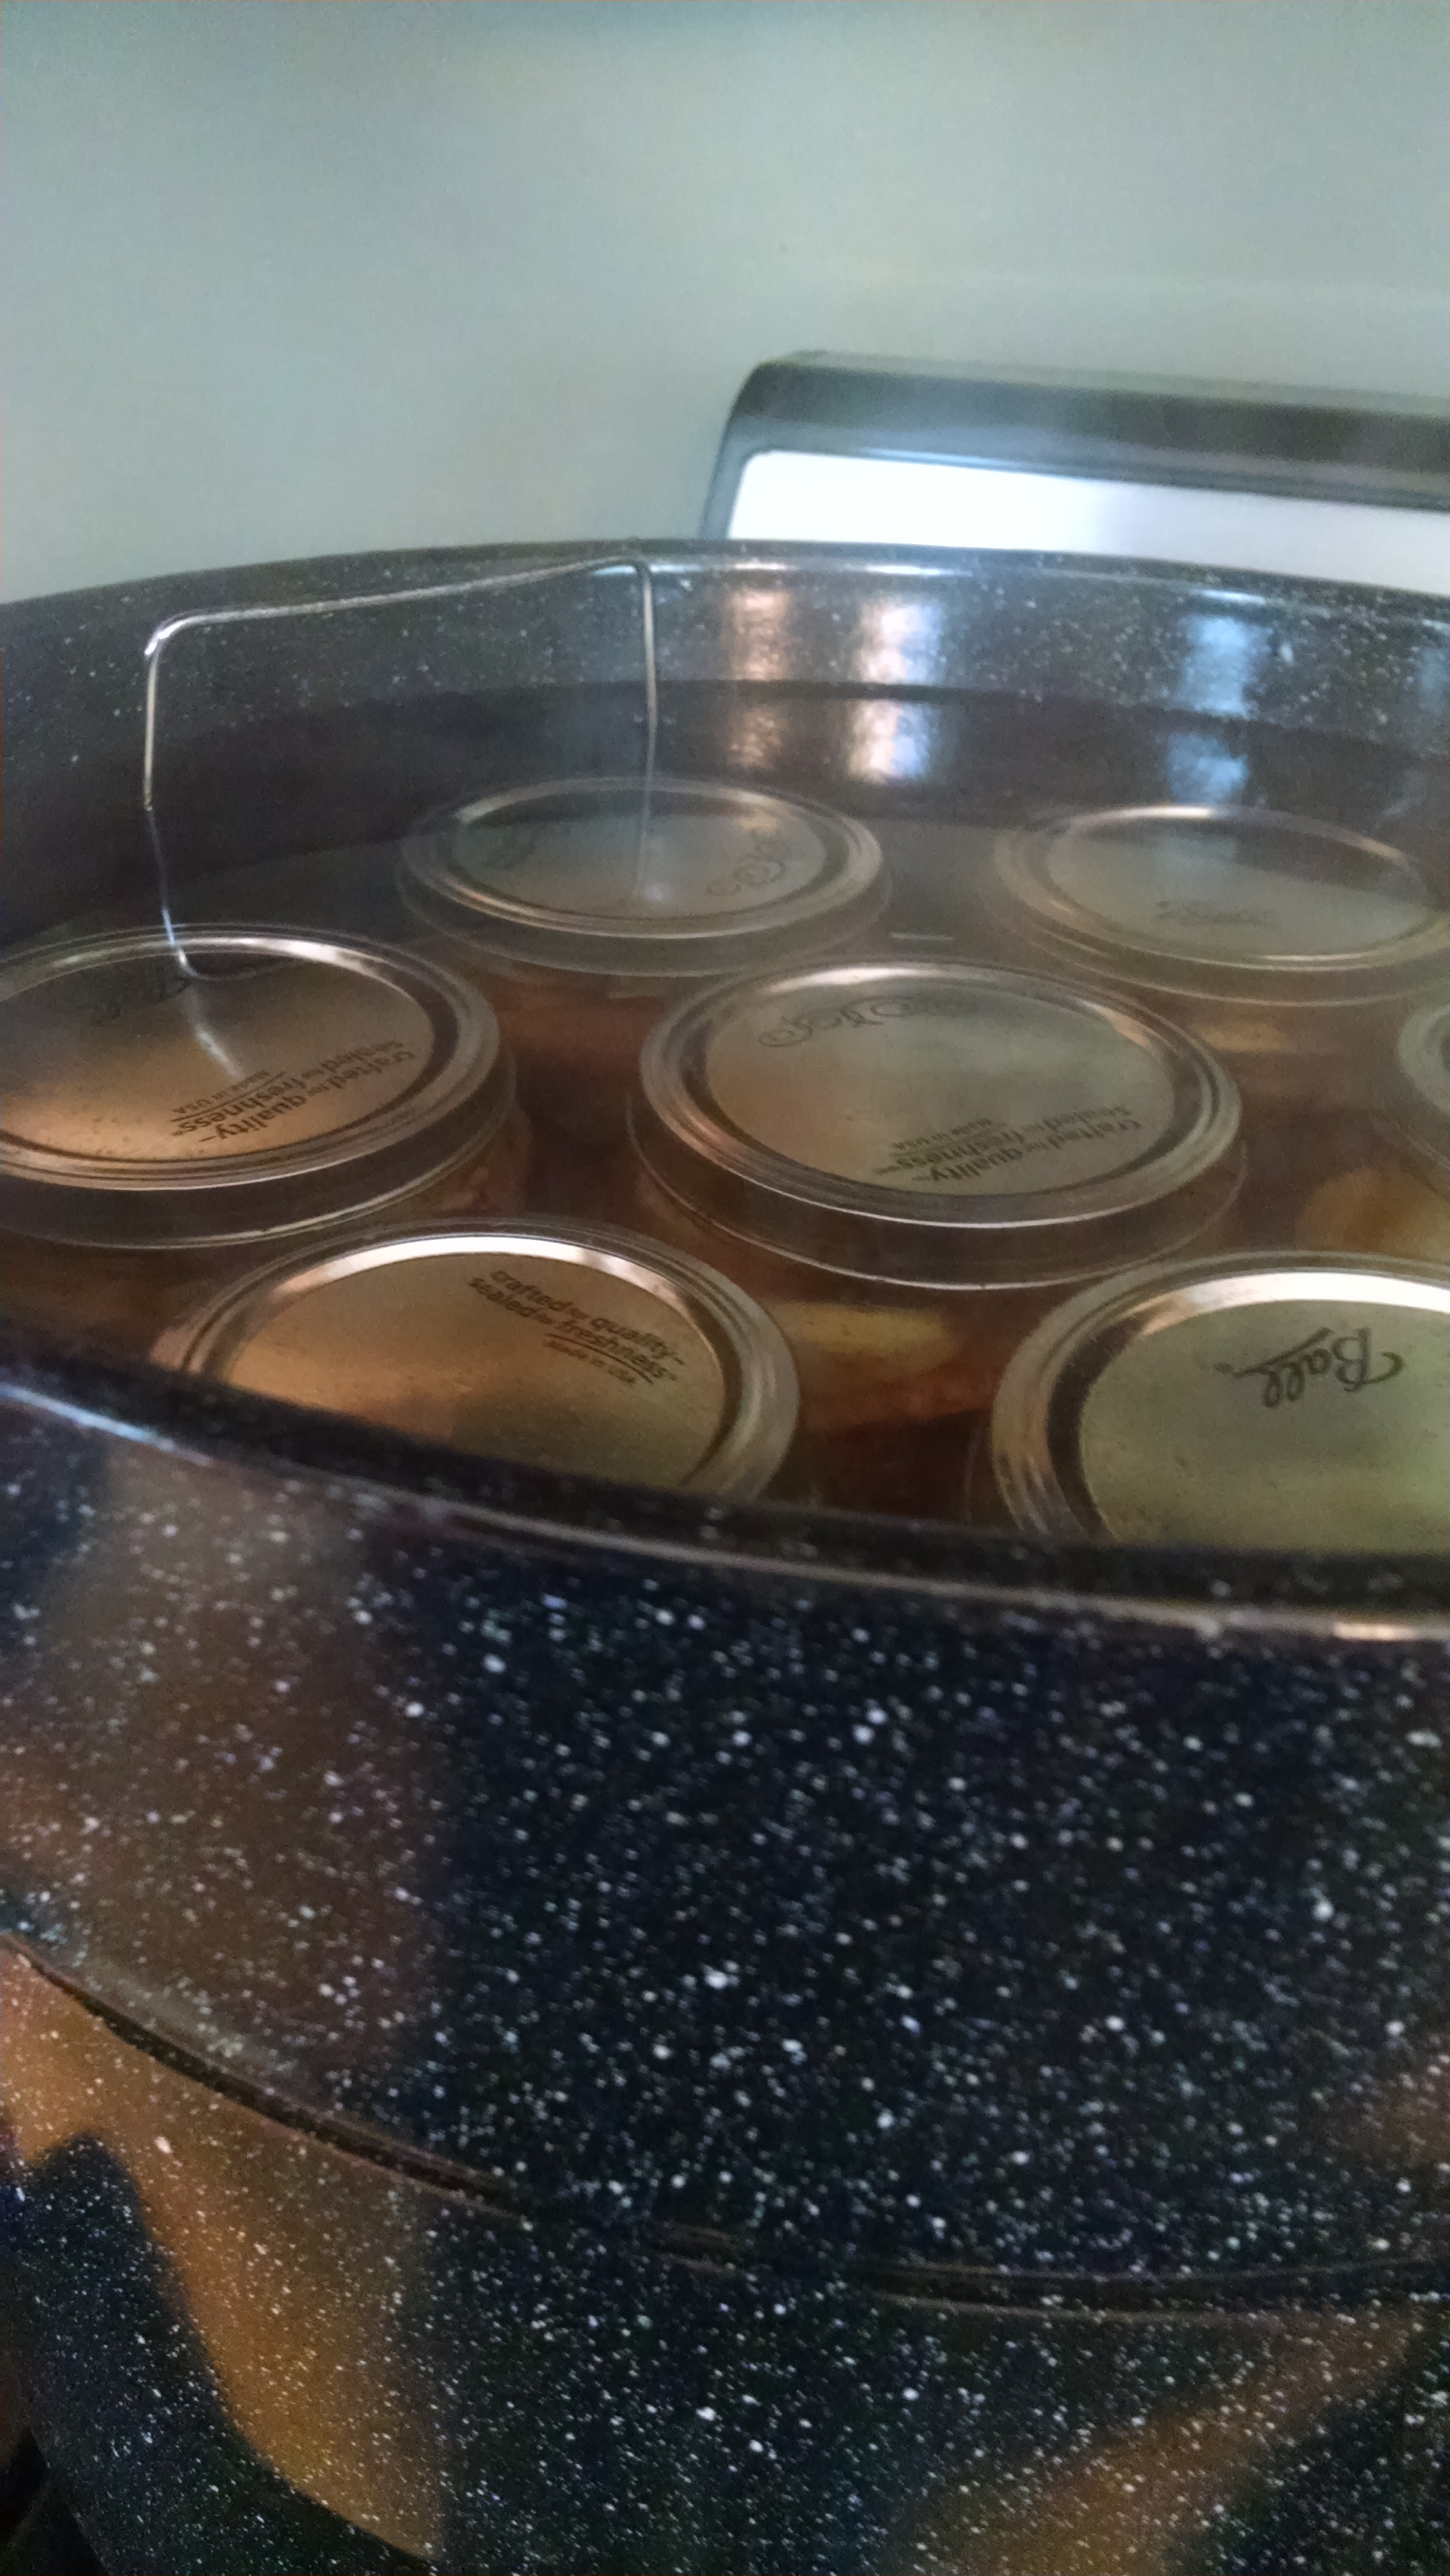
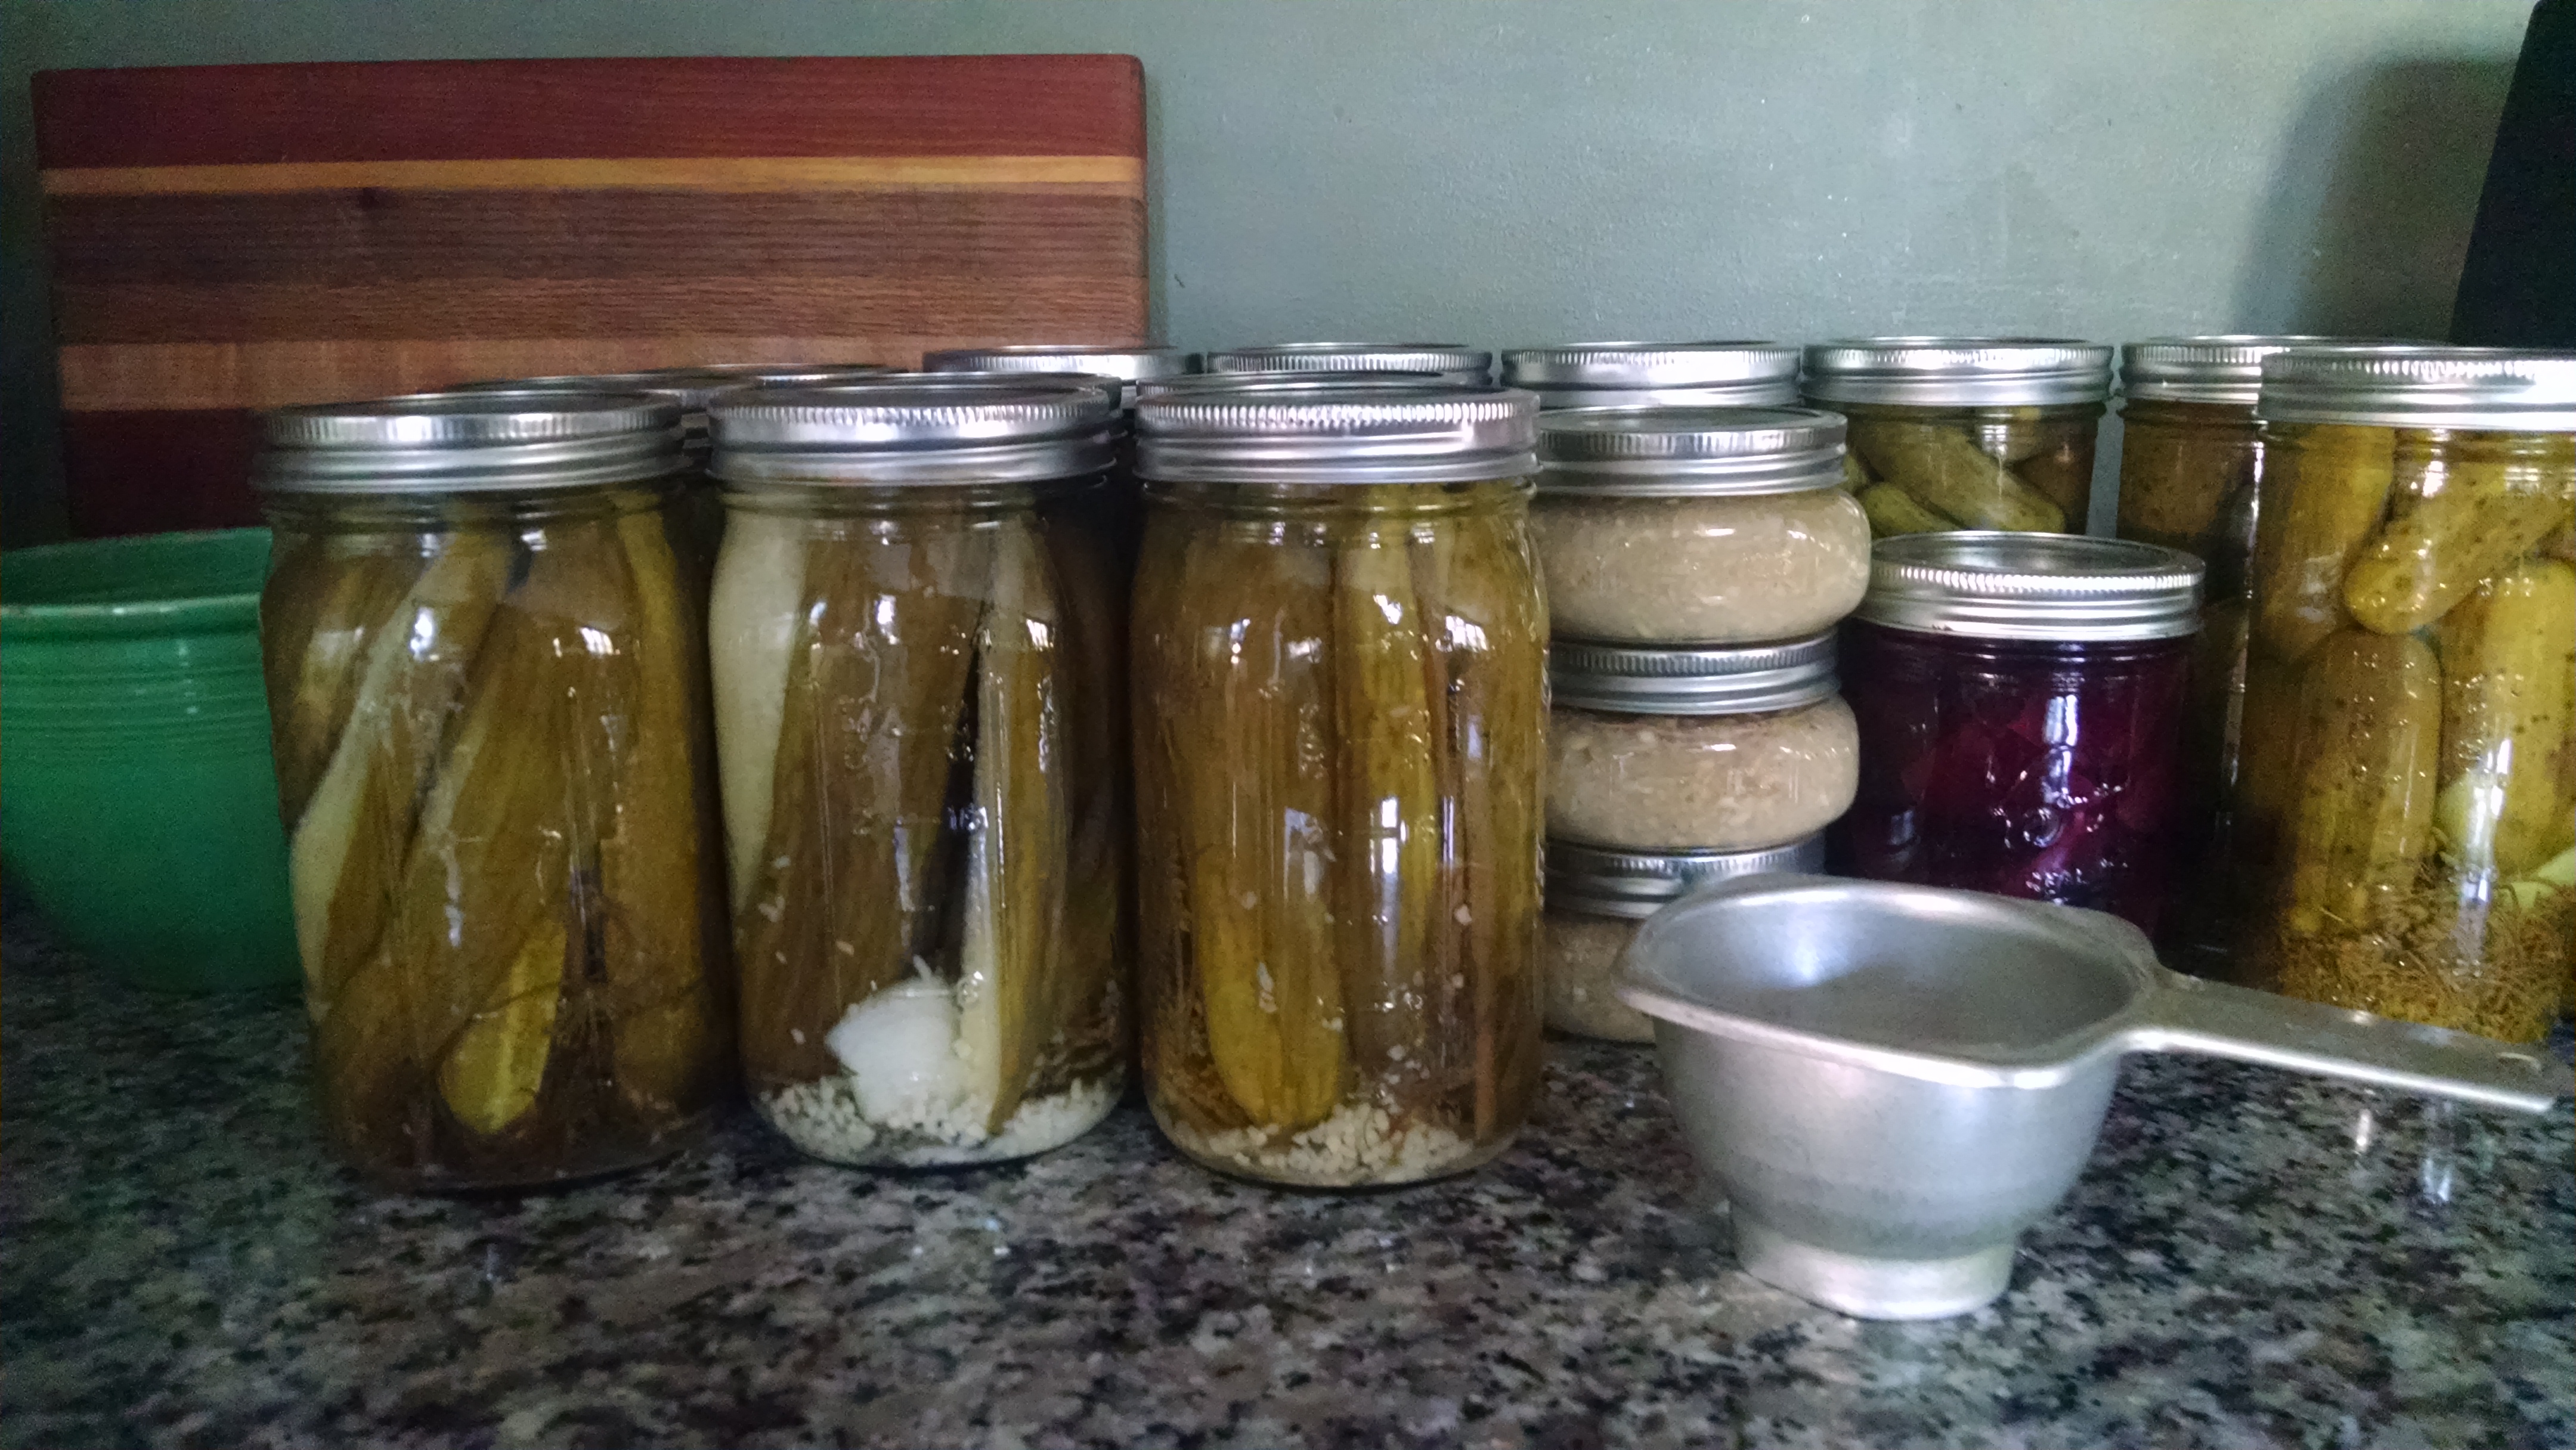
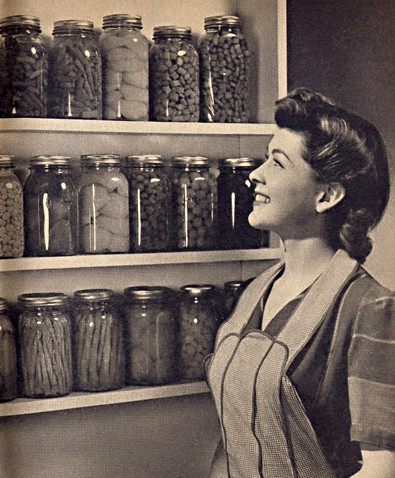
If we were to imagine what Mrs. Prochnow’s fruit cellar looked like at the end of canning season, with her total 93 pounds of sugar and saying she did not incorporate the advice for stretching her allotment, we would likely see 25 quarts of canned fruits and preserves all lined up on shelves in pretty summer and autumnal tones. More likely, she did use the advice and made smaller batches of pints. Perhaps an entire wall would be lined with 50 various types of fruits. Add it to the vegetables and non-sweet produce and you would see a full room of Mrs. Prochnow’s work. What a sight it must have been. canning

Oranges in Your Stocking & Oranges in Your Marmalade

Orange season was getting away from me. Florida and California varieties usually arrive around the second week of November and keep coming through late spring. They’re not great at the extreme ends of the season. February, March and April are the peak months. Late in the season they are likely to be dry, puffy and expensive. Oranges are not a summer fruit.


My grandparents and great-grandparents knew what it was like to go three seasons without an orange. And my hunch is that they knew very well the first November oranges weren’t the best and that’s why oranges stuffed in December’s Christmas stockings were considered a wonderful treat. By the time the tradition made it to my generation, my cousins and I didn’t understand it and we didn’t see the sense in using an apple and an orange to take up valuable chocolate space in the stocking.


Now knowing that oranges in the winter are the watermelon of summer, things seem very different. Imagine if we weren’t able to go to the grocery store any time of the year whenever we chose to buy oranges and fresh (real) orange juice. Oranges would definitely feel like an exciting gift in December.


With prices the lowest of the season, at the time when they are the best-tasting, it was time to buy in bulk even if they were perishable. The WWII answer to perishable bulk was to preserve.


Orange Marmalade. Not my favorite, but one of the only peanut butter combinations my husband will eat.


In the 1942 Woman’s Home Companion Cook Book, marmalade is described as “similar to jellies in texture with small thin slices or small pieces of the fruit appearing throughout the product. They are usually although not always made of citrus fruits.”


An orange marmalade takes 10 medium-sized oranges, 2 large lemons, water and sugar.


Here’s the recipe instructions: Wash the fruit thoroughly; cut in quarters, then in very thin slices, discarding all membrane and saving all pulp, rind and juice.


Cover with cold water in a heavy kettle; let stand overnight.


Cook in the same water until the peel is tender; let stand for 5 to 6 hours.


Weigh the whole batch and add an equal weight of sugar.


Cook until the sirup gives the jelly test. Stir frequently to prevent scorching.


Pour immediately into hot sterilized jars and seal at once.


The Jelly Test: As the juice-sugar mixture nears the jellying point test frequently. Dip a spoon into the boiling mass, remove and allow the juice to drip from the side of the spoon. As it nears the jelly stage it will drip from the spoon in two drops ¼ to ½ inch apart; when the jellying point has been reached the two drops will run together and drop off in one sheet or flake.


A candy or jelly thermometer may be used instead of the jelly test to determine the jelly stage. At sea level the jellying point is reached at 220° F to 222° F; at higher altitudes it is reached at a lower temperature.

IMG_20160221_123550890_HDR

The 1942 cookbook goes on to describe the next steps of filling and sealing the glasses: Skim the surface of the jelly and pour immediately into hot sterilized jelly glasses, holding the pot close to the glass while pouring to avoid incorporating air bubbles. Fill the glasses to within 1/8 inch of the top; the jelly shrinks as it cools.


Pour a thin layer of melted paraffin immediately over the surface of the jelly. Allow the jelly to cool thoroughly, then cover the glasses and store in a cool place.


I used the thermometer method. Actually, I tried both, but the jelly test method left too much room for error. It’s one of those things I feel need to be shown, not read about, to fully understand. The next easiest thing would be to YouTube the jelly test method and watch/listen to a stranger through my computer explain it – I think I’d much rather find someone who learned from their mother or grandmother to show me.


All told, for a very short amount of time and for roughly 23¢ a jar (uh-huh!), I will likely not buy marmalade from the store ever again.IMG_20160221_145029298_HDR

Victory in the Garden

ww2-poster_uncle_sam_says_garden_to_cut_food_costs

The temperatures have hit frost twice and freezing once now. I took some time a couple of weeks ago to tuck the Victory Garden in for the winter. After pulling out the last of the kale plants and tomatoes, I emptied and carried in the rain barrel and spread the compost bin over the whole thing. The trees cooperated and kindly dropped their leaves on top. Nice and snug.

It wasn’t until very recently when I stumbled upon a March, 1943 Woman’s Day magazine at a used book sale that I realized the correct measurements of a true Victory Garden. The interview with an Office of Information US Department of Agriculture spelled it out clear — 30 x 50 feet for a small garden, done in two plantings.

Pole Snap Beans, Pole Lima Beans, Tomatoes, Chard Lettuce, Beets, Carrots, Turnips, Cabbage, Onions, Radishes, and Spinach in the spring. After harvesting beans, plant three rows of turnips. In late July when lettuce is gone, plant 1/2 row of carrots. After harvesting beets, carrots and turnips, plant two rows of Collards. After harvesting cabbage and onions, plant three rows of beets. When radishes and spinach are gone, plant two rows of beans. Ideally rows should run north to south.

IMG_20151115_094206869

Did you catch that — ‘small garden’?  My garden measured 30 x 10 feet. And that was a double in size from before the War In My Kitchen project began. I didn’t come nearly as close to the variety of plantings the government requested of me (Peas, Beans, Tomatoes, Kale, Lettuce, Beets, Pumpkins, Potatoes, Cucumbers, Dill). There’s always next year…which is what us gardeners start to think about on the first snowy days in January.

Americans did their part to follow the recommendations of the government. 20 Million Victory Gardens were planted during the war years, accounting for 30%-40% of the demand for vegetables, nearly 10 million tons all planted and harvested by hand, prepped by women in their war kitchens.

From my garden to the canning shelf in my basement, I have preserved Dill Pickles, Pickle Relish, Salsa, V-8 Juice, Spaghetti Sauce, Diced Tomatoes, Apple Pie filling, Applesauce and even a little horseradish (a little goes a long way!).

IMG_20151115_095059967History shows that we were more than willing to turn the farming back over to the farmers at the end of the war. Food shortages remained in 1946 because people stopped gardening and turned to grocery stores. Agriculture was adjusting planting and harvesting techniques learned during the war years and transportation from farm to store were lagging. Boom time was coming and freedom from want was ending, but we had to readjust our planning and producing towards for our own first. Times were changing.


An Apple (or Bushel) A Day

August and September brought an abundance of apples. Off of our two little trees planted only two years ago, we harvested 21 pounds of Miniature Red Delicious and Wolf River varieties. I specially planted the Wolf River to honor my Great-Grandmother Mabel Crook who wrote in a family heritage narrative to describe the many types of apples growing in their apple orchard in Green Lake Wisconsin, “There were Snow, Talman Sweet, Jonathan, Wolf River, Greening and Macintosh.”

IMG_20150907_094713442

IMG_20150907_094739532

IMG_20150907_095414779

In addition to the apples we picked from our yard, a friend gave us all the windfall apples they could pick too. Needless to say, we had enough apples for lots of WWII style creative storage!


First up, washing everything. I used a sink full of water mixed with a cup or two of distilled vinegar to rinse the apples.

IMG_20150829_134017787

I started out with canned Apple Pie Filling.  It’s best to start by making the syrup. While it cooks you can core and peel the apples…lots and lots of apples.

IMG_20150907_112729098

IMG_20150907_110747624

When I had the jars stuffed full of the apples, I poured the syrup into the jars and then processed.

IMG_20150829_134035555

IMG_20150829_145006018

This recipe will need cornstarch added when I open the cans and use them. Cornstarch is not canning stable, according to the USDA.


Once I had finished a full kettle of Apple Pie Filling, I switched over to Applesauce. I added brown sugar to the apples and boiled them down. Next, I put them through my mill and added a little bit of leftover syrup.


IMG_20150829_153701005

Even after all of the canning, I still have leftover syrup. I’m saving it in my refrigerator to add to apple juice in small batches to make spiced apple cider.

IMG_20150829_161846525


Recipes:

Apple Pie Filling

  • 4 1/2 cups white sugar
  • 1 tablespoon ground cinnamon
  • 1/4 teaspoon ground nutmeg
  • 1 pinch ground cloves (optional)
  • 2 teaspoons salt
  • 5 cups water
  • 3 tablespoons lemon juice
  • 6 pounds apples, peeled and cored

In a large pan over medium heat, mix sugar, salt, cinnamon, cloves and nutmeg. Add 5 cups water and mix well. Cook and stir constantly until sugar is dissolved.

Stir frequently, boiling until mixture is thick and bubbly. Remove from heat and add the lemon juice.

Fill jars  halfway with sliced apples. Then pour liquid into jars to about one inch from the top of the jar. Ladle the syrup over the apples, then add more apple sure to leave at least 1/2 inch of room between the filling and the jar top to allow for a little expansion.

Slide a thin plastic, silicone or wooden knife around the sides of the jar to remove air bubbles, then put the lids and rings on the jars.

Add a few cups of cold water to your boiling water bath to equalize the water temperature to the temps of the filled jars and place jars in the boiling water, making sure there is enough water to cover the jars with at least a 1/2 inch of water.

Bring canning water to a rolling boil. Once the water is at boiling, let the jars sit for 25 minutes.


Applesauce

Put about six cups of cored and peeled apples into Dutch Oven. Add about a cup of water or apple juice. Add juice of one lemon. Add 1/2 cup of brown or white sugar and about 1 T of cinnamon (to taste). You can also add ground cloves, allspice, or ground nutmeg — whatever you like! Stir the pot well and then cover for about 25 minutes.

At this point, you may be done! Or, you may want to put your apples through a mill or blender…whatever you prefer. Decide if you’d like to eat it right away or in smaller batches throughout the next year by processing in a water bath.

You Say Tomato…I Say Sauce

Another week has gone by and the counter has filled up with more good things from the Victory Garden.  IMG_20150828_143714529

I planted two types of tomatoes in the spring — Better Boy and Cherry. Both types were planted from seed, something I haven’t tried before because it takes an incredible amount of patience to wait for tomatoes to come up while the ones in the store are about to turn red even before frost is over and all you have to do is plop them in the ground. But, the funny thing was the seeded tomatoes I planted were ready to pick the same week as the store-bought in other people’s gardens.

Now that the sun is baking the yard every day, I am picking about three Better Boys and a dozen Cherries every day.  Every. Day. That’s about 2 dozen large tomatoes by the end of one week and let’s just say roughly a million small ones in the same time.

So off I went to track down some good canning recipes. Salsa and Whole Tomatoes made the short list, but I settled on Spaghetti Sauce and Tomato Cocktail Juice.

For the Spaghetti Sauce, I used the Basil-Garlic Tomato Sauce recipe from the Ball Canning website. Key is to use lemon juice or citric acid in the recipe to keep it from spoiling during storage. I also learned I didn’t cook it down long enough. I simmered my recipe for an hour, but I should have gone 2-3 hours. As it cooled in the jars, it separated and became watery; still good, but not nice and thick like the really good stuff.

IMG_20150830_092107184

For the Tomato Cocktail Juice, I used a trusted recipe from Oscar, a dear family friend of my Aunt Carol. He shared his very best recipes and tips with Carol before passing away a few years ago.

Here’s Oscar’s recipe:

1 Kettle Cut-Up Tomatoes

2 Stalks Celery

1 Bay Leaf

2 Onions

1/2 Green Pepper

Parsley Flakes

2 T Salt

2 T Sugar

2 T Lemon Juice

Cook until tender, about one hour. Put through a strainer and reheat. Bring to a boil again for about 30 minutes. Put into jars and seal. Process in hot water bath for 30 minutes. Keep water hot, but not at a rapid boil.

Carol adds carrots as well.

The best part about this recipe is that it used up both types of tomatoes. I boiled both down really well and then ran through my Omega juicer (one luxury of convenience I wish my grandmothers could have had!!).  The juicer removed the seeds and skins completely, leaving juice and a fair amount of pulp.

While I’m being honest about my shortcut here, I’ll also confess that I did not cook down the onion, green pepper, celery or carrots. I juiced them after I ran the cooked tomatoes through. I’ve never tried juicing an onion or green pepper before, but it turned out fantastic and cut a lot of time off my finished recipe. I had been at the tomatoes for three hours by the time I got to the Tomato Cocktail Juice. So, if you wonder how I could stray off my WWII rules…yeah, don’t ask!

The end result is amazing. I am picky about tomato sauce. The only brand I buy is Hunt’s. The Tomato Cocktail Juice comes so close to the taste of Hunt’s Tomato Sauce that I’ll likely use it instead of Hunt’s and enjoy the added value of the other vegetables.

Drink Their Tomatoes

Give Us This Day Our Bread & Butter Pickles

home pickling

Cucumbers. It’s August and all I have on my mind is how to use up all the cucumbers. Even though my garden didn’t produce all that many (something about a powdery mildew), my parents’ garden back on the farm in Wisconsin is churning out cucumbers — about 25 a day.


So far, we’ve eaten each our own fair share of cucumbers raw, on a salad, in a cucumber & vinegar salad, and juiced.


We’ve spent a day pickling them into dill pickles. And, when there is not enough time, energy and sterile jars, we’ve turned them into Refrigerator Dill Pickles or Bread and Butter Pickles.


IMG_20150720_162719554

First Up — Refrigerator Dill Pickles.

My Grandpa “Doc” (blissfully married to his grade school sweetheart – my Grandma Barb), is credited with this family gem of a recipe.


You’ll need a plastic pail (traditionally we use an ice cream pail, but I’ve started bringing home the big plastic Folgers Coffee containers from work – couldn’t see throwing them away!). To the pail, add a few heads of Dill, 3-4 cloves of garlic, a chunk or two of an onion quartered. Then, cut several (6-8) cucumbers into spears (or “chips”…however you’d like them cut). Toss them in the bucket with the dill, garlic and onion. In a pot on the stove, bring to a boil 6 cups of water, 2 cups of white vinegar, 1/2 cup canning salt (or a little less if that seems like a lot to you), and 1-2T pickling spices (I love the Watkins brand for pickling spices). Once the pot comes to a full rolling boil, pour it into the bucket of cucumbers. Put the lid on and put them in the refrigerator for a day or two before eating. They keep very well for a long time in the bucket, in the refrigerator.


You can tell the recipe is not an exact science. No two buckets turn out tasting the same. Some batches are too salty, some are a little bland, but…when you get the perfect batch – stand back!


So, you still have cucumbers left? No worries.


Bread and Butter Pickles

Cut up several cucumbers into thin slices. Place them in a stove top pan along with 1 tsp. salt, 1 thinly sliced onion, ½ tsp. mustard seeds, 1 C white sugar, ½ C distilled white vinegar, ¼ tsp. celery seed, ¼ tsp. ground turmeric.

IMG_20150728_170050464

Cook all together until cucumbers are tender and the onion is translucent. Transfer to sterile containers. Seal and chill in the refrigerator until serving.

IMG_20150728_170155830

These last a very long time in the refrigerator, but you can also preserve them in a canner if preferred. I’m not sure how long a very long time is; we end up eating them up until Thanksgiving-time and then they are usually devoured completely while waiting for the turkey to cook that day.

bb pickles

Of Course, I Can!

Of Course I Can

At the height of summer, produce from the 20 million Victory Gardens planted yielded 9-10 million tons of harvest. Everything needed to be canned and stored. The average homemaker covering a factory position put in 12 hours, six days a week and still had hours of canning when she got home.

Canning, preserving, processing, “putting up”, was becoming a lost art compared to what was done in the first World War, on farms, and through the 1930’s. The 1940’s home maker was often referring back to instructions and methods used by her grandmother. Canning almost skipped a generation back then; it surely has skipped several generations in present day. Convenience wins out. And, I think some of us are scared off by the warnings about what happens when it’s done wrong.

I turned to my Aunt Carol to teach me the right (safe) way of water bath canning. My mom was there too picking up the routine. The biggest lesson learned was about streamlining the process. An unorganized operation will not work.

Starting out with cucumbers and dill, we went about making dill pickles. Carol’s recipe is from Oscar, her dear friend. We’ve held on tight to Grandma Crook’s Liberty Pickle and Sunshine Pickle recipes, but for our favorite — it’s Oscar’s recipe.

IMG_20150807_133515066_HDR

We lined up a bushel of pickling cucumbers through an Amish neighbor. One bushel weighs 48 pounds and is equal to 16-24 quarts of pickles in jars.

My mom and Carol spent hours scrubbing the cucumbers clean. The jars were sterilized in the dishwasher, the lids and bands were placed in boiling water on the stove, and our canning kettle with water boiling, all waiting.

IMG_20150807_133605853


On a table, we lined up tubs: one for sugar, one for canning salt, one for alum. We had vinegar, garlic cloves ready, onion chunks, and dill waiting.

Step one: Place two sprigs of dill, one chunk of onion and two cloves of garlic in each jar.

IMG_20150807_131748812


Step two: Pack the jars as full as possible with the cucumbers.

IMG_20150807_132932020 Step three: Add to each jar 1 T canning salt, 1 T sugar, 1/2 tsp. alum, and 1/2 C white vinegar.

Step four: Fill the remaining jar space up to 1/4″ from the rim with water.

Step five: With a damp cloth, trace the rim of each jar and then place a lid on each. Put a band on each, but do not tighten the bands.

Step six: Place jars in the canning kettle, with about 1″ water over the tops of the jars. Let the jars boil in the kettle until the water in the jars start to bubble. About 20-25 minutes.

IMG_20150809_203701292

Step seven: Take the jars out of the kettle and tighten the band.

As the jars cool, you’ll hear that wonderful “pop” that tells you things are going well. If the jars don’t make that pop, they aren’t sealed and then you have to eat up! You won’t be able to store unsealed pickles for more than two weeks. Ideally, the first jar can be opened after two months of storage, but pace yourself – what you put up in August has to make it until next August!

IMG_20150822_080203874

I added a couple of jars of horseradish and beets to this picture. We’ll see how that experiment ends the next time I bake a ham. Stay tuned on that!

Beautiful shelves of canned fruits and vegetables were something to be proud of in WWII… and still are!

vintage-canning