Archive for Victory Gardening

January in My Kitchen: It’s All About Maintenance

The U.S. involvement in WWII passed four Januaries.  The first, in 1942 was just short a month from the Pearl Harbor attack and a few months before rationing began. The final January, in 1945, occurred while the Battle of the Bulge waged in Europe, nearing the end without the home front knowing it would thankfully be the last January of the war.

In my kitchen, each January marks the memory of my grandmother’s birthday on January 14th, aged 13-16 during the war. 

January also seems like a good time to maintain the things that need to keep in good working order to use up, wear out, and make do throughout the coming year. Here’s a partial list:

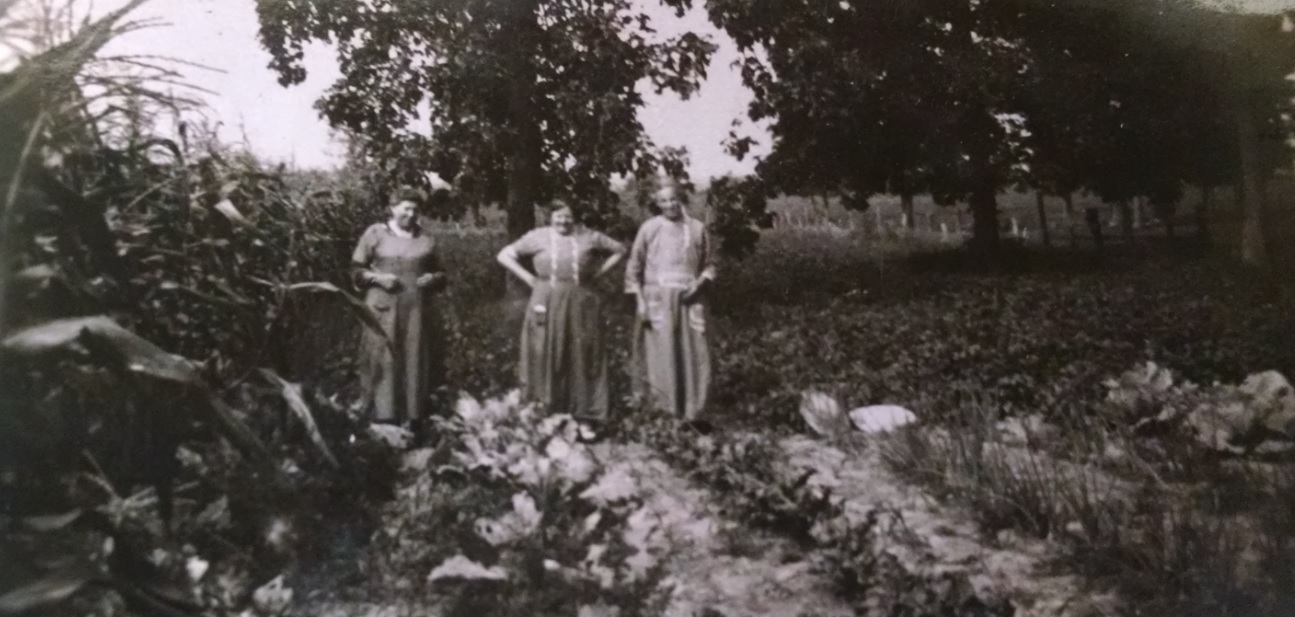
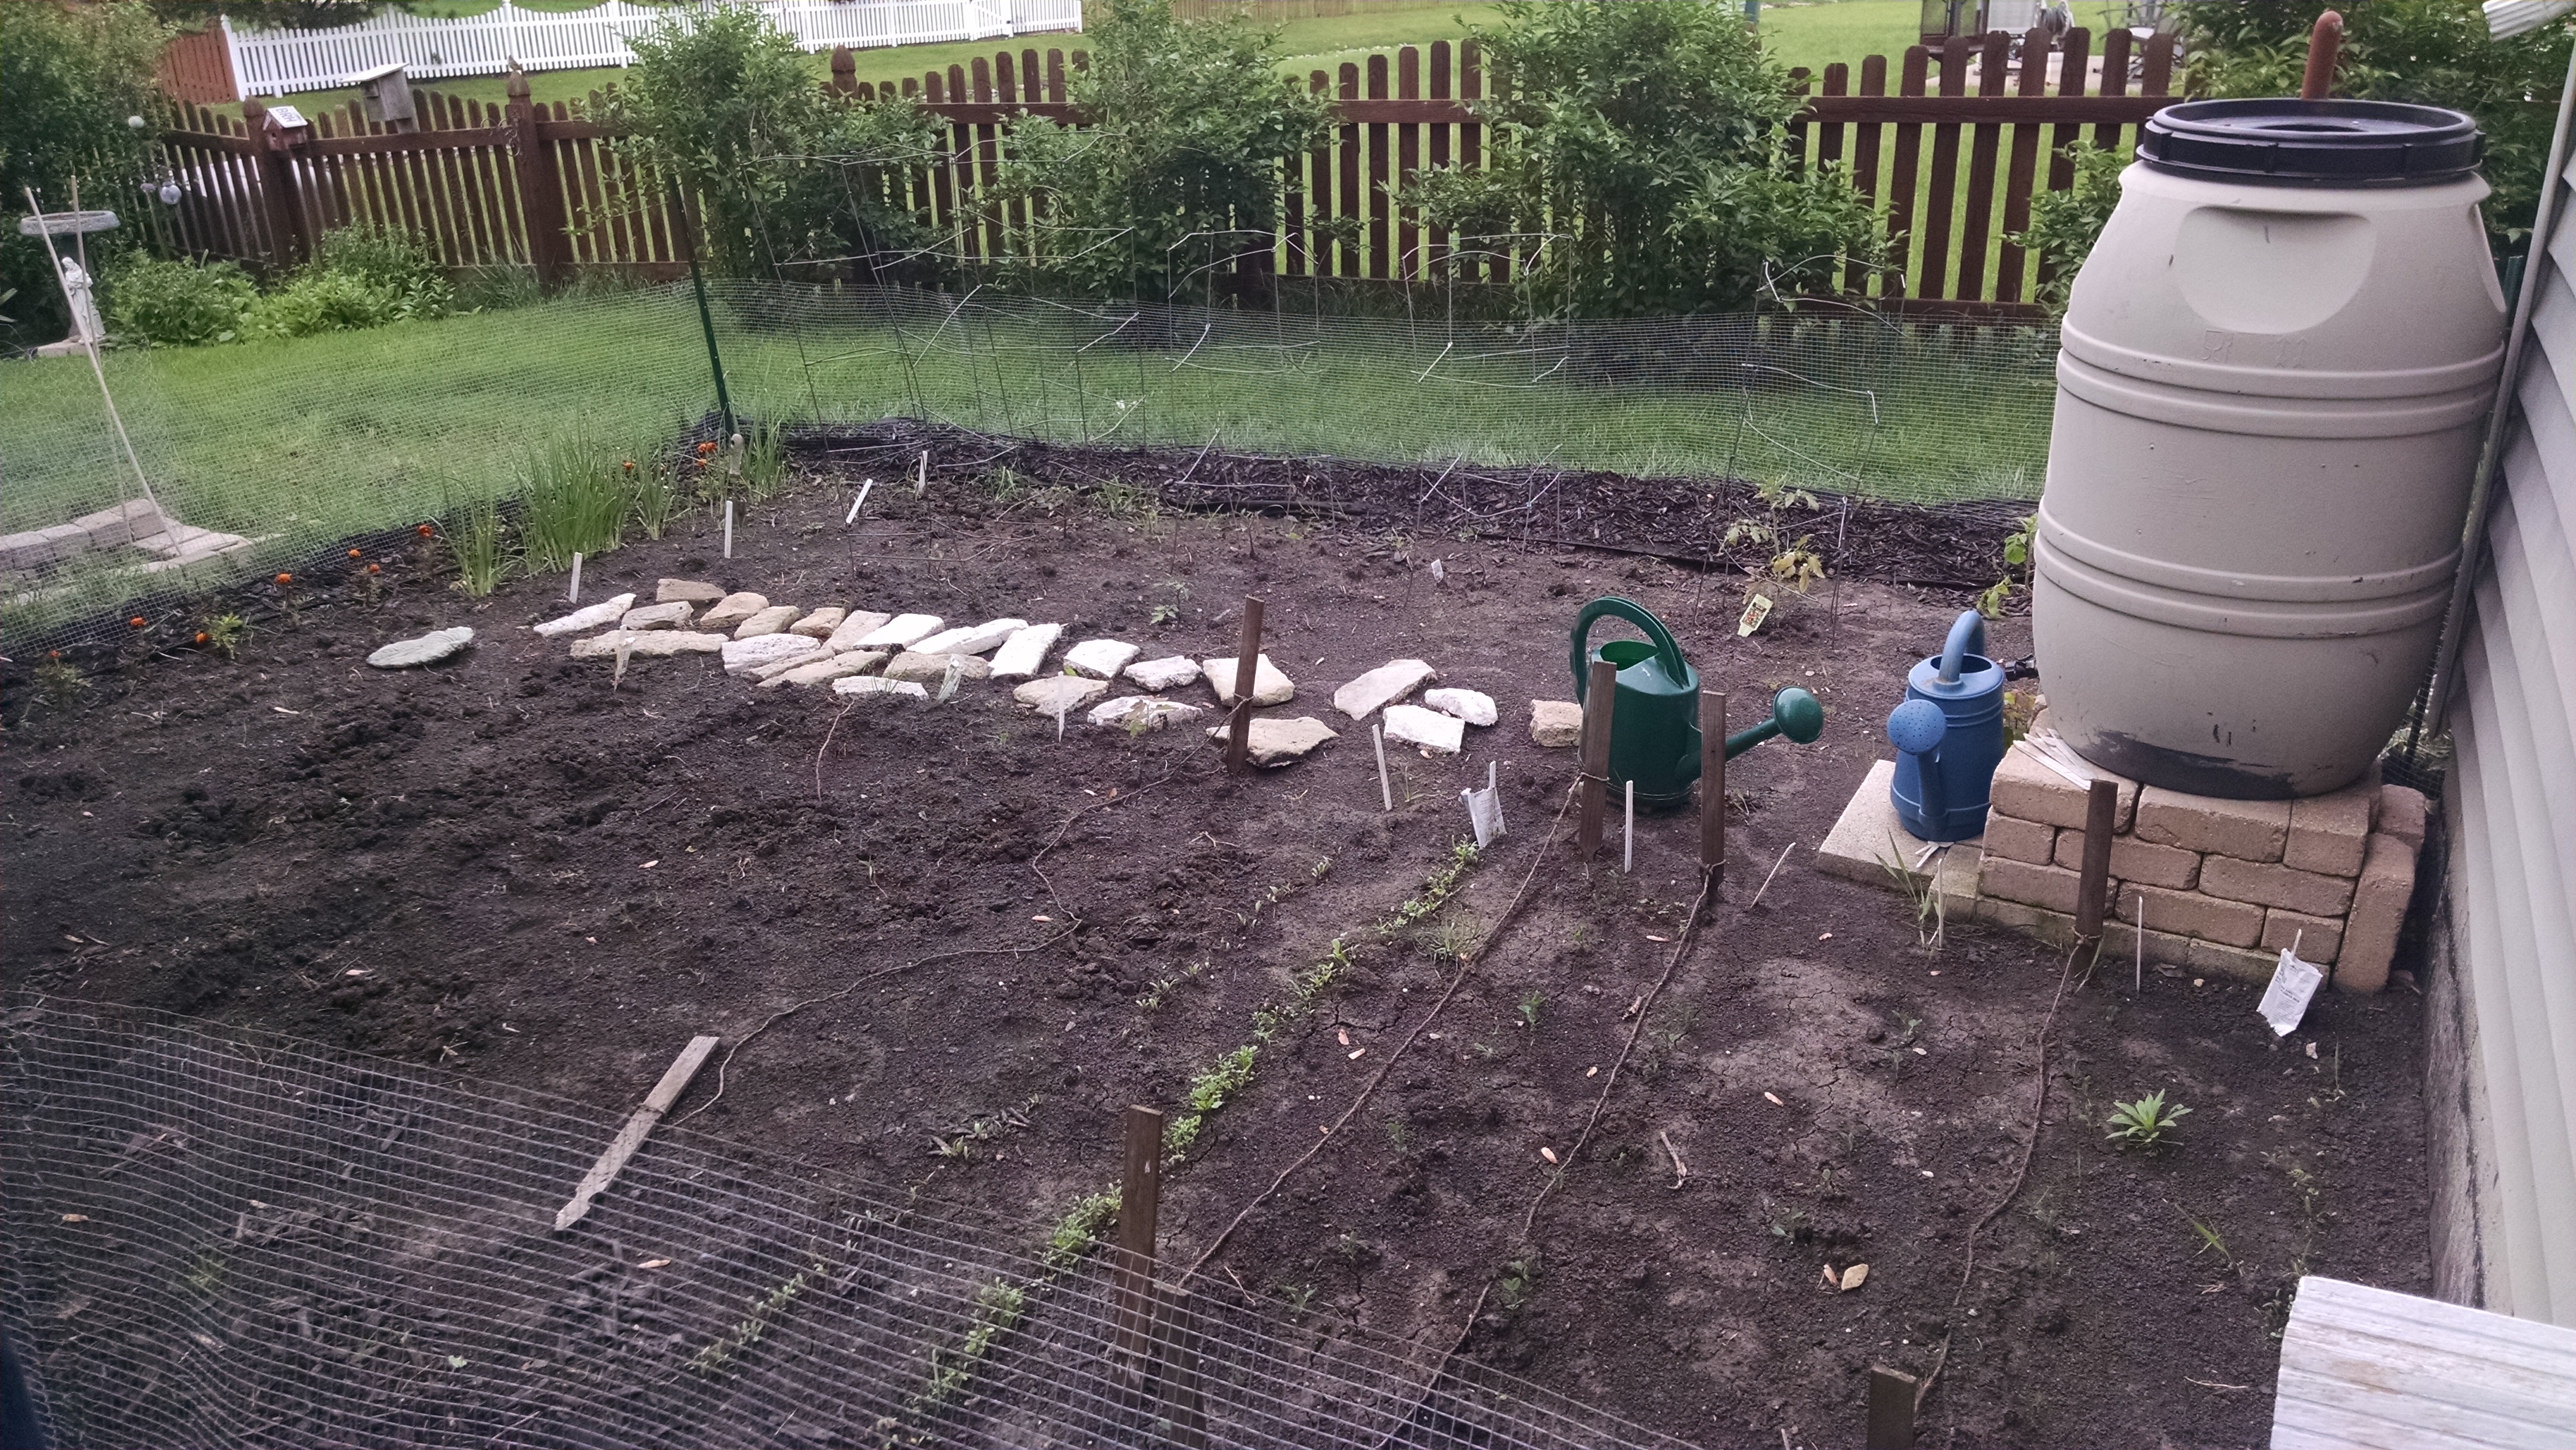
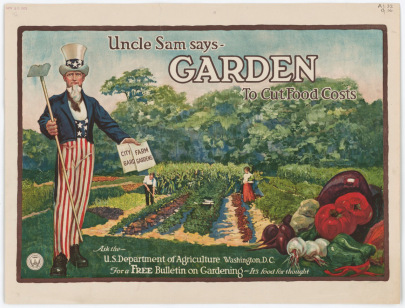
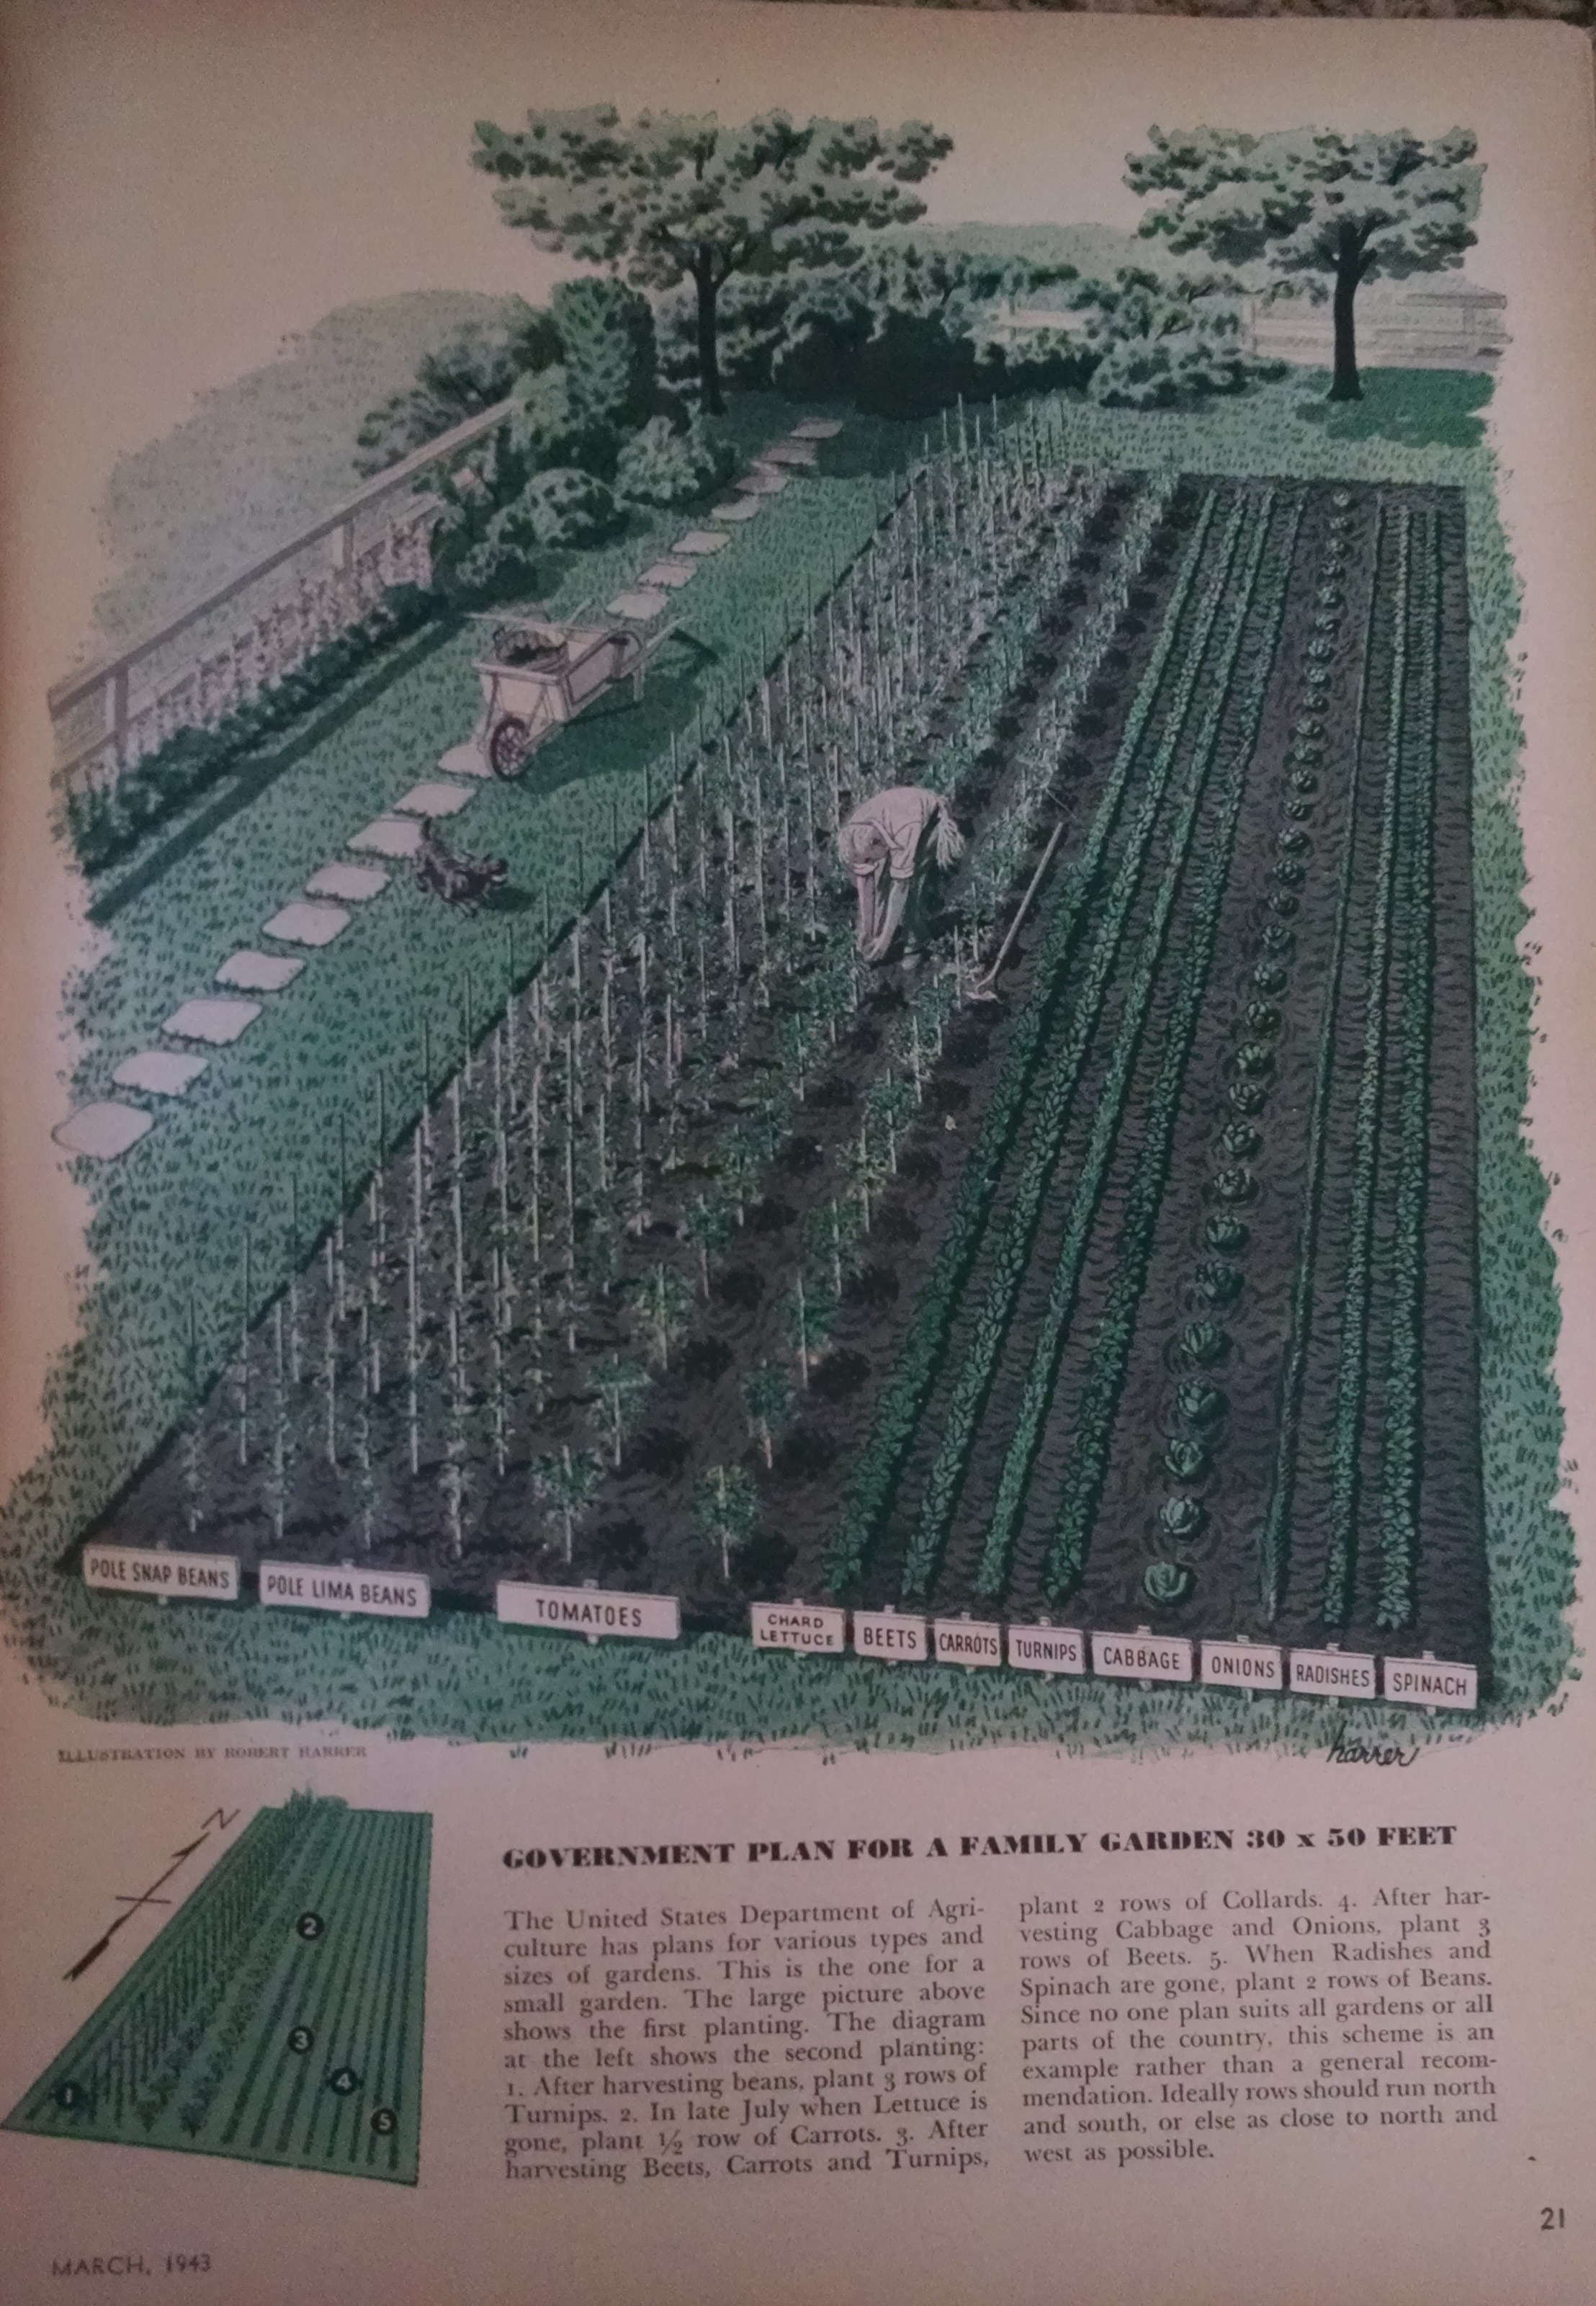
  • Gardening Tools: A spray of WD-40* on the tools I will rely on in a few long, cold months in the Victory Garden helps to protect them from rusting and splintering. It also helps in keeping parts moving smoothly and efficiently when spring arrives.


  • Cords, Cords Everywhere: There is a law in my house that prohibits anyone from throwing away any twist-tie from a bread wrapper or other form of packaging. And here’s why. I take a walk through my house, room by room, cupboard by cupboard looking for any electrical cord that needs to be neatly held with a twist-tie. Or, if in use and not able to be wrapped up, at least has a twist-tie attached to it for future use. You’ll be amazed at how well this little task saves on bent plugs, messy cupboards and rooms, and tangled messes. Any cord that does not have a home gets wrapped neatly, labeled to remind me what it once belonged to, and then stored all together in one spot for electronic cords.


  • House Maintenance: At the same time while I am going room to room looking for cords to wrap up, I also take a notebook and pen with me to make note of anything in each room that will need extra attention throughout the year — such as painting, deep cleaning, repair, or something added/removed to make it more appealing. Obviously, I’m a list maker and I appreciate seeing things getting crossed off, but this is also a way for me to budget time and money for home improvements no matter how big or small.


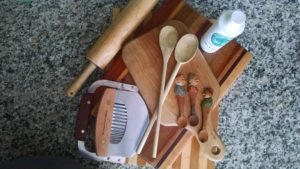
  • Wood: It is crucially important to maintain any wooden cutting boards and wooden handles of kitchen tools. I maintain at least twice a year, but for sure in January when the humidity in the house may be at its lowest. I use mineral oil or butcher block wax to condition all of the tools, then I give my cupboards a quick swipe with the oily rag to make the most of the used oil.


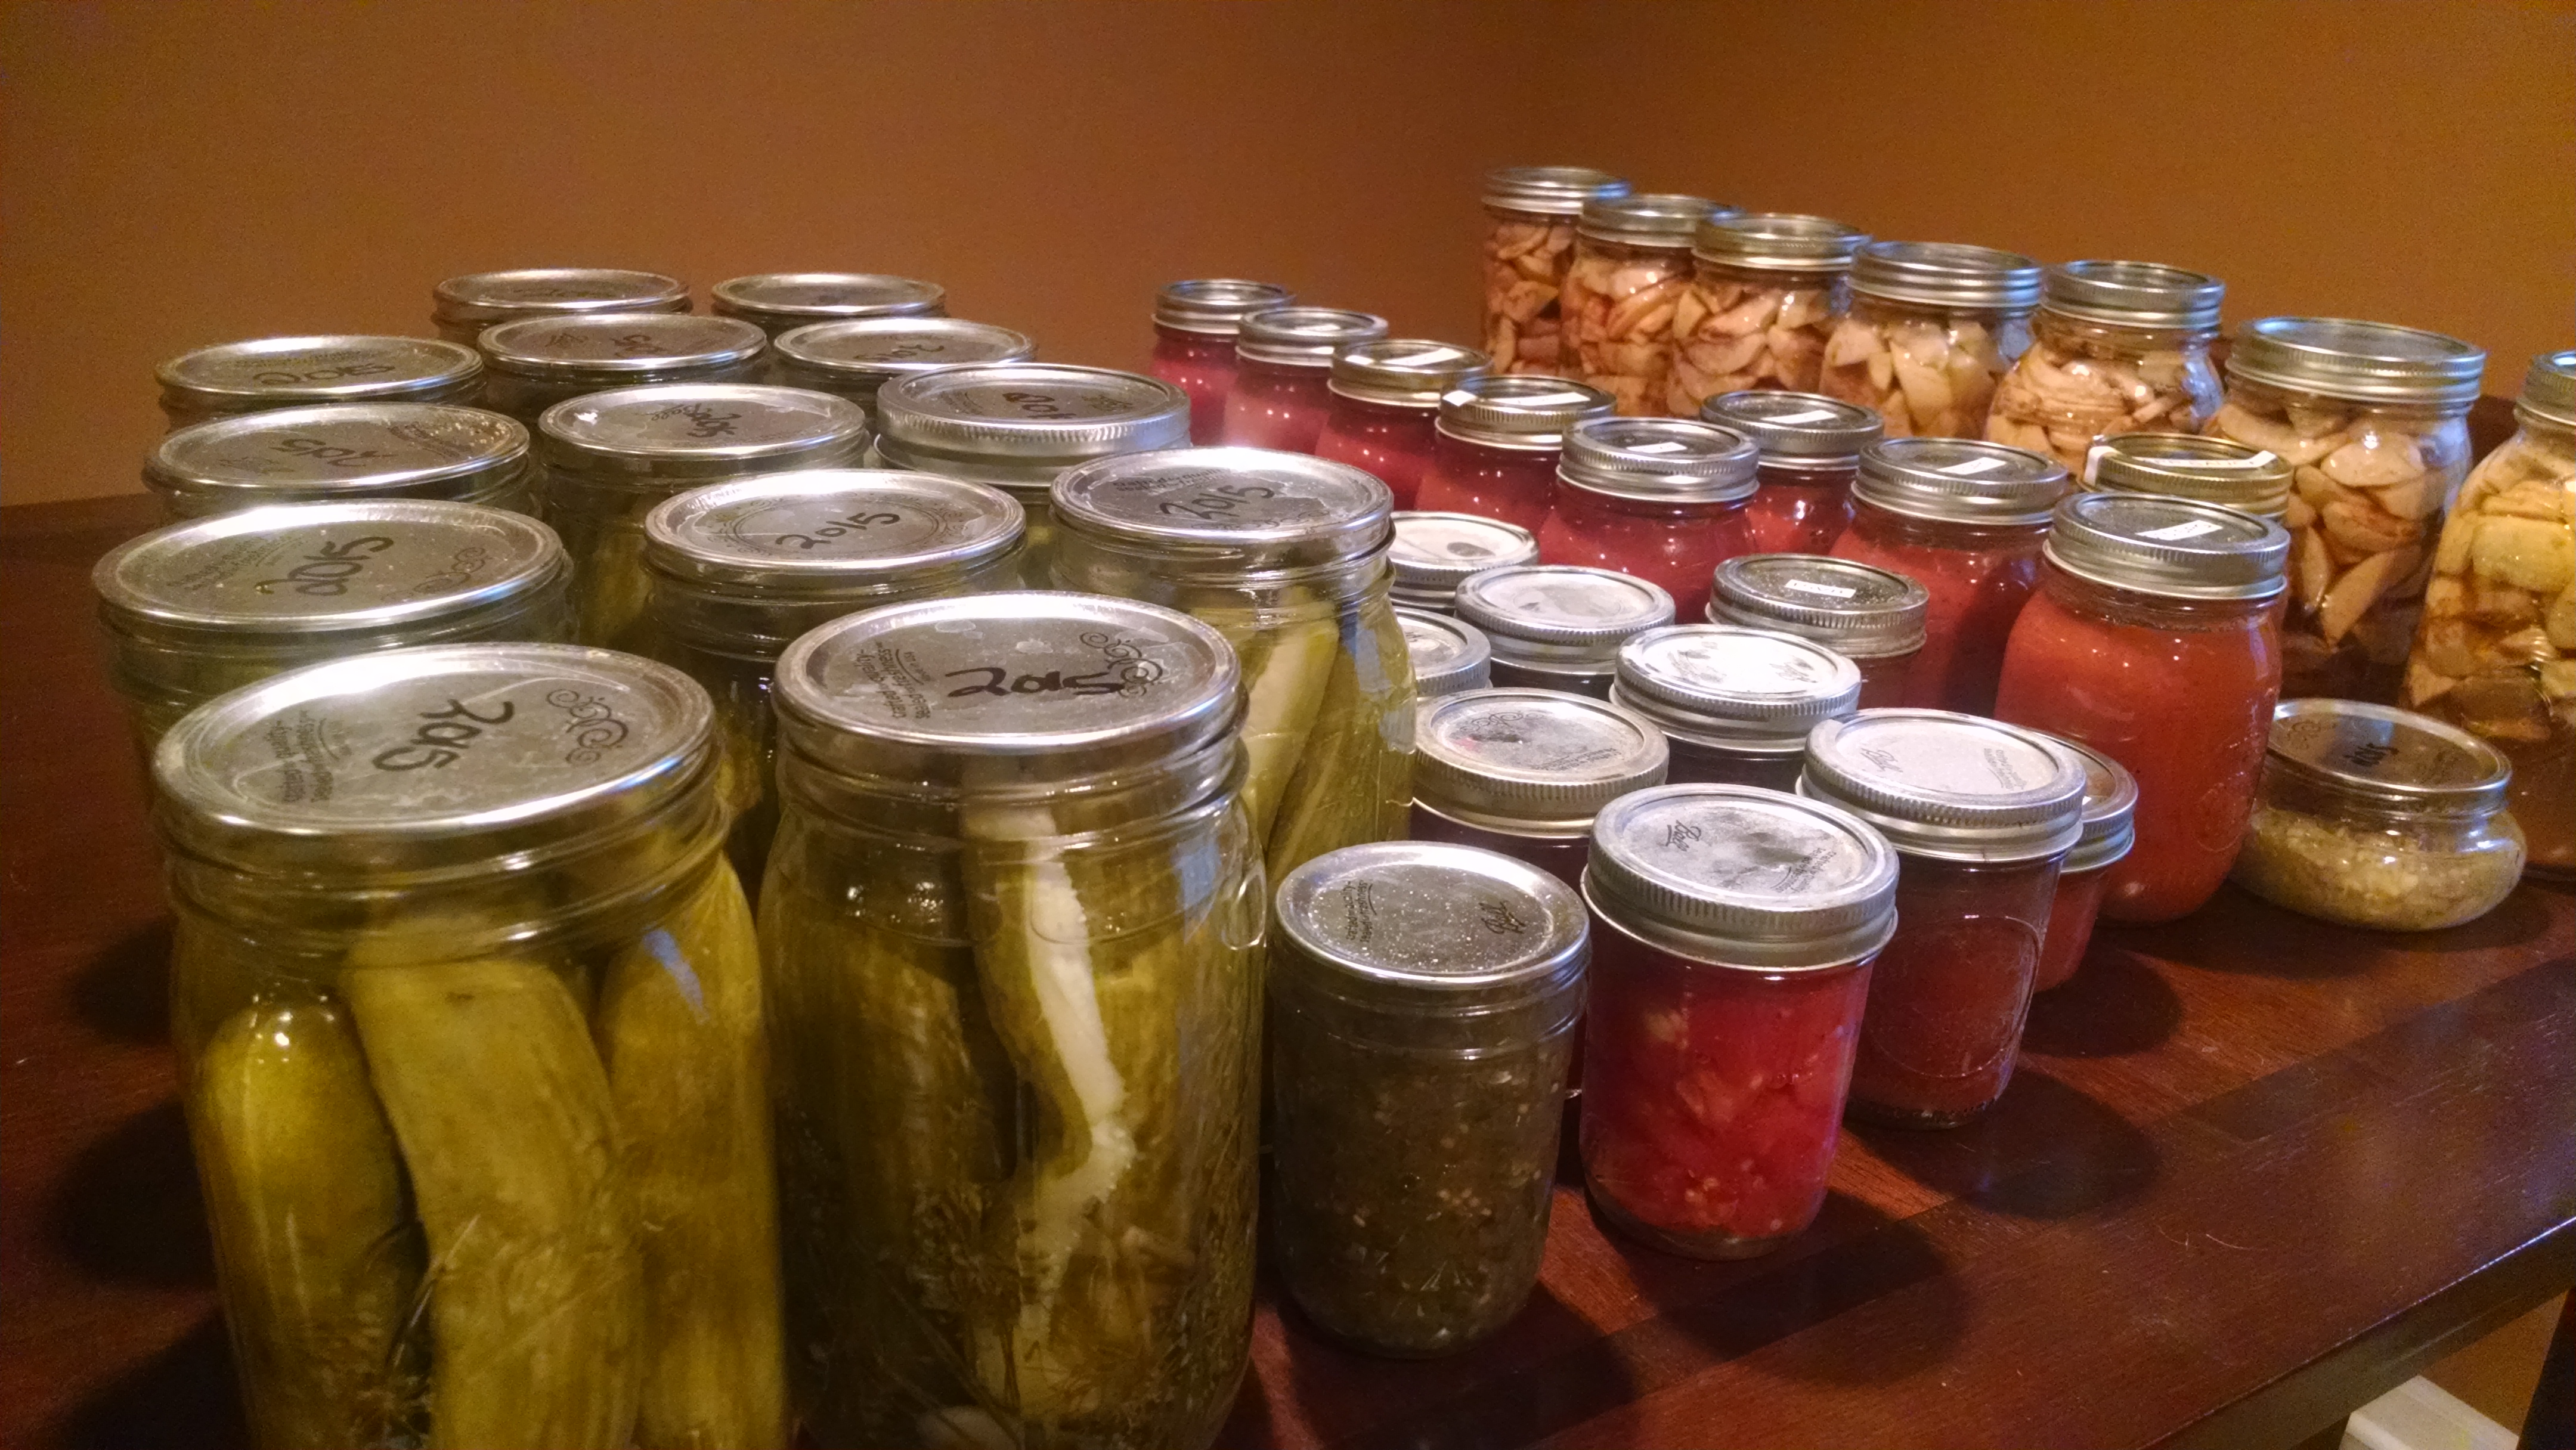
  • Recipes: As my WWII kitchen project progressed, I began to realize that I can become overwhelmed with too many recipes in front of me. I have one cabinet in my kitchen where I keep all of the recipes and monthly menu plans that work best for our home. As months go by I may add a picture of a recipe snapped from a book or magazine that once looked interesting. So each January, I lay out all the cookbooks, binders, and loose pieces that have accumulated and archive the ones never used. I think of recipes in the same way I think of items in my clothes closet. I tend to wear the same things over and over and by purging what I don’t wear I save time by not giving myself too many useless choices. When it comes to meals and the groceries that go with them, it’s easy to make choices quickly since any recipe at hand is a good one and likely to be one that I am able to keep ingredients on hand. What’s for supper? I simply open the binder to any page and make what I see.


For now, this list will make the most of my January and set me up for another year of war in my kitchen!


*Okay, okay… WD-40 was not invented until after WWII in 1953, but using plain oil as was common in households during WWII is frowned upon in my home for the same reasons that WD-40 is so widely popular.

Milkweed the Hero Plant

Milkweed…

Today, nature lovers treasure the common milkweed because it offers crucial habitat to the disappearing Monarch butterfly. But back in 1944, military planners treasured the plant as a raw material in the war against Nazi Germany and Imperial Japan.


Milkweed seeds have white, wispy hairs referred to as “floss”. When the seed pod cracks open, the seeds are distributed by the winds, an ingenious evolutionary adaption for survival.


In an era before the pervasive use of synthetic fibers, the value of milkweed floss lay in its buoyancy. The US government used it in the manufacture of life preservers needed for its airman and sailors. Life preservers were critical to Allied success, since so much of the war was fought on or over water.


One problem, though, was that it would take upward of three years to produce a commercial crop of milkweed to supply the need. Thus the government had no choice but to make the unusual call for the collection of seed pods wherever the plant grew wild.


Schoolchildren spent untold hours walking fencerows, roadsides and railroad right of ways looking for milkweed, which before the war was considered little more than a weed.


Onion sacks were distributed to the kids to carry the collected pods, and children received 15¢ per bag. It is estimated that 11 million pounds of milkweed floss were gathered during the war and may be the reason why certain species of the plant are now threatened by extinction.


I came across several milkweed plants in various stages on my parents’ farm in Central Wisconsin. It’s not a pretty plant, but it sure is an important plant both historically and currently!


Consider planting milkweed in honor of the crucial role it played to the success of our country. What a comeback it would be for a “weed” that gave its life in order to save the lives of our troops during the war. In return, we can pay it forward by saving the lives of monarch butterflies.  https://www.fws.gov/savethemonarch/

Deeply Rooted

Family Garden

While rummaging through the attic this spring I came across this photo of three women out standing (outstanding) in a garden. It was found in a family album without any details about who they are and where they planted this garden. Based on where the photo was placed in the album, it is a pretty good assumption that this is a Victory Garden – a source of corn, chard, onions, cabbage, time spent with other women, pride and joy.

During World War II, 44 percent of the nation’s produce was grown in home gardens. The Victory Gardens achieved the equivalent amount of produce from all U.S. farms combined. At the end of the war, industrialization took over, families moved to the suburbs to earn paychecks off the farm. Considering the time and attention involved, food became cheaper to buy than grow and our country went from producing 44 percent of its produce in home gardens during WWII to just 2 percent by the early 1990’s. I’m happy to learn from the National Gardening Association that the millennials are joining in large numbers with the die-hard members of past generations to make a comeback on the backyard garden. To their count, 1 in 3 Americans are again growing at least some of their food in their backyard.

This year my Victory Garden is struggling in cold and rain. By farmer folklore, it is important to plant potatoes on Good Friday in order to harvest them on the Fourth of July. With Good Friday being especially early this year and the spring being unusually cold, I couldn’t plant potatoes on time as there was snow on the ground. In the last 30 days, five inches of rain has fallen on my garden plot and temperatures have been averaging 20 degrees colder than normal.

In the roughly four nice days we’ve had so far this spring, I was able to plant a row of bee-loving wildflowers, a row of aphid-hating marigolds,  four rows of peas, two rows of green beans, two rows of heirloom lettuce, one row of beets, a patch of cucumbers, six varieties of tomatoes, and four hills of potatoes. I’m hoping for Victory.

2016 Garden


Victory in the Garden

ww2-poster_uncle_sam_says_garden_to_cut_food_costs

The temperatures have hit frost twice and freezing once now. I took some time a couple of weeks ago to tuck the Victory Garden in for the winter. After pulling out the last of the kale plants and tomatoes, I emptied and carried in the rain barrel and spread the compost bin over the whole thing. The trees cooperated and kindly dropped their leaves on top. Nice and snug.

It wasn’t until very recently when I stumbled upon a March, 1943 Woman’s Day magazine at a used book sale that I realized the correct measurements of a true Victory Garden. The interview with an Office of Information US Department of Agriculture spelled it out clear — 30 x 50 feet for a small garden, done in two plantings.

Pole Snap Beans, Pole Lima Beans, Tomatoes, Chard Lettuce, Beets, Carrots, Turnips, Cabbage, Onions, Radishes, and Spinach in the spring. After harvesting beans, plant three rows of turnips. In late July when lettuce is gone, plant 1/2 row of carrots. After harvesting beets, carrots and turnips, plant two rows of Collards. After harvesting cabbage and onions, plant three rows of beets. When radishes and spinach are gone, plant two rows of beans. Ideally rows should run north to south.

IMG_20151115_094206869

Did you catch that — ‘small garden’?  My garden measured 30 x 10 feet. And that was a double in size from before the War In My Kitchen project began. I didn’t come nearly as close to the variety of plantings the government requested of me (Peas, Beans, Tomatoes, Kale, Lettuce, Beets, Pumpkins, Potatoes, Cucumbers, Dill). There’s always next year…which is what us gardeners start to think about on the first snowy days in January.

Americans did their part to follow the recommendations of the government. 20 Million Victory Gardens were planted during the war years, accounting for 30%-40% of the demand for vegetables, nearly 10 million tons all planted and harvested by hand, prepped by women in their war kitchens.

From my garden to the canning shelf in my basement, I have preserved Dill Pickles, Pickle Relish, Salsa, V-8 Juice, Spaghetti Sauce, Diced Tomatoes, Apple Pie filling, Applesauce and even a little horseradish (a little goes a long way!).

IMG_20151115_095059967History shows that we were more than willing to turn the farming back over to the farmers at the end of the war. Food shortages remained in 1946 because people stopped gardening and turned to grocery stores. Agriculture was adjusting planting and harvesting techniques learned during the war years and transportation from farm to store were lagging. Boom time was coming and freedom from want was ending, but we had to readjust our planning and producing towards for our own first. Times were changing.


An Apple (or Bushel) A Day

August and September brought an abundance of apples. Off of our two little trees planted only two years ago, we harvested 21 pounds of Miniature Red Delicious and Wolf River varieties. I specially planted the Wolf River to honor my Great-Grandmother Mabel Crook who wrote in a family heritage narrative to describe the many types of apples growing in their apple orchard in Green Lake Wisconsin, “There were Snow, Talman Sweet, Jonathan, Wolf River, Greening and Macintosh.”

IMG_20150907_094713442

IMG_20150907_094739532

IMG_20150907_095414779

In addition to the apples we picked from our yard, a friend gave us all the windfall apples they could pick too. Needless to say, we had enough apples for lots of WWII style creative storage!


First up, washing everything. I used a sink full of water mixed with a cup or two of distilled vinegar to rinse the apples.

IMG_20150829_134017787

I started out with canned Apple Pie Filling.  It’s best to start by making the syrup. While it cooks you can core and peel the apples…lots and lots of apples.

IMG_20150907_112729098

IMG_20150907_110747624

When I had the jars stuffed full of the apples, I poured the syrup into the jars and then processed.

IMG_20150829_134035555

IMG_20150829_145006018

This recipe will need cornstarch added when I open the cans and use them. Cornstarch is not canning stable, according to the USDA.


Once I had finished a full kettle of Apple Pie Filling, I switched over to Applesauce. I added brown sugar to the apples and boiled them down. Next, I put them through my mill and added a little bit of leftover syrup.


IMG_20150829_153701005

Even after all of the canning, I still have leftover syrup. I’m saving it in my refrigerator to add to apple juice in small batches to make spiced apple cider.

IMG_20150829_161846525


Recipes:

Apple Pie Filling

  • 4 1/2 cups white sugar
  • 1 tablespoon ground cinnamon
  • 1/4 teaspoon ground nutmeg
  • 1 pinch ground cloves (optional)
  • 2 teaspoons salt
  • 5 cups water
  • 3 tablespoons lemon juice
  • 6 pounds apples, peeled and cored

In a large pan over medium heat, mix sugar, salt, cinnamon, cloves and nutmeg. Add 5 cups water and mix well. Cook and stir constantly until sugar is dissolved.

Stir frequently, boiling until mixture is thick and bubbly. Remove from heat and add the lemon juice.

Fill jars  halfway with sliced apples. Then pour liquid into jars to about one inch from the top of the jar. Ladle the syrup over the apples, then add more apple sure to leave at least 1/2 inch of room between the filling and the jar top to allow for a little expansion.

Slide a thin plastic, silicone or wooden knife around the sides of the jar to remove air bubbles, then put the lids and rings on the jars.

Add a few cups of cold water to your boiling water bath to equalize the water temperature to the temps of the filled jars and place jars in the boiling water, making sure there is enough water to cover the jars with at least a 1/2 inch of water.

Bring canning water to a rolling boil. Once the water is at boiling, let the jars sit for 25 minutes.


Applesauce

Put about six cups of cored and peeled apples into Dutch Oven. Add about a cup of water or apple juice. Add juice of one lemon. Add 1/2 cup of brown or white sugar and about 1 T of cinnamon (to taste). You can also add ground cloves, allspice, or ground nutmeg — whatever you like! Stir the pot well and then cover for about 25 minutes.

At this point, you may be done! Or, you may want to put your apples through a mill or blender…whatever you prefer. Decide if you’d like to eat it right away or in smaller batches throughout the next year by processing in a water bath.

You Say Tomato…I Say Sauce

Another week has gone by and the counter has filled up with more good things from the Victory Garden.  IMG_20150828_143714529

I planted two types of tomatoes in the spring — Better Boy and Cherry. Both types were planted from seed, something I haven’t tried before because it takes an incredible amount of patience to wait for tomatoes to come up while the ones in the store are about to turn red even before frost is over and all you have to do is plop them in the ground. But, the funny thing was the seeded tomatoes I planted were ready to pick the same week as the store-bought in other people’s gardens.

Now that the sun is baking the yard every day, I am picking about three Better Boys and a dozen Cherries every day.  Every. Day. That’s about 2 dozen large tomatoes by the end of one week and let’s just say roughly a million small ones in the same time.

So off I went to track down some good canning recipes. Salsa and Whole Tomatoes made the short list, but I settled on Spaghetti Sauce and Tomato Cocktail Juice.

For the Spaghetti Sauce, I used the Basil-Garlic Tomato Sauce recipe from the Ball Canning website. Key is to use lemon juice or citric acid in the recipe to keep it from spoiling during storage. I also learned I didn’t cook it down long enough. I simmered my recipe for an hour, but I should have gone 2-3 hours. As it cooled in the jars, it separated and became watery; still good, but not nice and thick like the really good stuff.

IMG_20150830_092107184

For the Tomato Cocktail Juice, I used a trusted recipe from Oscar, a dear family friend of my Aunt Carol. He shared his very best recipes and tips with Carol before passing away a few years ago.

Here’s Oscar’s recipe:

1 Kettle Cut-Up Tomatoes

2 Stalks Celery

1 Bay Leaf

2 Onions

1/2 Green Pepper

Parsley Flakes

2 T Salt

2 T Sugar

2 T Lemon Juice

Cook until tender, about one hour. Put through a strainer and reheat. Bring to a boil again for about 30 minutes. Put into jars and seal. Process in hot water bath for 30 minutes. Keep water hot, but not at a rapid boil.

Carol adds carrots as well.

The best part about this recipe is that it used up both types of tomatoes. I boiled both down really well and then ran through my Omega juicer (one luxury of convenience I wish my grandmothers could have had!!).  The juicer removed the seeds and skins completely, leaving juice and a fair amount of pulp.

While I’m being honest about my shortcut here, I’ll also confess that I did not cook down the onion, green pepper, celery or carrots. I juiced them after I ran the cooked tomatoes through. I’ve never tried juicing an onion or green pepper before, but it turned out fantastic and cut a lot of time off my finished recipe. I had been at the tomatoes for three hours by the time I got to the Tomato Cocktail Juice. So, if you wonder how I could stray off my WWII rules…yeah, don’t ask!

The end result is amazing. I am picky about tomato sauce. The only brand I buy is Hunt’s. The Tomato Cocktail Juice comes so close to the taste of Hunt’s Tomato Sauce that I’ll likely use it instead of Hunt’s and enjoy the added value of the other vegetables.

Drink Their Tomatoes

Give Us This Day Our Bread & Butter Pickles

home pickling

Cucumbers. It’s August and all I have on my mind is how to use up all the cucumbers. Even though my garden didn’t produce all that many (something about a powdery mildew), my parents’ garden back on the farm in Wisconsin is churning out cucumbers — about 25 a day.


So far, we’ve eaten each our own fair share of cucumbers raw, on a salad, in a cucumber & vinegar salad, and juiced.


We’ve spent a day pickling them into dill pickles. And, when there is not enough time, energy and sterile jars, we’ve turned them into Refrigerator Dill Pickles or Bread and Butter Pickles.


IMG_20150720_162719554

First Up — Refrigerator Dill Pickles.

My Grandpa “Doc” (blissfully married to his grade school sweetheart – my Grandma Barb), is credited with this family gem of a recipe.


You’ll need a plastic pail (traditionally we use an ice cream pail, but I’ve started bringing home the big plastic Folgers Coffee containers from work – couldn’t see throwing them away!). To the pail, add a few heads of Dill, 3-4 cloves of garlic, a chunk or two of an onion quartered. Then, cut several (6-8) cucumbers into spears (or “chips”…however you’d like them cut). Toss them in the bucket with the dill, garlic and onion. In a pot on the stove, bring to a boil 6 cups of water, 2 cups of white vinegar, 1/2 cup canning salt (or a little less if that seems like a lot to you), and 1-2T pickling spices (I love the Watkins brand for pickling spices). Once the pot comes to a full rolling boil, pour it into the bucket of cucumbers. Put the lid on and put them in the refrigerator for a day or two before eating. They keep very well for a long time in the bucket, in the refrigerator.


You can tell the recipe is not an exact science. No two buckets turn out tasting the same. Some batches are too salty, some are a little bland, but…when you get the perfect batch – stand back!


So, you still have cucumbers left? No worries.


Bread and Butter Pickles

Cut up several cucumbers into thin slices. Place them in a stove top pan along with 1 tsp. salt, 1 thinly sliced onion, ½ tsp. mustard seeds, 1 C white sugar, ½ C distilled white vinegar, ¼ tsp. celery seed, ¼ tsp. ground turmeric.

IMG_20150728_170050464

Cook all together until cucumbers are tender and the onion is translucent. Transfer to sterile containers. Seal and chill in the refrigerator until serving.

IMG_20150728_170155830

These last a very long time in the refrigerator, but you can also preserve them in a canner if preferred. I’m not sure how long a very long time is; we end up eating them up until Thanksgiving-time and then they are usually devoured completely while waiting for the turkey to cook that day.

bb pickles