Archive for Make It Yourself

Earning the Home Legion Distinguished Service in Homemaking Medal – Part II

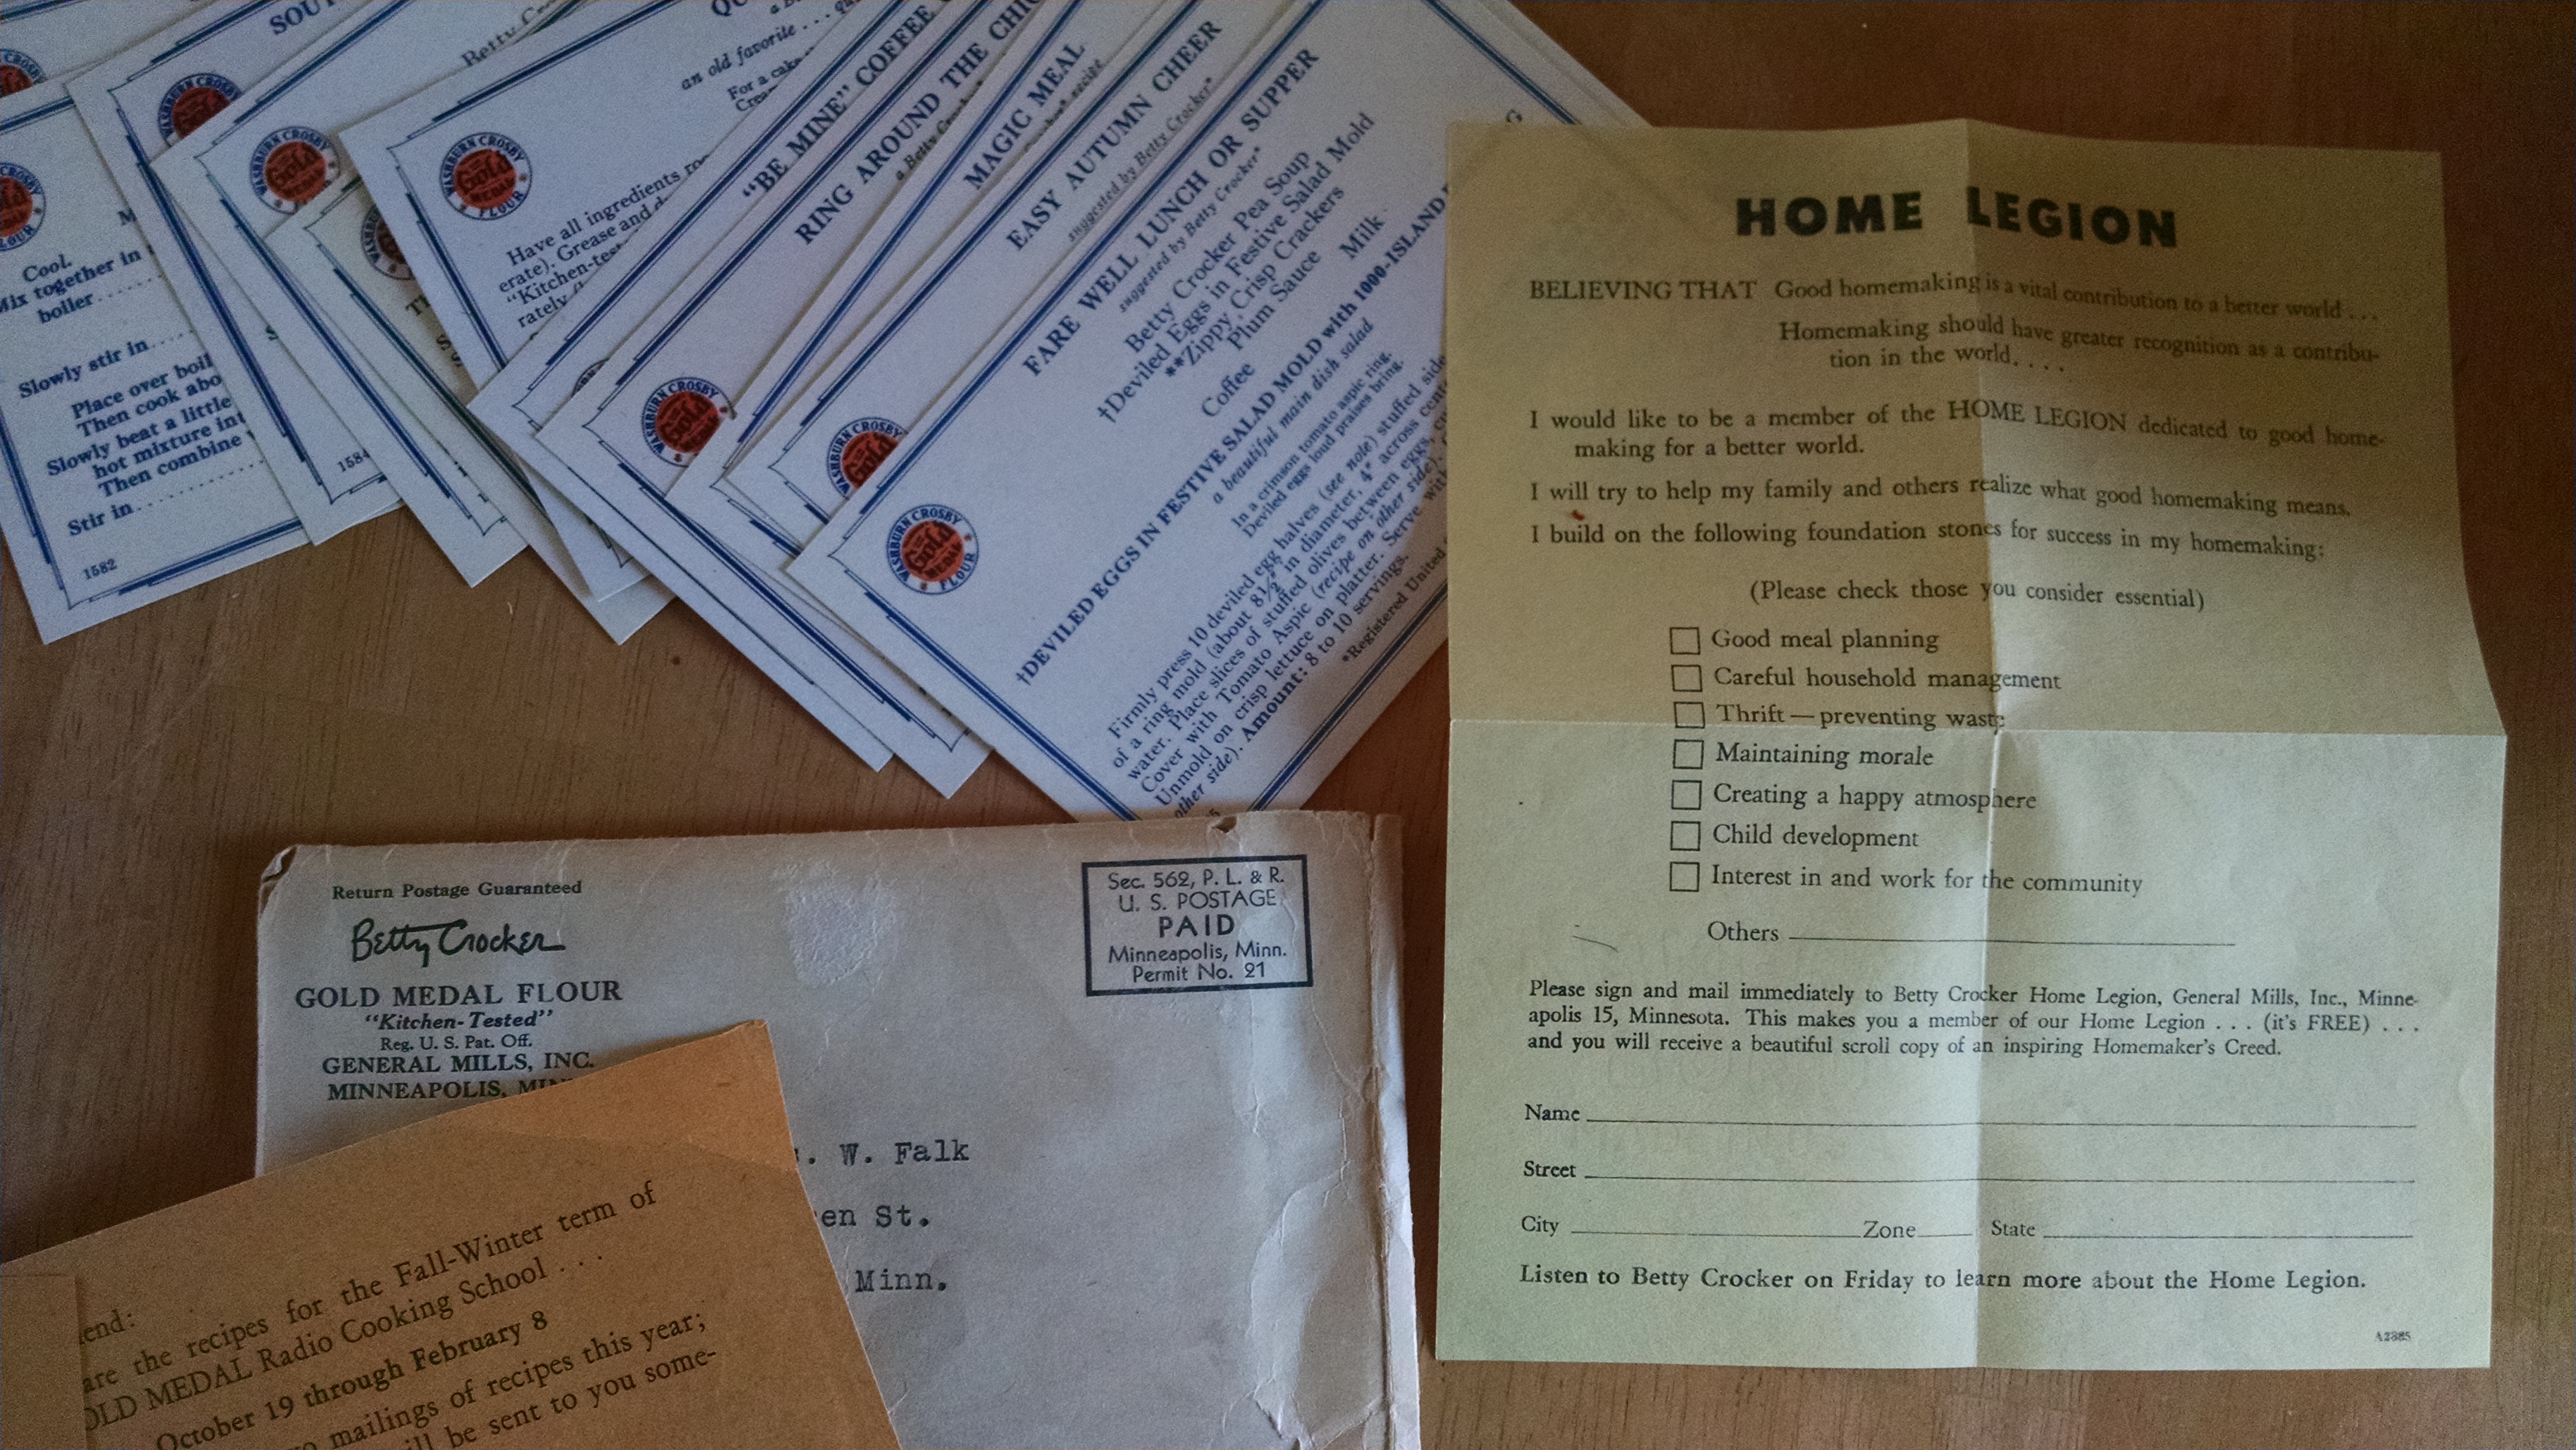
In earlier posts (here and here) we learned about the prestigious Home Legion medal for distinguished service in homemaking. I was incredibly fortunate to come into possession of a medal, but I don’t feel that I have ‘earned’ the pin until I have completed the steps that all original Home Legion members had to complete for the recognition.

Step one: Join the Home Legion by filling out the application. I shall check the boxes of ‘good meal planning, careful household management, thrift — preventing waste, maintaining morale, creating a happy atmosphere, and interest in and work for the community’.  Check!

Step two: Hang the Homemaker’s Creed on a wall in my kitchen. Check!

Step three: Answer the questions in the second round of mailings: “What do you do to insure a smooth-running home?”, “What little tricks do you use for saving time and labor?” and “How do you practice thrift in conserving food, household supplies, and equipment?”

What do you do to insure a smooth-running home? Short answer — simplicity and routines! Have you ever come across those cute flour sack towels with the day of the week embroidered on them?  Monday is Wash Day. Tuesday is Iron Day.  Wednesday is Bake Day. Thursday is Brew Day. Friday is Churn Day. Saturday is Mend Day. Sunday is Meeting Day. It goes back to the Mayflower and times when we needed to brew and churn.  Luckily, I don’t have to go that far back!  In McCall’s patterns of those towels, Thursday became Market Day and Friday became Clean Day. Other versions argue that Bake Day or Market Day should be Saturday.  Who knows for sure?

Anyway, there is an inborn tradition in me that makes Monday Wash Day. I grew up on a farm with rows and rows of laundry hanging on a clothesline — first load hung by 5:00 am on Monday morning! I do set aside time on Fridays for cleaning to make sure we start the weekend feeling tidy and organized. I like to make Market Day a Friday night event and grab dinner on the way home. That way Saturdays can be left for whatever we feel like doing and meal prepping can be done on Sundays for the week ahead.

Cleaning doesn’t seem so big of a chore when things are done as they need to be throughout the week too — dishes put in the dishwasher after meals are over. Bathroom sinks can be wiped clean after use as part of the morning routine. Before going to bed, the living room can be picked up if books, magazines, or other things were used through the day.

Little things like this only leave vacuuming, dusting, and other light cleaning tasks for Fridays.

Larger tasks and spring deep cleaning find their way to a list and scheduled like projects to be done when there is plenty of time to plan for and work on them.

What little tricks do you use for saving time and labor? We have lots of little tricks around our home for saving time and labor. The best have been locating general cleaning supplies used on each floor of our home (basement included) on each floor to save steps and make the routine flow. I am obsessed with planning efficiency and always study every task for any way of removing steps.  For example, when grocery shopping, I load my cart and then the conveyor belt with like items based on where they are located in my kitchen. They are bagged together in the same way and then when it’s time to put everything away, I can take my bag to the one area in the pantry or refrigerator or freezer where it all goes.

On meal prepping day, I locate all the ingredients for a recipe together in the pan or bowl I’ll be using to cook or bake it in along with the recipe card so all I have to do is pull out the bowl from the pantry, pull out any ingredients that were stored in the refrigerator or freezer, and take it all to the counter to assemble. All this planning goes a long way in reducing clean up time too.

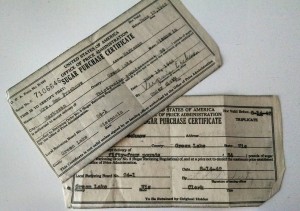
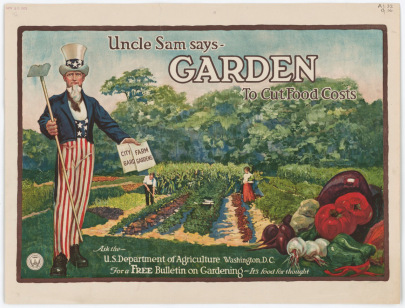
How do you practice thrift in conserving food, household supplies, and equipment? Thrift always comes down to living the WWII mantra “Use it up, wear it out, make it do, or do without”.

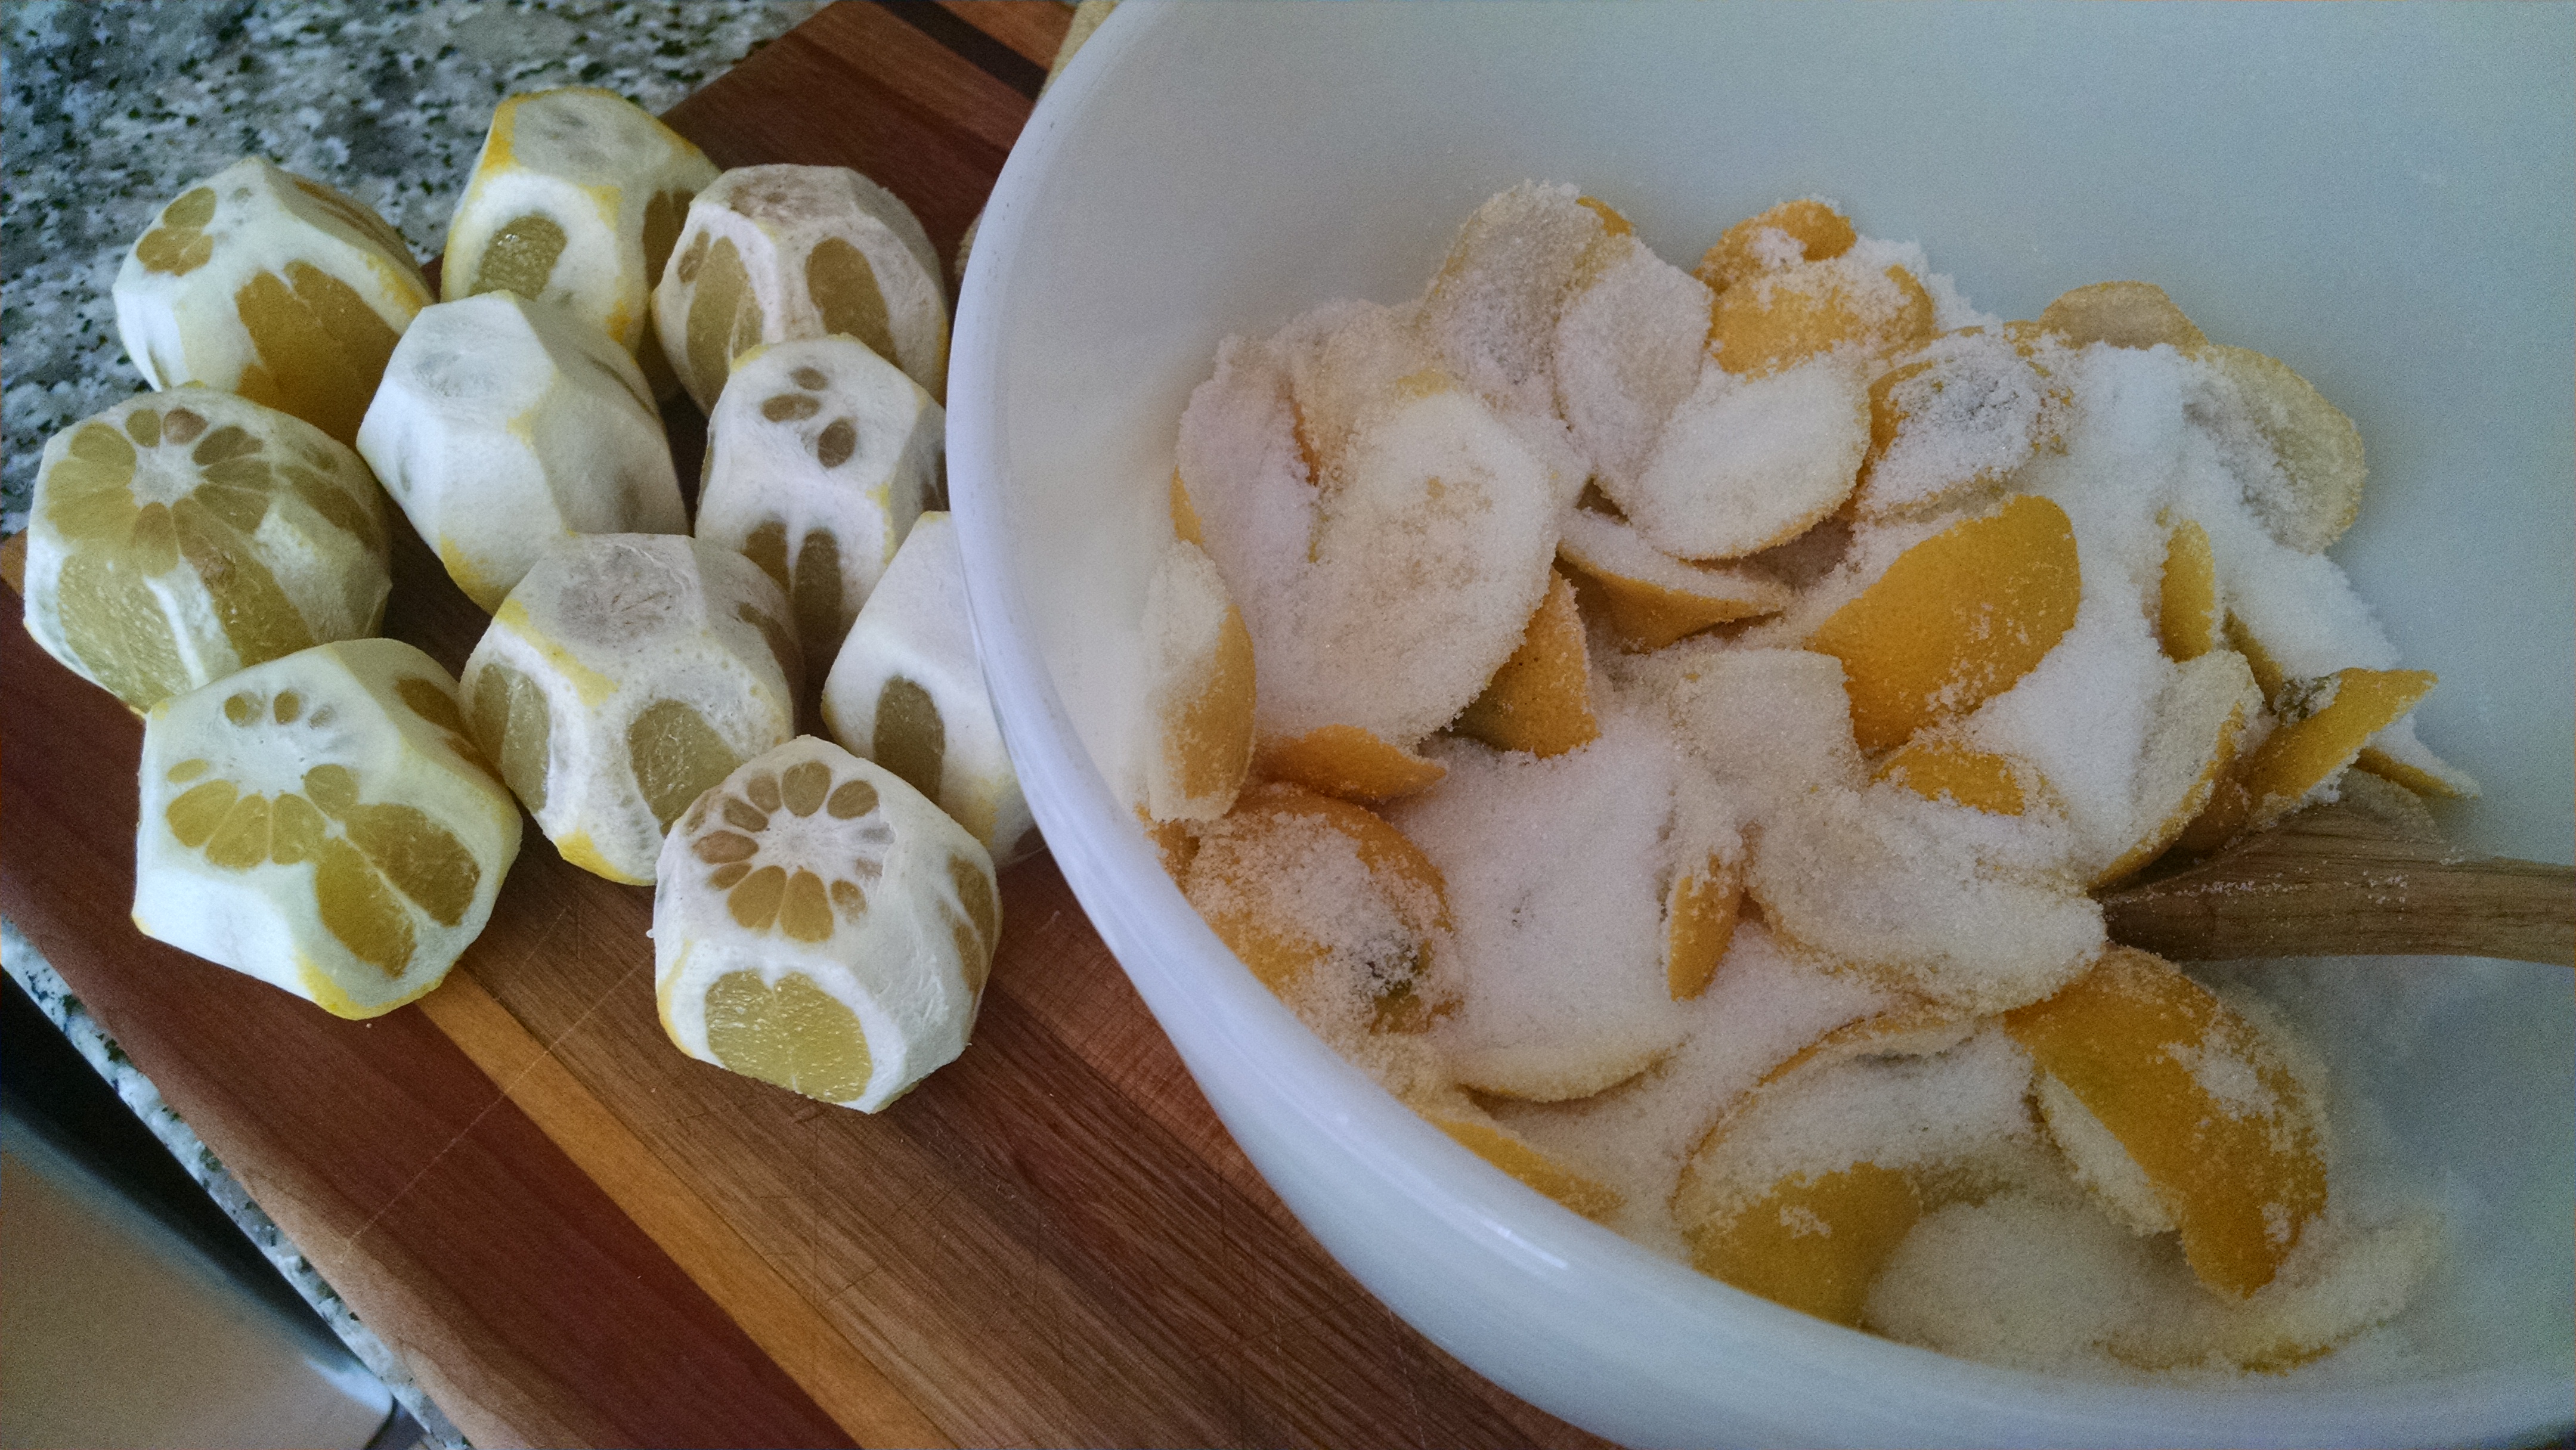
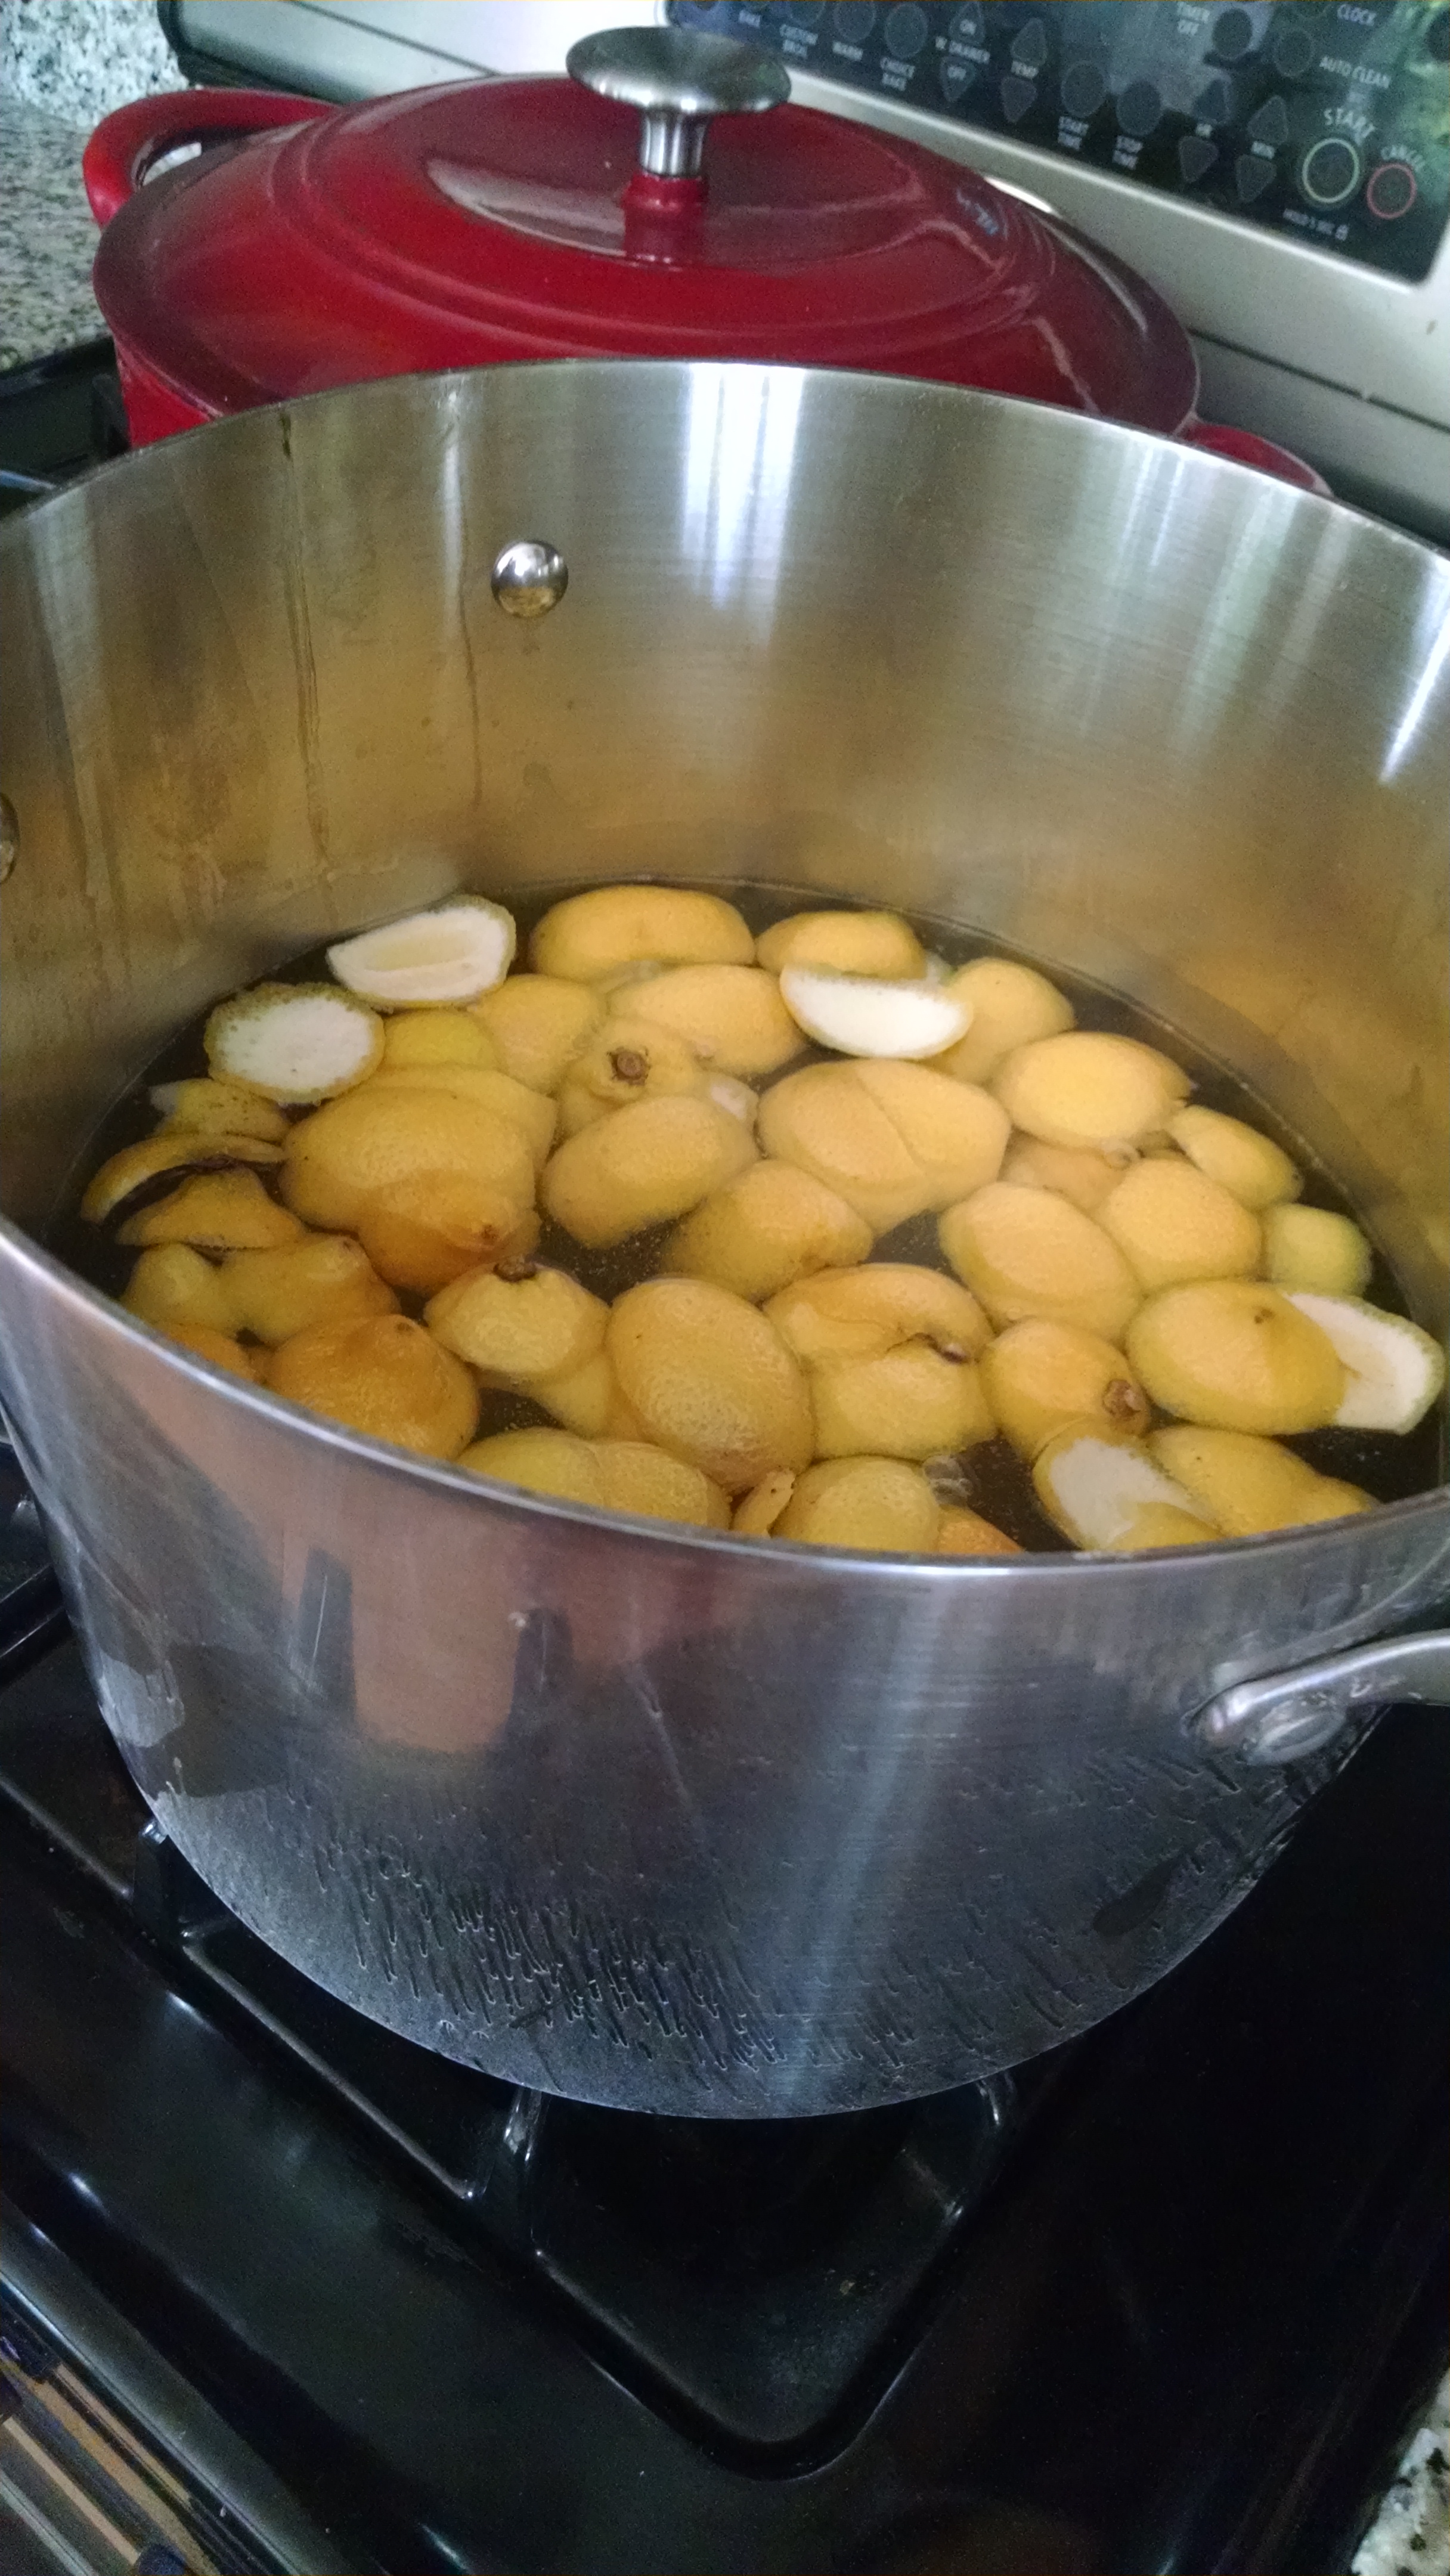
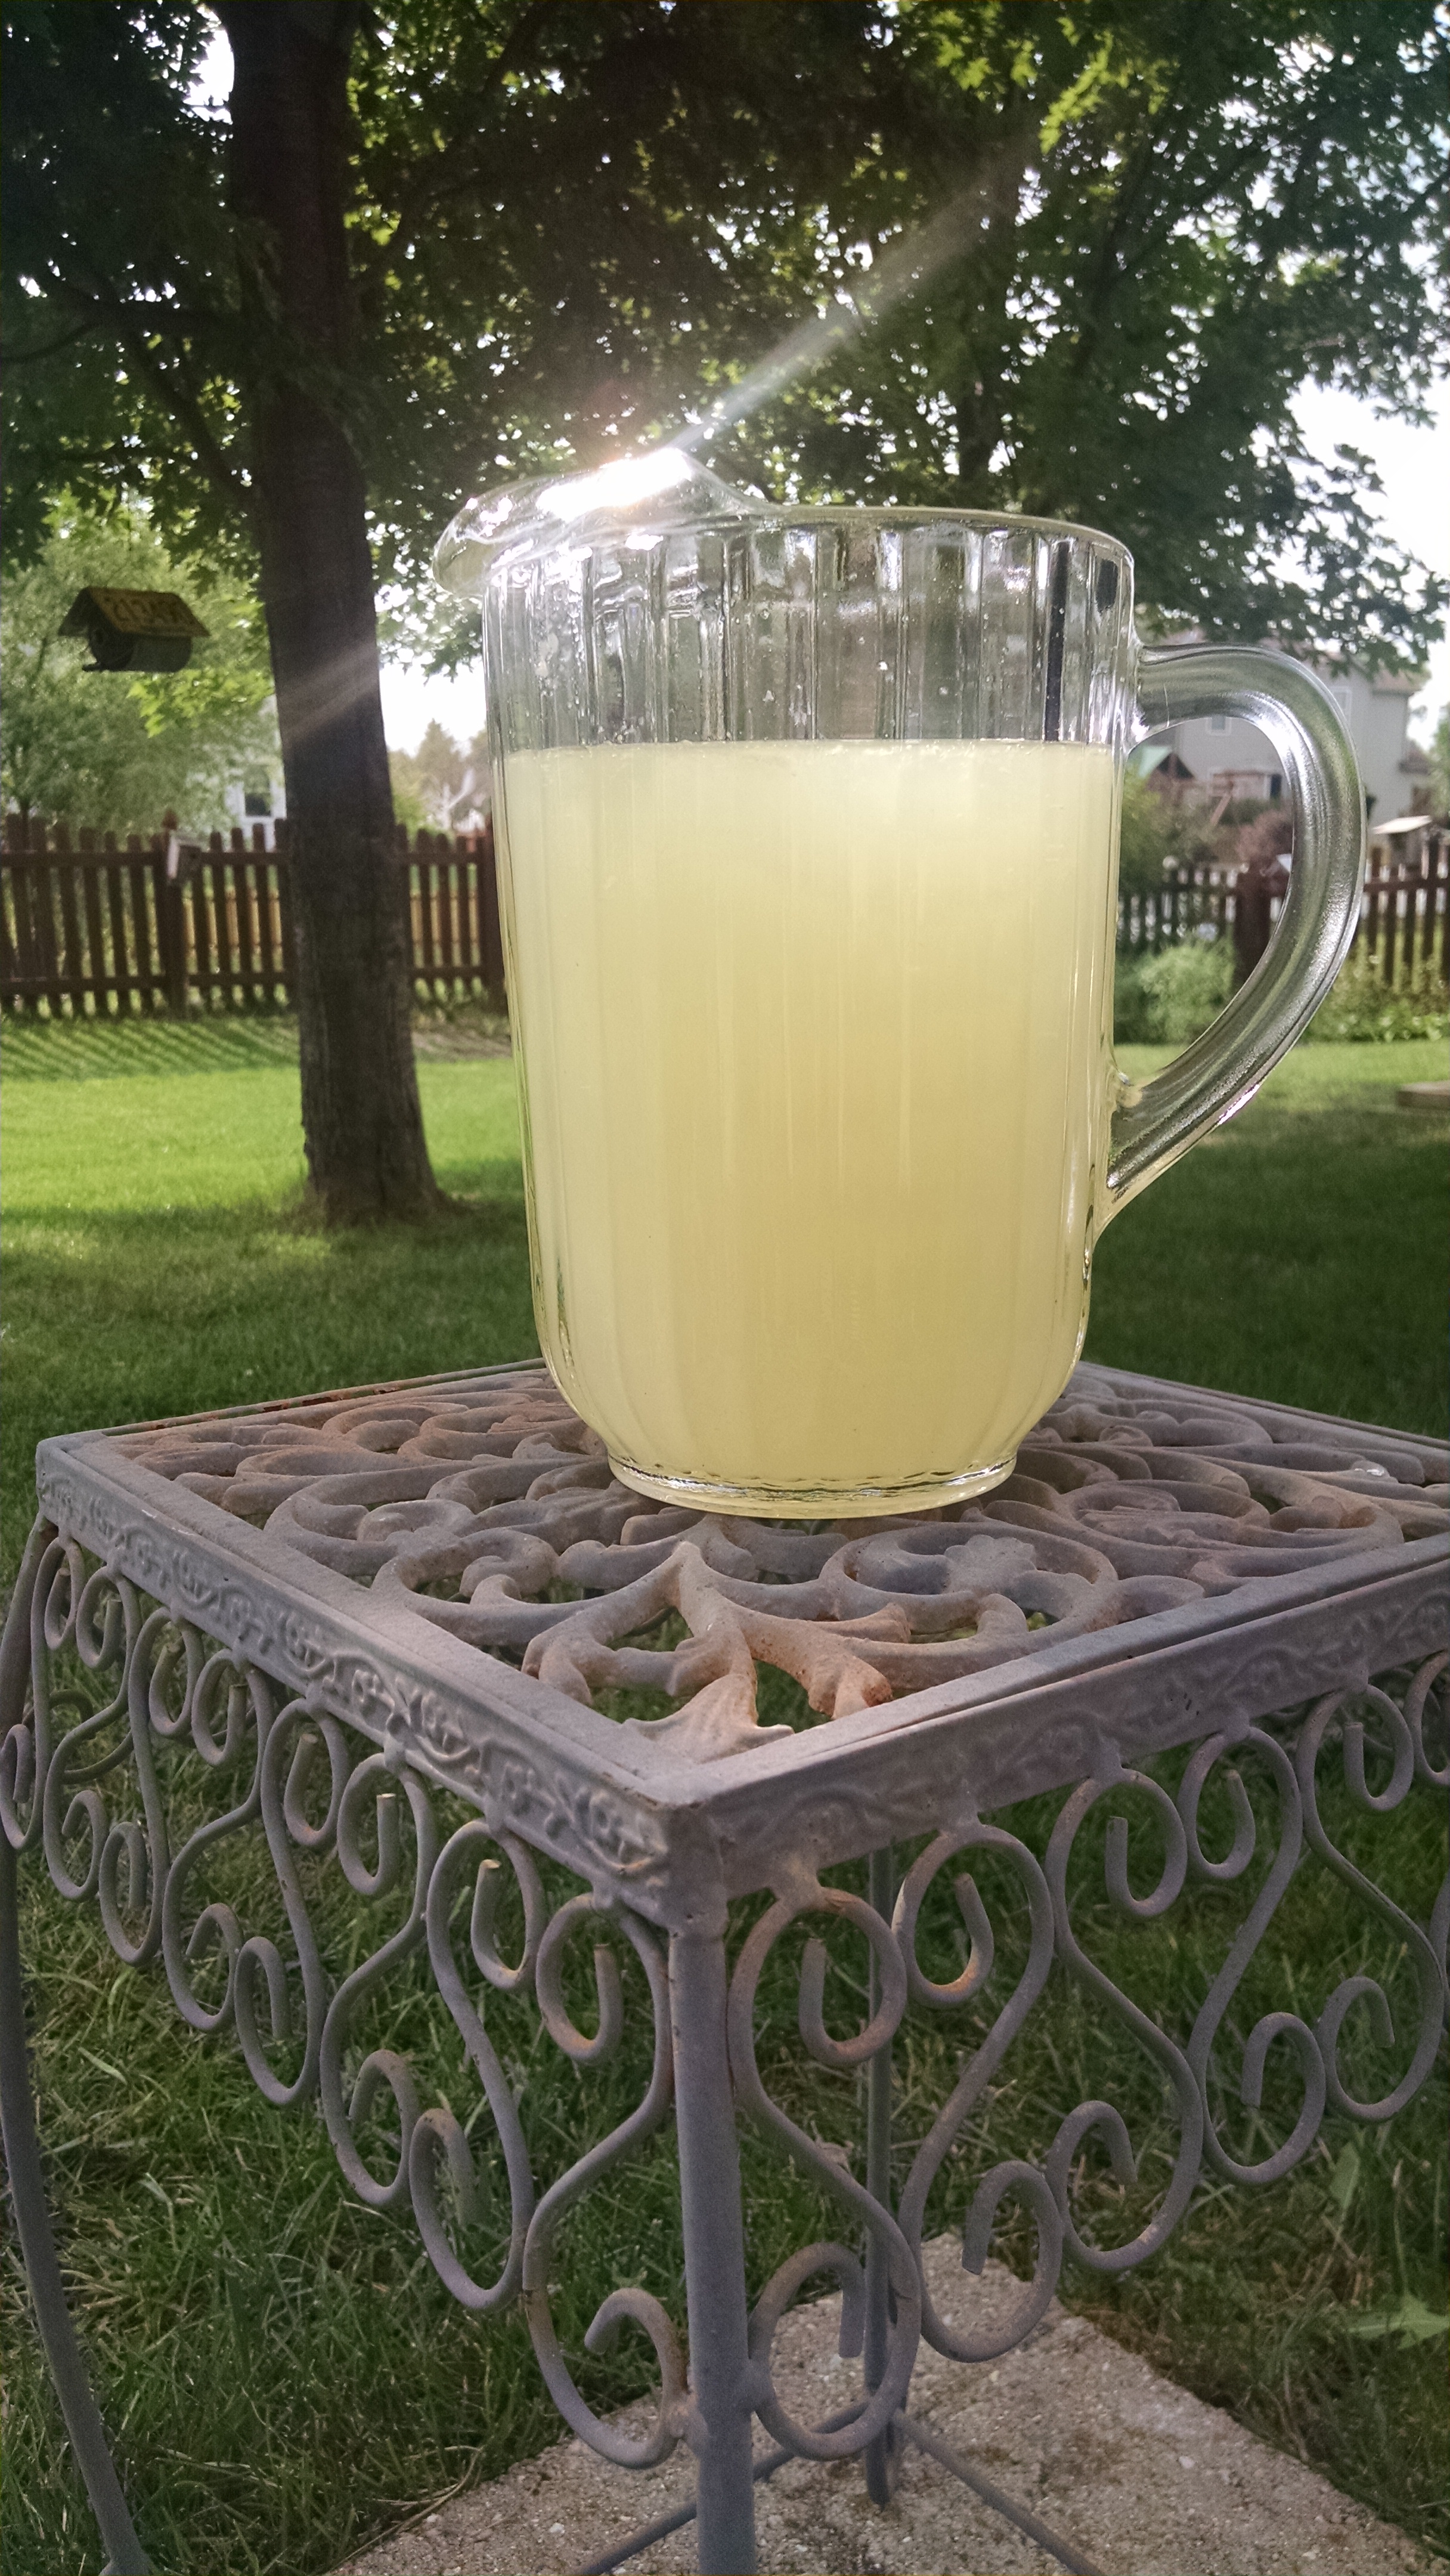
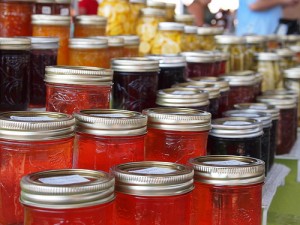
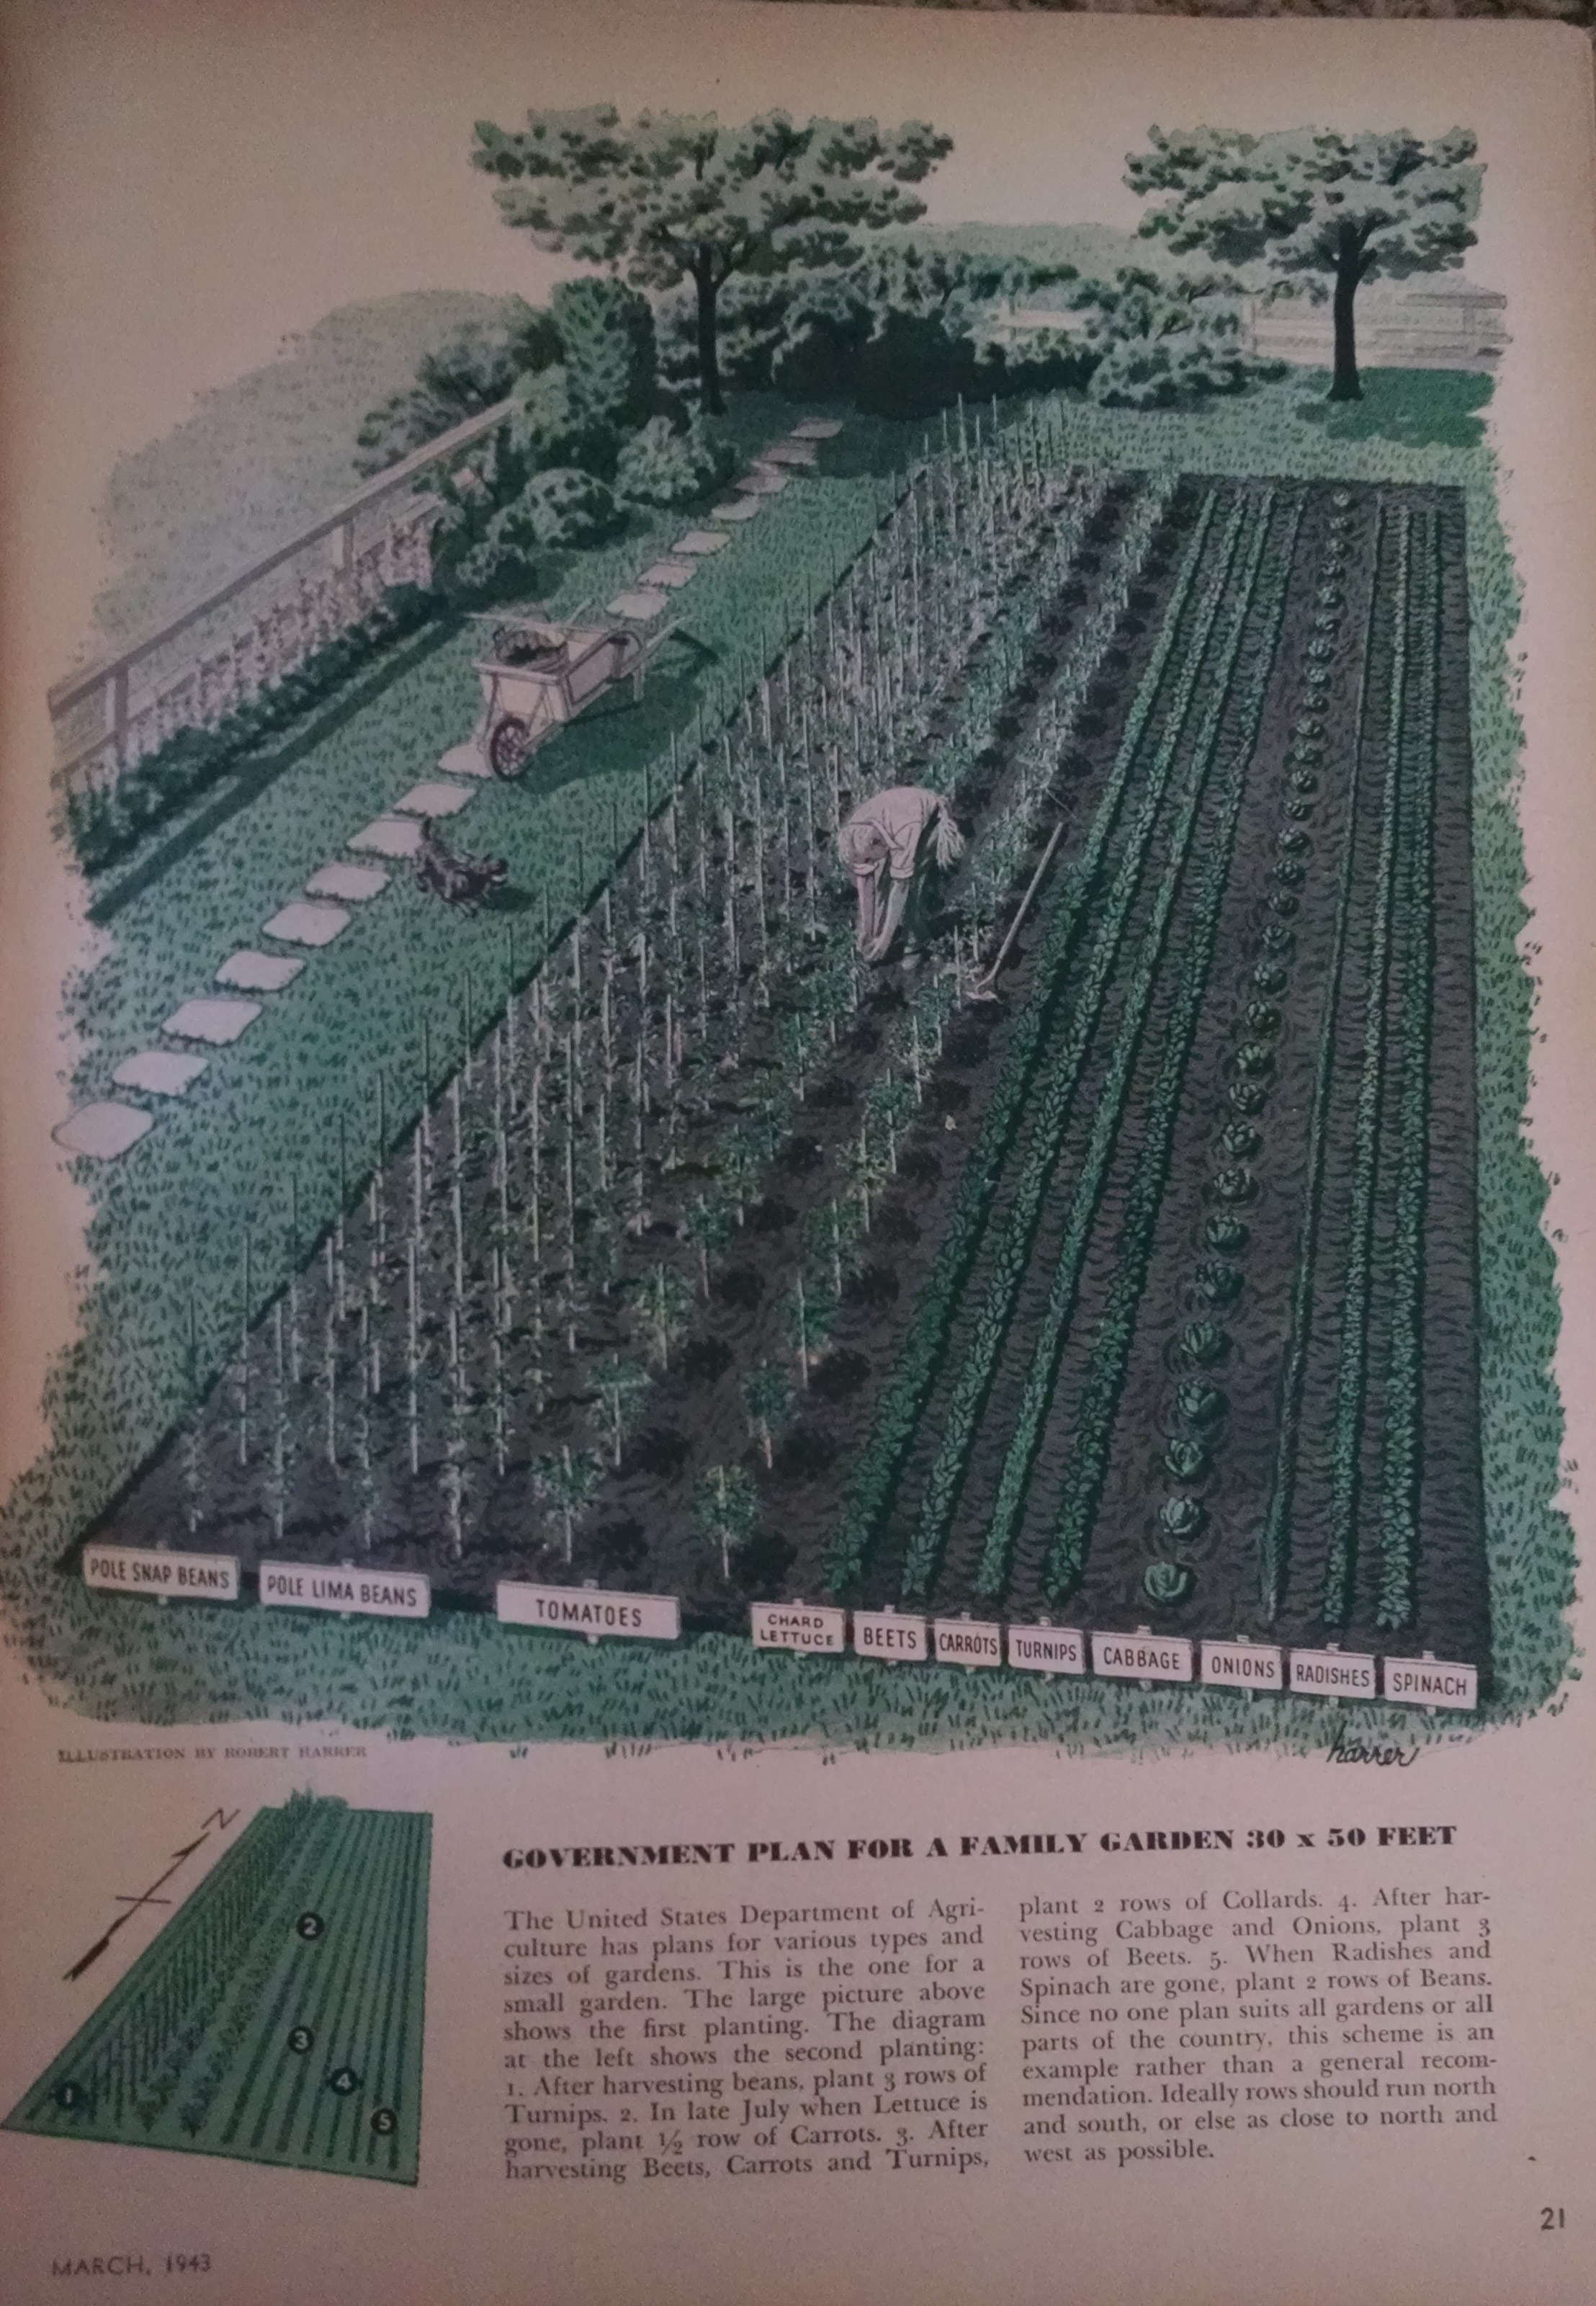
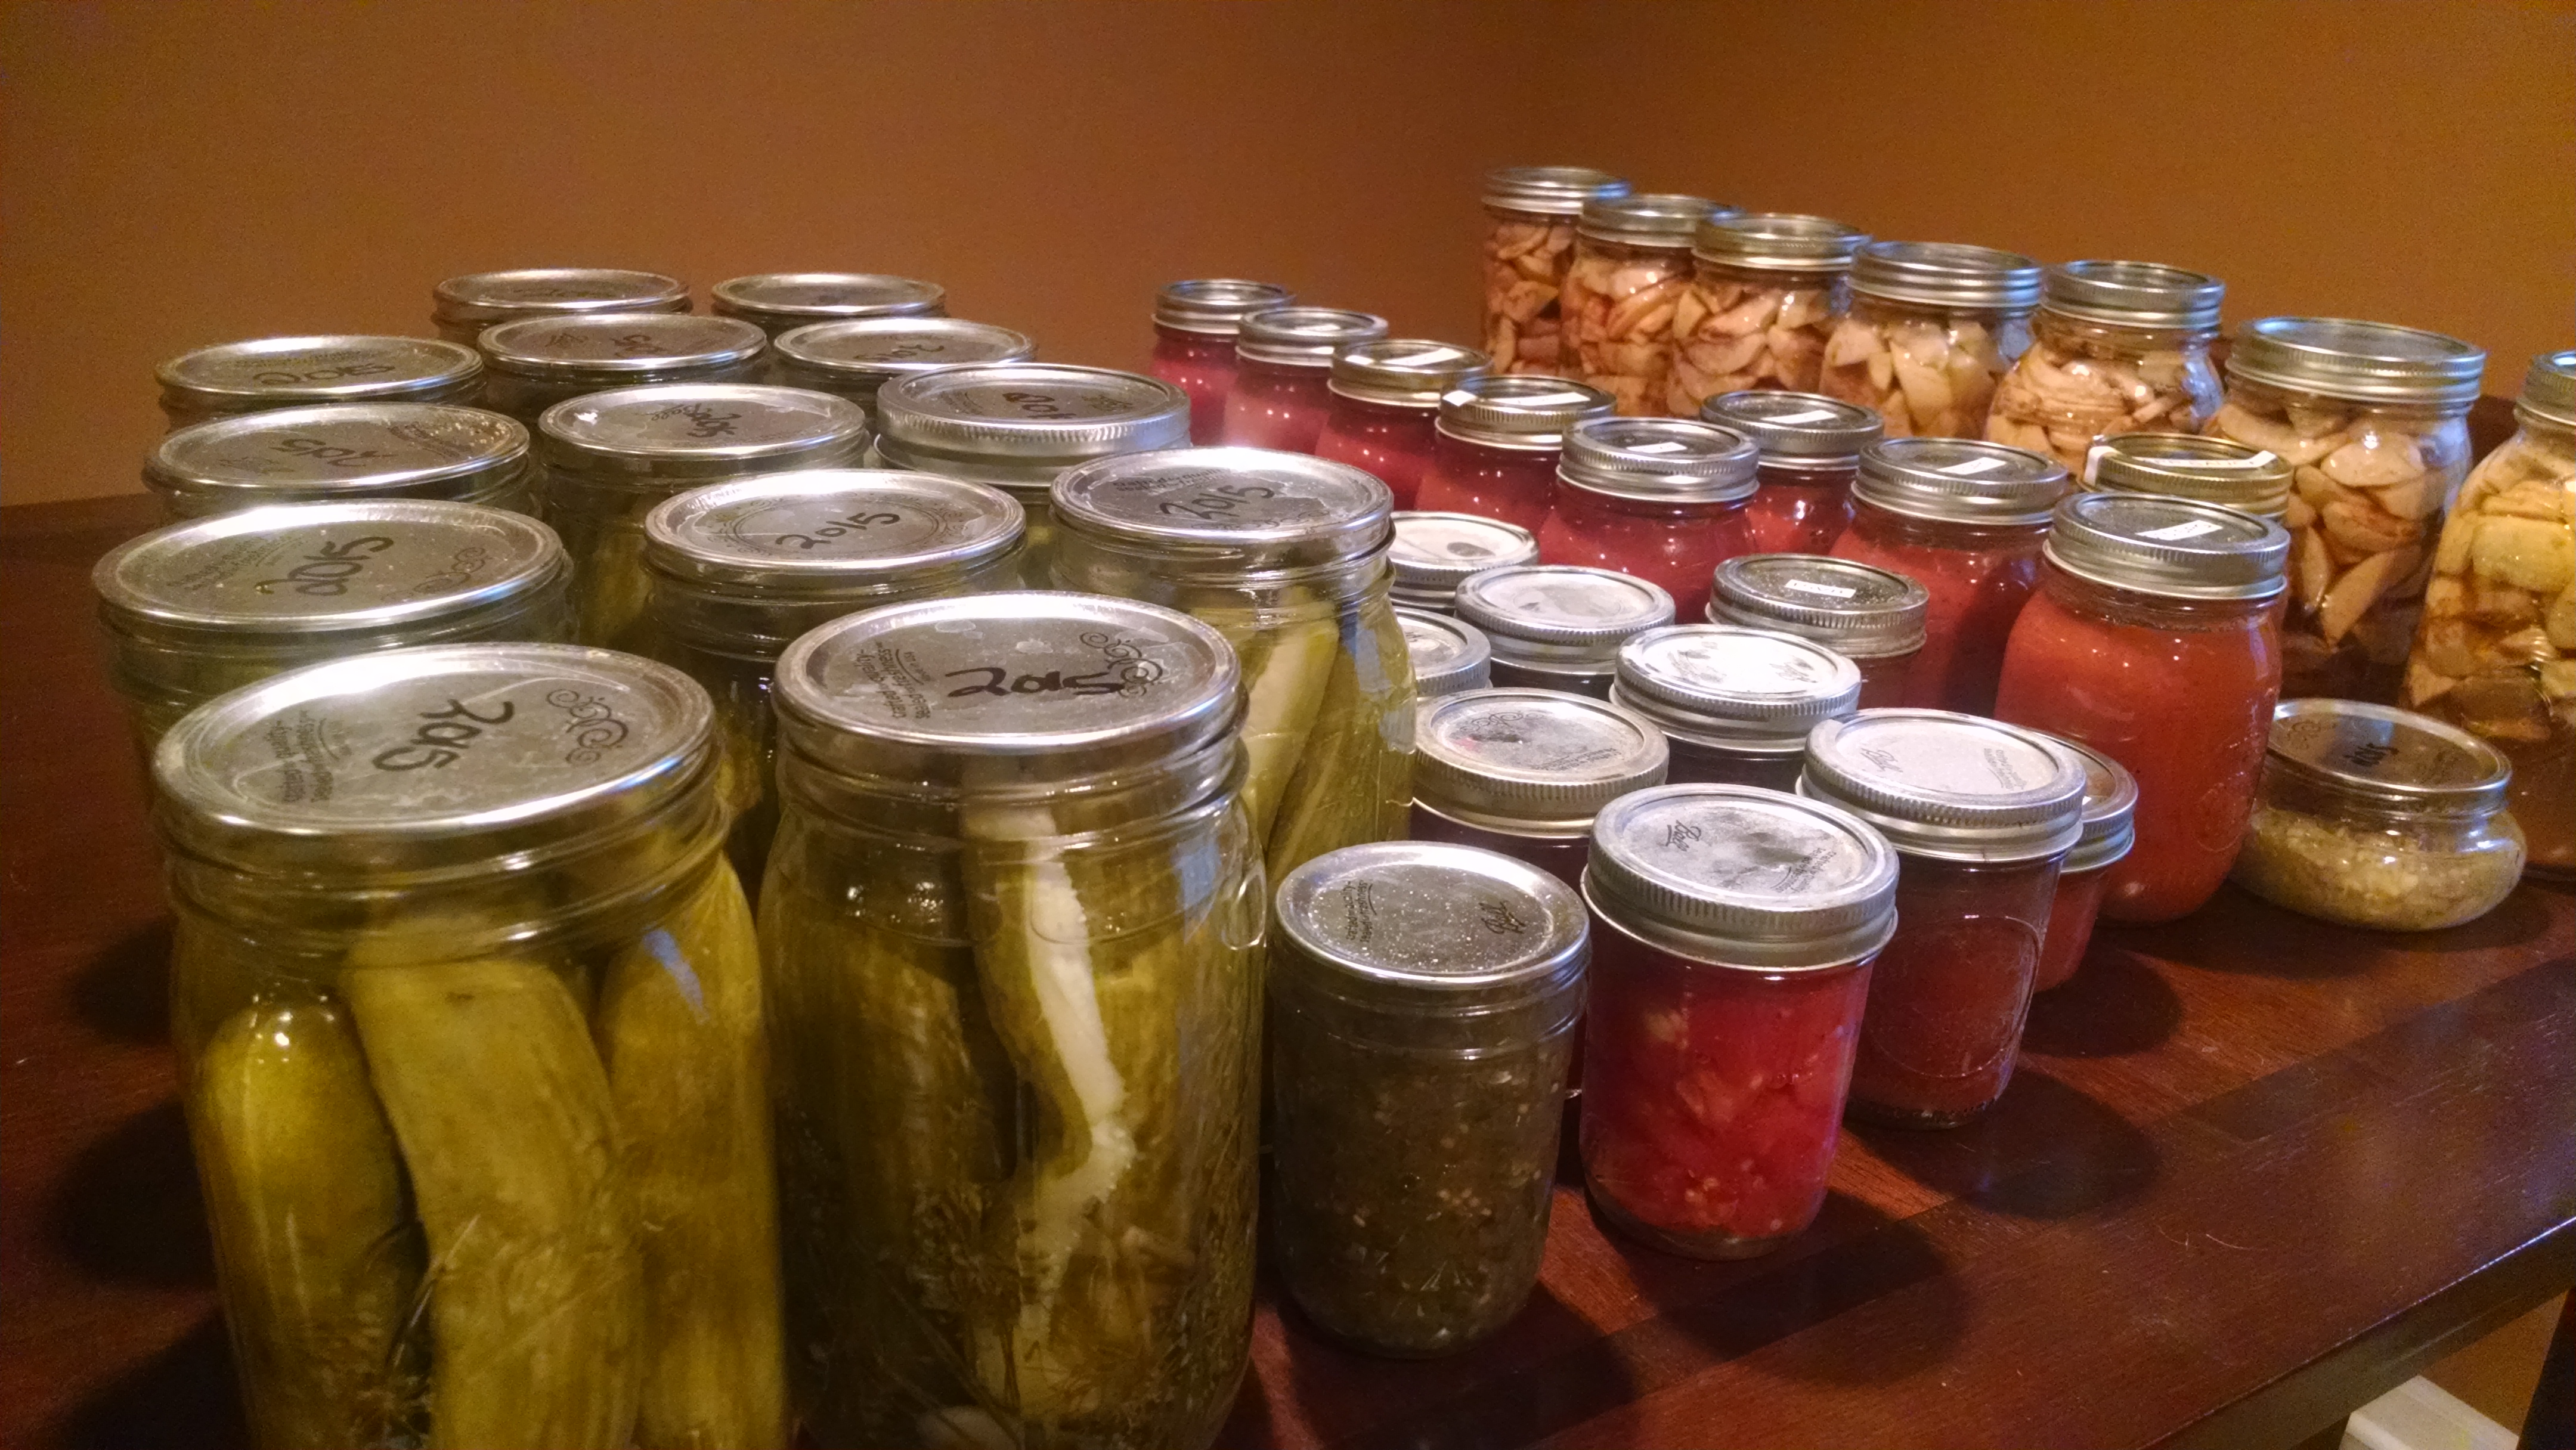
We plant a garden. And in our home, food is prepped and frozen before it can go bad. If plans don’t go as first arranged, fruits and vegetables can be juiced very easily and efficiently. Berries not frozen also go into a smoothie or prepped into desserts.

Everything has a life cycle with several stages. Worn out t-shirts become dust rags. Tea towels act as cloth napkins — no paper towels or paper napkins in this house! We use cloth bags for shopping. Any plastic bags that accidentally find their way into the house are used as kitchen waste bags — we do not buy Hefty or any other kind of trash bags.  It really doesn’t make sense to pay for something that’s main purpose is to throw away! Same for paper bags – these are used for holding recyclable waste until they are tossed in the recycle bin (Waste Management does not allow plastic bags of any kind to be used in recycle bins).

Equipment in the house is carefully maintained. Wooden cutting boards and utensils are waxed twice a year to keep in good condition. Garden tools are cleaned and oiled at the end of each season. Kitchen tools are cleaned and dried right after a thorough washing to avoid rusting. We use a clothesline for drying clothes in warm seasons to extend the life of the dryer. We use (and reuse) glass jars and containers — no plastic! Knives are carefully used, stored, and sharpened when needed, instead of buying new.

Lessons Learned

One sunny day last summer my neighbor’s daughter, age nine, came to my door on an errand to borrow some sugar or an egg, or something like that.*


As I handed off the item she was there to fetch I also wrote out a note to her mother and handed it to her.  She said, “I can’t read that.  In cursive, I can only read my name.”


Her statement stayed with me after she ran off and I thought about it throughout the day — and still am as this is almost a year later when I write this. I had heard about The Common Core education standards years ago when in 2013 it was determined cursive was no longer a needed skill to teach in school. It takes too long to teach, especially when increasingly computers, tablets, and phone texting has all but totally replaced every day message delivery.


In the context of The War In My Kitchen, I’m feeling very concerned about the extinction of family recipes. For one reason, while some home-delivery cooking programs like Hello Fresh® and Blue Apron® are bringing cooking back to the home, they are making it almost too easy. It is real food, and in many cases good food, but with it magically showing up at the door, we’re not learning about where food really comes from.  Not even from a grocery store anymore, are kids to think cabbage grows in a FedEx® truck?


Second, the corporate recipes are coming printed on glossy card stock in color with lots and lots of how-to pictures through the steps. We’re missing lessons handed down from family members actually showing the techniques and family way of doing the steps.


Third, the saddest to me is that we are losing the hand-written — cursive — recipe card with ingredient stains on a scrap of paper or index card. These cards appear to be written in code to someone younger than fifth or sixth grade.


Maybe one day it will become in fashion again to learn old-fashioned cooking and baking using the “retro” system of recipes written in cursive; I hope so anyway.


If we move too far beyond the current generation of not learning cursive, the recipes will fade and become lost. Sure, we can take the time to transcribe the hand-written recipes to computer and print them out or store them on a flash drive, but we lose something in translation when we stop reading the recipe written in the hand of a great-grandmother or great-aunt who learned very well the core lessons of reading, writing, and arithmetic.


* Yes, even though I live in the very modern suburbs of Chicago, I insist on old-fashioned treatment from my neighbors where we indeed pass pantry items over the fence or share recipe details. We need to get back to this sort of living and I plan to share some advice that First Lady Eleanor Roosevelt shared with me (and others) very soon.

Vintage Lemonade Like Great, Great, Great Grandma Used to Make

Here is a sad fact: the powdered concoctions found in the drink mix aisle labeled as “lemonade” are not real. Not even close. And for anyone who has never had a true and genuine glass of lemonade, I worry that life may pass by without ever having a real, honest-to-goodness glass of genuine lemonade.


As I pour myself a second glass of vintage lemonade, I think about what it must have been like when my great-grandmother tasted her first sip of the fake stuff. I bet they thought the fad would never catch on. Certainly people would not be satisfied with the missing flavor of the powder, nor would they ever believe it could be passed off as good.


Sadly, convenience won out and we’re likely on to a fourth generation of kids not knowing what lemonade is supposed to taste like.

Kool-Aid® may be considered by soKool-Aid 1940sme to be vintage. Invented in 1927 by Edwin Perkins in Hastings, Nebraska, (more specifically in his mother’s kitchen until 1931 when he moved to Chicago), the mix was introduced in six flavors: cherry, grape, lemon-lime, orange, raspberry and strawberry. The popularity of the drink mix didn’t explode until 1953 when Hastings sold the product to General Mills and “Oh Yeah” Kool-Aid Man® became the spokesperson. Now manufactured in Mexico, the mix is also good for temporarily dying hair to match the fake colors found in the packet.


No better, Countrytime Lemonade® was introduced in 1975, by the same parent company as Kool-Aid®. It appealed to many as a more grown-up image for adults who didn’t drink buy their lemonade from a talking pitcher of sugar water.


Enough about the fake stuff. Let’s move on to the good stuff. Yes, it takes time. Yes, your counter will end up a sticky mess before you’re through with the straining and pouring. But, you won’t even remember all that once you take your first wonderful sip.

IMG_20160731_144650587

5 Lemons

1 ¼ Cup White Sugar

1 ¼ Quarts Water (38 ounces)


Peel the rinds from the lemons and cut them into ½ inch slices and place in a mixing bowl. Sprinkle the sugar over them. Let stand for about one hour.

IMG_20160731_145244750

Bring water to boil in a covered saucepan and then remove from heat. Add sugared rinds to the hot water. Allow this mixture to cool for 20 minutes. Remove rinds.

IMG_20160731_160041575

Squeeze the lemons into another bowl and then strain to remove seeds.


Pour lemon juice into sugar mixture and then pour all into a glass pitcher.

IMG_20160731_162221639

93 Pounds of Sugar

Twice in a year, Mrs. Ben Prochnow of Markesan, Wisconsin was allowed two large quantity ration certificates for sugar for canning purposes.  On June 13, 1942 Mrs. Prochnow received 39 pounds of sugar and on August 14, 1942 Mrs. Prochnow received 54 pounds of sugar.

Mrs Ben Prochnow

As the policy went, the summer ration was set to each person being allotted one pound of sugar per 4 ½ quarts of fruit, plus an additional one pound for canning of preserves. The fall ration however, mention anxiety on the part of the government (OPA office) that “government is as anxious to have all available fruit canned as it is to conserve sugar. For that reason local boards have been instructed to issue sugar purchase certificates at the second canning sugar registration based entirely upon legitimate requirements of sugar.”  The base calculation would still be one pound of sugar for four quarts of canned fruit. Housewives — in this case, Farmwife, would need to come to the registration point with a worksheet in hand showing her calculations to receive her fair share.


On the honor system, women calculated their kitchen work and even though there seemed to be rule of plenty, they still took to other suggestions of stretching canning and preserving rations.


Sure-Jell advertised more than twice as many glasses of jelly, jam or marmalade with their product. Touted as “Sensible” and “Patriotic”, who wouldn’t be caught not using it?

Be Patriotic

According to the 1943 Canning for Victory pamphlet, compiled by the Rector’s Guild of the Grace Episcopal Church in Madison Wisconsin, canning seasons in North Central States looked something like this:


June: Pineapple, Rhubarb, Strawberries

July: Cherries, Currants, Gooseberries, Huckleberries, Raspberries

August: Blackberries, Peaches, Plums

September: Apples, Crab-apples, Grapes, Peaches, Pears, Quinces


Vegetables:

June: Asparagus, Beans, Carrots, Greens, Peas

July: Beans (string), Carrots, Corn, Greens

August: Beans (string), Beans (lima), Beets, Corn, Tomatoes

September: Pumpkin, Tomatoes


Fowl:

September: Chicken, Guinea-hen

October: Duck, Grouse, Pheasant, Partridge

November: Duck, Grouse, Partridge, Rabbit, Turkey

December: Duck, Grouse, Partridge, Turkey


The pamphlet states that as little as ¼ cup sweeting to 1 ½ cups of water may be used if desired. Fruits may be canned with or without sugar, but the color, flavor and shape of the fruits are better if a little sugar is added. When canned without sugar, no water need be added to juicy fruits as berries, cherries, currants or plums.


Backtracking…the difference between jelly, jam, preserves and marmalade? In a nutshell here it is:


In jelly, the fruit comes in the form of fruit juice. In jam, the fruit comes in the form of fruit pulp or crushed fruit and is less stiff than jelly as a result. In preserves, the fruit comes in the form of chunks in a syrup or a jam. And finally, in marmalade a fruit preserve is made from the juice and peel of citrus fruits boiled with sugar and water.

surejellstrawberryjam

If we were to imagine what Mrs. Prochnow’s fruit cellar looked like at the end of canning season, with her total 93 pounds of sugar and saying she did not incorporate the advice for stretching her allotment, we would likely see 25 quarts of canned fruits and preserves all lined up on shelves in pretty summer and autumnal tones. More likely, she did use the advice and made smaller batches of pints. Perhaps an entire wall would be lined with 50 various types of fruits. Add it to the vegetables and non-sweet produce and you would see a full room of Mrs. Prochnow’s work. What a sight it must have been. canning

Oranges in Your Stocking & Oranges in Your Marmalade

Orange season was getting away from me. Florida and California varieties usually arrive around the second week of November and keep coming through late spring. They’re not great at the extreme ends of the season. February, March and April are the peak months. Late in the season they are likely to be dry, puffy and expensive. Oranges are not a summer fruit.


My grandparents and great-grandparents knew what it was like to go three seasons without an orange. And my hunch is that they knew very well the first November oranges weren’t the best and that’s why oranges stuffed in December’s Christmas stockings were considered a wonderful treat. By the time the tradition made it to my generation, my cousins and I didn’t understand it and we didn’t see the sense in using an apple and an orange to take up valuable chocolate space in the stocking.


Now knowing that oranges in the winter are the watermelon of summer, things seem very different. Imagine if we weren’t able to go to the grocery store any time of the year whenever we chose to buy oranges and fresh (real) orange juice. Oranges would definitely feel like an exciting gift in December.


With prices the lowest of the season, at the time when they are the best-tasting, it was time to buy in bulk even if they were perishable. The WWII answer to perishable bulk was to preserve.


Orange Marmalade. Not my favorite, but one of the only peanut butter combinations my husband will eat.


In the 1942 Woman’s Home Companion Cook Book, marmalade is described as “similar to jellies in texture with small thin slices or small pieces of the fruit appearing throughout the product. They are usually although not always made of citrus fruits.”


An orange marmalade takes 10 medium-sized oranges, 2 large lemons, water and sugar.


Here’s the recipe instructions: Wash the fruit thoroughly; cut in quarters, then in very thin slices, discarding all membrane and saving all pulp, rind and juice.


Cover with cold water in a heavy kettle; let stand overnight.


Cook in the same water until the peel is tender; let stand for 5 to 6 hours.


Weigh the whole batch and add an equal weight of sugar.


Cook until the sirup gives the jelly test. Stir frequently to prevent scorching.


Pour immediately into hot sterilized jars and seal at once.


The Jelly Test: As the juice-sugar mixture nears the jellying point test frequently. Dip a spoon into the boiling mass, remove and allow the juice to drip from the side of the spoon. As it nears the jelly stage it will drip from the spoon in two drops ¼ to ½ inch apart; when the jellying point has been reached the two drops will run together and drop off in one sheet or flake.


A candy or jelly thermometer may be used instead of the jelly test to determine the jelly stage. At sea level the jellying point is reached at 220° F to 222° F; at higher altitudes it is reached at a lower temperature.

IMG_20160221_123550890_HDR

The 1942 cookbook goes on to describe the next steps of filling and sealing the glasses: Skim the surface of the jelly and pour immediately into hot sterilized jelly glasses, holding the pot close to the glass while pouring to avoid incorporating air bubbles. Fill the glasses to within 1/8 inch of the top; the jelly shrinks as it cools.


Pour a thin layer of melted paraffin immediately over the surface of the jelly. Allow the jelly to cool thoroughly, then cover the glasses and store in a cool place.


I used the thermometer method. Actually, I tried both, but the jelly test method left too much room for error. It’s one of those things I feel need to be shown, not read about, to fully understand. The next easiest thing would be to YouTube the jelly test method and watch/listen to a stranger through my computer explain it – I think I’d much rather find someone who learned from their mother or grandmother to show me.


All told, for a very short amount of time and for roughly 23¢ a jar (uh-huh!), I will likely not buy marmalade from the store ever again.IMG_20160221_145029298_HDR

Victory in the Garden

ww2-poster_uncle_sam_says_garden_to_cut_food_costs

The temperatures have hit frost twice and freezing once now. I took some time a couple of weeks ago to tuck the Victory Garden in for the winter. After pulling out the last of the kale plants and tomatoes, I emptied and carried in the rain barrel and spread the compost bin over the whole thing. The trees cooperated and kindly dropped their leaves on top. Nice and snug.

It wasn’t until very recently when I stumbled upon a March, 1943 Woman’s Day magazine at a used book sale that I realized the correct measurements of a true Victory Garden. The interview with an Office of Information US Department of Agriculture spelled it out clear — 30 x 50 feet for a small garden, done in two plantings.

Pole Snap Beans, Pole Lima Beans, Tomatoes, Chard Lettuce, Beets, Carrots, Turnips, Cabbage, Onions, Radishes, and Spinach in the spring. After harvesting beans, plant three rows of turnips. In late July when lettuce is gone, plant 1/2 row of carrots. After harvesting beets, carrots and turnips, plant two rows of Collards. After harvesting cabbage and onions, plant three rows of beets. When radishes and spinach are gone, plant two rows of beans. Ideally rows should run north to south.

IMG_20151115_094206869

Did you catch that — ‘small garden’?  My garden measured 30 x 10 feet. And that was a double in size from before the War In My Kitchen project began. I didn’t come nearly as close to the variety of plantings the government requested of me (Peas, Beans, Tomatoes, Kale, Lettuce, Beets, Pumpkins, Potatoes, Cucumbers, Dill). There’s always next year…which is what us gardeners start to think about on the first snowy days in January.

Americans did their part to follow the recommendations of the government. 20 Million Victory Gardens were planted during the war years, accounting for 30%-40% of the demand for vegetables, nearly 10 million tons all planted and harvested by hand, prepped by women in their war kitchens.

From my garden to the canning shelf in my basement, I have preserved Dill Pickles, Pickle Relish, Salsa, V-8 Juice, Spaghetti Sauce, Diced Tomatoes, Apple Pie filling, Applesauce and even a little horseradish (a little goes a long way!).

IMG_20151115_095059967History shows that we were more than willing to turn the farming back over to the farmers at the end of the war. Food shortages remained in 1946 because people stopped gardening and turned to grocery stores. Agriculture was adjusting planting and harvesting techniques learned during the war years and transportation from farm to store were lagging. Boom time was coming and freedom from want was ending, but we had to readjust our planning and producing towards for our own first. Times were changing.


Happy Birthday, Auntie! Sunshine Cake for Everyone!

1917 Adelina

Adelina “Auntie” was born on March 31, 1894. Over the generations we lost track of whose true aunt she was. In 1943 she would have been 49 years old. Her sister was my Great Grandmother, whose son was my grandfather and soldier in the Army.

Auntie’s brother had served in WWI and letters between my grandfather and him show that he felt connected through war experience to Percy. Auntie served as the family member he could write to and share things that would have been too upsetting for his parents or his fiance, my grandmother.

Auntie was always cheerful. She did not have any children of her own, so she often relied on my grandfather’s family of 11 for entertainment and get-togethers. She was devoted to all of us – all four generations over the years – as if she were a mother.

She grew beautiful gardens of flowers. Peonies were her favorite. She stayed old-fashioned in many lovely ways. Her home was decorated in Victorian-era styles with bold wallpapers photo 1and crushed velvet chairs and couches. She had candy dishes full of Pepto-Bismol pink chalky mints.

I have trouble wrapping my mind all the food innovations she witnessed in her lifetime. She did not incorporate indoor plumbing until the late 60’s. Her kitchen sink involved an old hand pump. In the same year she was born, Iceberg Lettuce was introduced. She was older than Hershey’s Milk Chocolate, canned tuna and date palms. She loved dessert recipes and held on to hundreds of cake, frosting, pie, and all other sorts of treasures.  Maybe because it was an exciting introduction as a young child, she had every kind of date recipe one can imagine.

She was 18 when the Titanic sank and 34 years old when pre-sliced bread was introduced and 49 when it was banned during WWII as the machinery used to slice it in factories

1941 Adelinewas more needed for war production efforts.

I don’t know for sure, but I imagine she was a homemaker who, like many others, viewed the “progress” and “modern conveniences” of the kitchen post WWII as trouble. The new way was one that would lessen the authenticity of  homemade.

Auntie’s all-time favorite recipes were fudge and Sunshine Cake. The fudge she made in large batches and stored in coffee tins on the stairway. She’d offer the fudge to everyone who stopped by. Sometimes the fudge didn’t keep so well and when she popped off the cover the whole batch would be fuzzy and green.

The Sunshine Cake became a staple at the family birthday parties. There is family debate about the right recipe and ingredients. She was good about writing it down and sharing it with everyone, but some versions leave out the directions. Other versions are slightly different than all the rest. Luckily, the Sunshine Cake recipe was popular in its time and by patching together versions in the family and researching others online, it is possible to replicate Auntie’s favorite cake.

For Auntie’s party tonight I made the filling from a lemon/orange custard and the frosting from a boiled sugar water (7 Minute Frosting) combination. Auntie loved a caramel filling and topping, but I think she would have approved of my revision.

She probably would have asked to take the recipe home!

IMG_20150330_181404770[1]

Come On Home For Supper, Darling. We Have Ketchup!

1934-food-heinz-ketchup-swscan04154-copyKetchup. Ketchup on burgers. Ketchup on fries. Ketchup on meatloaf. Ketchup on hot dogs (sorry Chicago). 94% of American households use ketchup.

So, it is no surprise that I find a need to write about this critical condiment. Varying in points over the duration of the war, in early 1944 a 14 oz. bottle of ketchup was costing 28 points. Is that a lot?  Yep. Consider that the allowed ration points for the month is 48 points per person. Even if you toss in the fact that a bottle might last you more than a month and even if you toss in the fact that a family of two has 96 points for the month to spend, ketchup was still one of those things that was considered frivolous. The equivalent of 28 points was 6 cans of beets or 2 cans of corn.

I couldn’t see using up all those points on ketchup. Especially considering that the “economical” bottle of ketchup I could purchase is 64 oz. (really Sam’s Club?), or a more fathomable amount of 28 oz. in the handy upside-down bottle, would cost me 128 points or 56 points respectively, I knew there was a better way.

Ketchup recipes are not difficult to find. Earliest recordings of ketchup (then called catsup) go back to the year 1690 when it was brought to Europe from China or Malaysia, depending on who you ask. One of the earliest recipes published in England in 1727 called for anchovies, shallots, vinegar, white wine, cloves, ginger, mace, nutmeg, pepper and lemon peel. It wasn’t until almost a century later that tomatoes found their way into the sauce, in a recipe in an American cookbook published in 1801. Source

The H. J. Heinz Company, a name that’s synonymous with ketchup for most people today, produced a tomato-based ketchup in 1876. They originally referred to their product as catsup, but switched to ketchup in the 1880’s to stand out. Source

The earlier recipes with cloves, mace, nutmeg and other spices are recognized today by the most notable food preservationists: The Amish. Pick up an Amish cookbook and you’ll find the best variety of catsup you’ll ever need. Similar with a great story behind it is also Jim Ledvinka’s reminiscent blog post from npr.org’s All Things Considered.

I prefer the good ol’ Heinz variety and I needed a recipe close to it. I found one online thanks to Todd Wilbur. It’s good. It’s very, very good. The problem though is, Tomato Paste.

Yes, tomato paste can be a problem. At the same time in 1944, tomato paste costs 13 ration points for a tiny little 6 oz. can. Okay, so it’s not a huge problem, like global warming or economic recession, but 13 points is still a lot of points. I am making a mental note to figure out how to make my own tomato paste later in the year when tomatoes are taking over the kitchen.

You’ll notice in my recipe that I took the 1 T sugar out. Seriously – it didn’t need it. There’s Heinz Ketchupno added sugar in the tomato paste and really the only sweetness comes from corn syrup. I also compared the recipe to Heinz’s ingredients on their label: Tomato concentrate from red ripe tomatoes, distilled vinegar, high fructose corn syrup, corn syrup, salt, spice, onion powder, and natural flavoring.

High fructose corn syrup and corn syrup?  Both? “Natural” flavoring? Like what? Well, we’ll never know.

For all these reasons, I highly prefer my recipe:

6 oz. tomato paste

1/2 C corn syrup (I use a lot less…experiment to your liking)

1/2 C white vinegar

1/4 C water

1 T sugar (I omit this ingredient)IMG_20150301_090843190

1 tsp. salt

1/4 tsp. onion powder

1/4 tsp. garlic powder

Combine over medium heat. Whisk. After boiling, simmer 20 minutes, stirring often.

I store mine in glass jars for several weeks until it’s used up.